How to Improve Real Estate Photography: Pay Attention to Details
- Best Camera Settings for Real Estate Photography Interiors
- What You Need to Do Before Taking a Single Real Estate Photo

photo by via asbeiStock
As we explored in a previous tutorial, when preparing a home to be photographed, it’s important that the home is gone through with a fine-tooth comb. Every feature, every detail needs to be perfect in order to help the home put its best foot forward.
That same process of seeking perfection is also important in your approach to photographing properties.
Though no photo is perfect, it’s necessary to strive for perfection so that potential buyers see the home in its best light rather than being distracted by mistakes you’ve made when creating the photos.
Using the following examples, we’ll explore several composition tips that will help you create beautiful, compelling images.
Real Estate Photography Tip: Consider the View
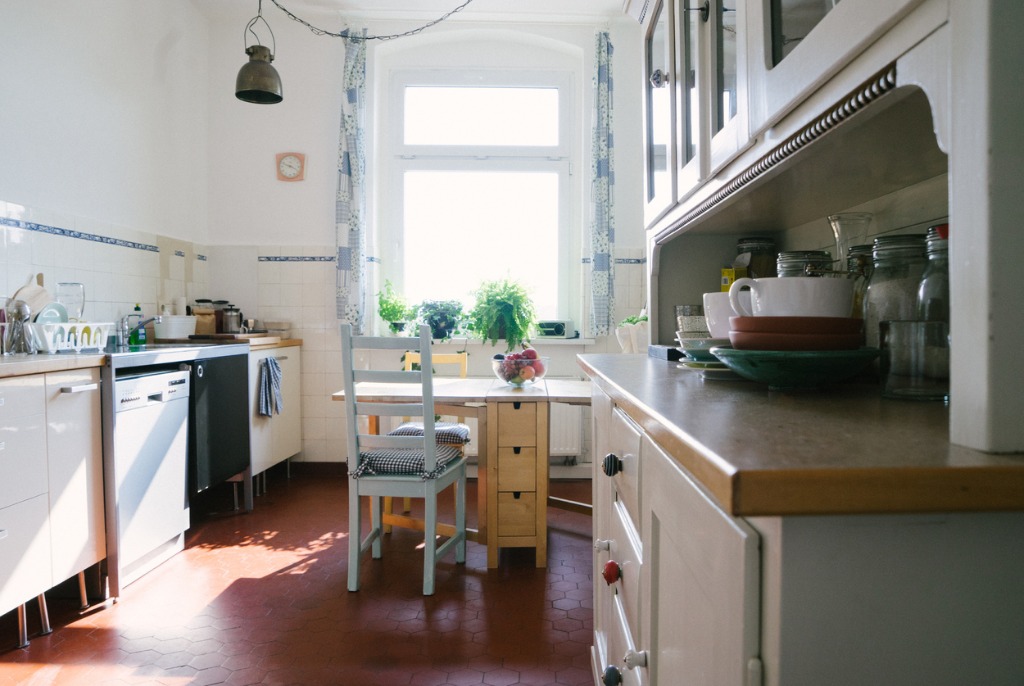
photo by RoBeDeRovia iStock
When photographing interior spaces of a home, there are a couple of things to think about when considering the view.
First, when photographing interior spaces during the daytime, the room might be much darker than the view out the window - particularly if the window is small.
If you expose your photo for the darker room, the view out the window will be nothing but a featureless white blob, as shown above. Conversely, if you expose for the view out the window, the room will be overly dark.
The best approach for resolving this issue and providing potential buyers with a view of the room and a view out the window is to bracket your exposures and merge them in post-processing.
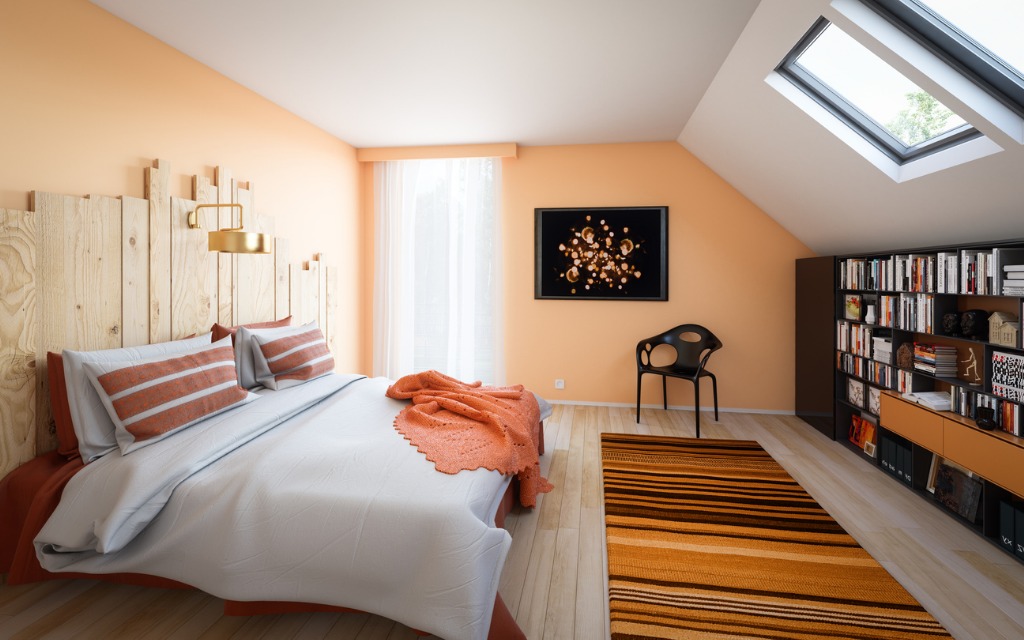
photo by Bulgac via iStock
For example, if photographing the bedroom above, you would take multiple exposures, each at a different exposure level to account for the brightness of the windows, the darkness of the floor space in the foreground, and points in between.
Then, using a program like Lightroom or specialized HDR software, you can blend those exposures together for a final image that’s well-exposed throughout.
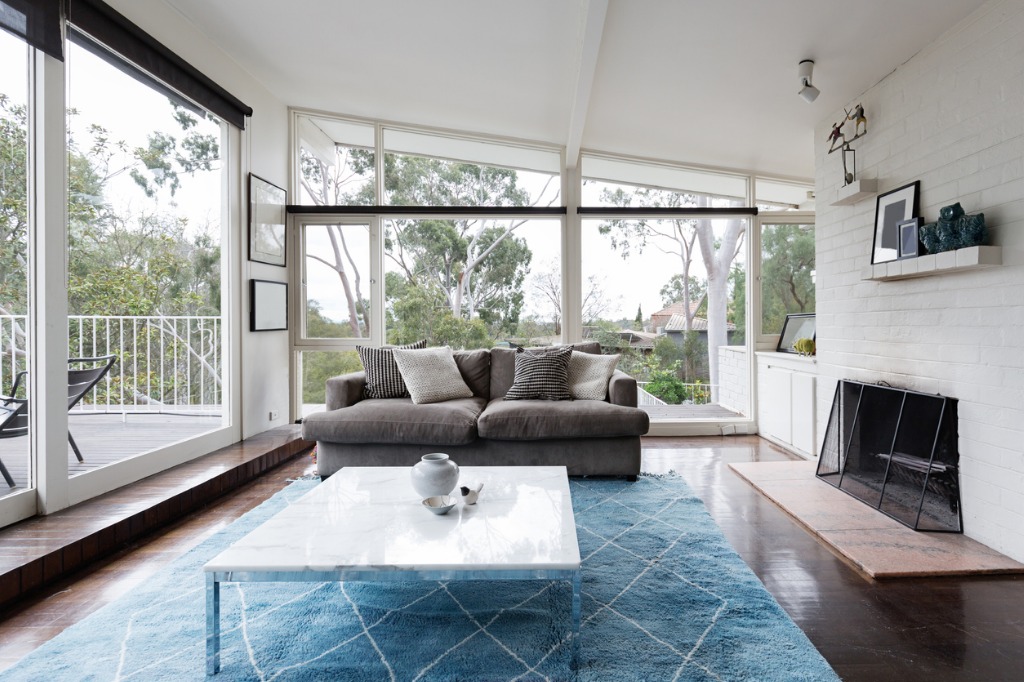
photo by jodiejohnson via iStock
A second thing to think about when considering the view is whether the view is worth highlighting or not.
In the image above, for example, the natural green surroundings contribute to the feel of the interior space, and every effort should be made to create images that show the interior space in the context of that beautiful view.
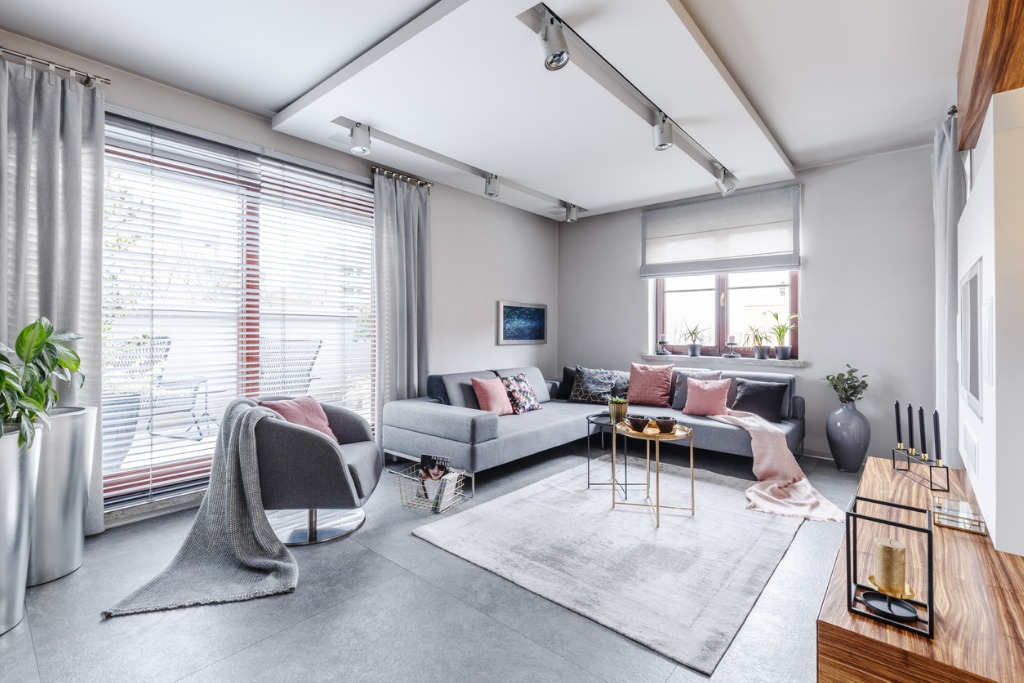
photo by KatarzynaBialasiewiczvia iStock
Alternatively, if the view out of a window is of the neighbor’s house, telephone wires, a busy street, or other not-so-desirable features, strive to mask the view to the extent possible. This can be done by partially closing blinds, sheers, or curtains, as was done above. You can also change your shooting position to minimize the view out the window.
It’s important to note that the point of this isn’t to try to deceive potential buyers by hiding an ugly view. Instead, the point is to minimize the view to help buyers focus on the interior spaces and the amenities they offer.
Learn More:
Highlight Appropriate Details by Selecting the Best Shooting Angles
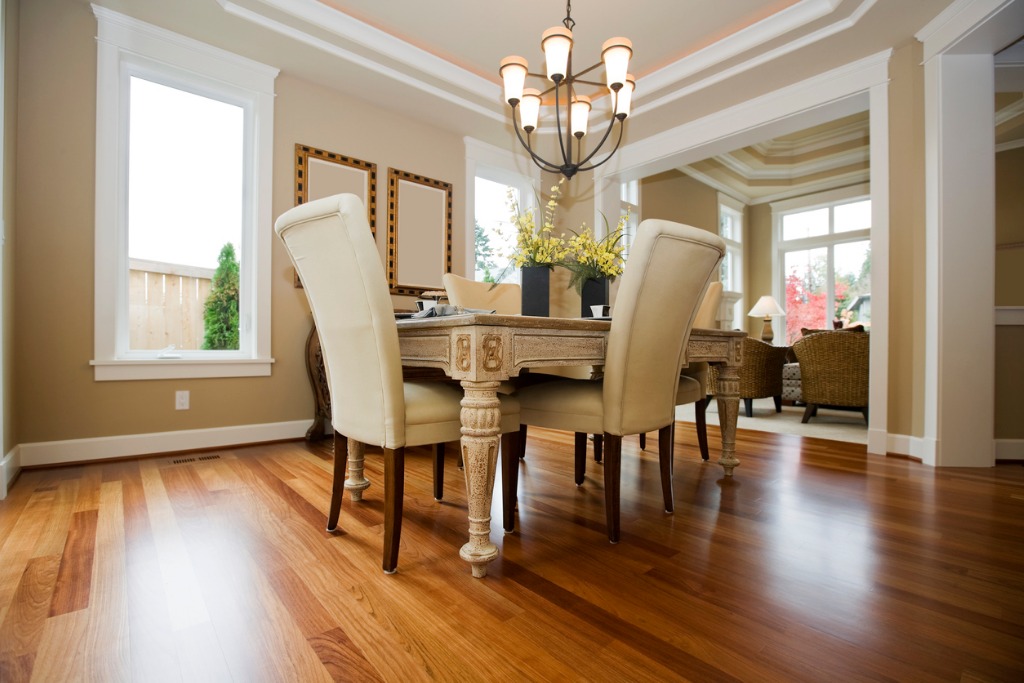
photo by akurtzvia iStock
When photographing properties, it’s necessary to keep your camera level so that straight lines don’t appear to converge. If you don’t, buyers can be distracted by the warped perspective rather than seeing the potential of the home as a suitable place to live.
However, this doesn’t mean that you can’t adjust the height from which you shoot to give viewers a different perspective on the details of a property.
For example, in the image above, dropping the eye level brings the beautiful hardwood floors in this dining room into prime view. Notice as well that this lower-than-normal shooting angle gives us a sneak peek at the intricate details of the ceiling in the dining room and the living room beyond.
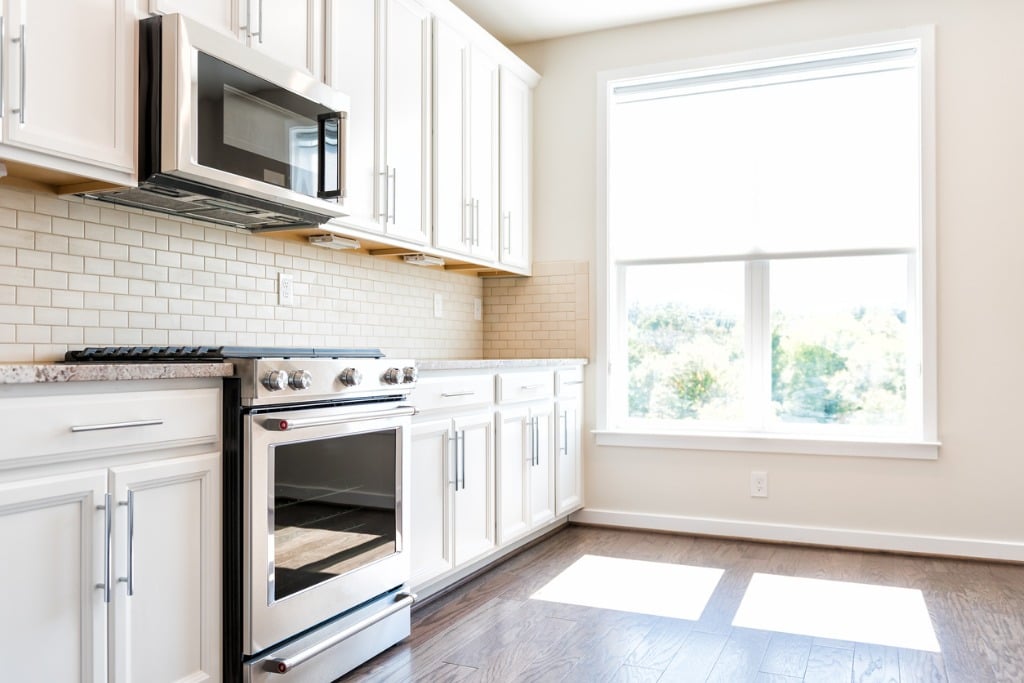
photo by ablokhin iStock
When adjusting your shooting angle, it’s necessary to have an eagle eye on your composition. That is, be sure to double-check that the shooting angle doesn’t bring unwanted details into view.
In the image above, note how the low shooting angle gives us a direct view of the underside of the cabinetry. This is not ideal, especially since the underside of the cabinets are not finished. Rather than highlighting the flooring as was done in the previous photo, this shot brings an unneeded detail into the frame that detracts from the otherwise pleasing features in this space.
Learn More:
Real Estate Photography Composition Tip: Watch the Crop
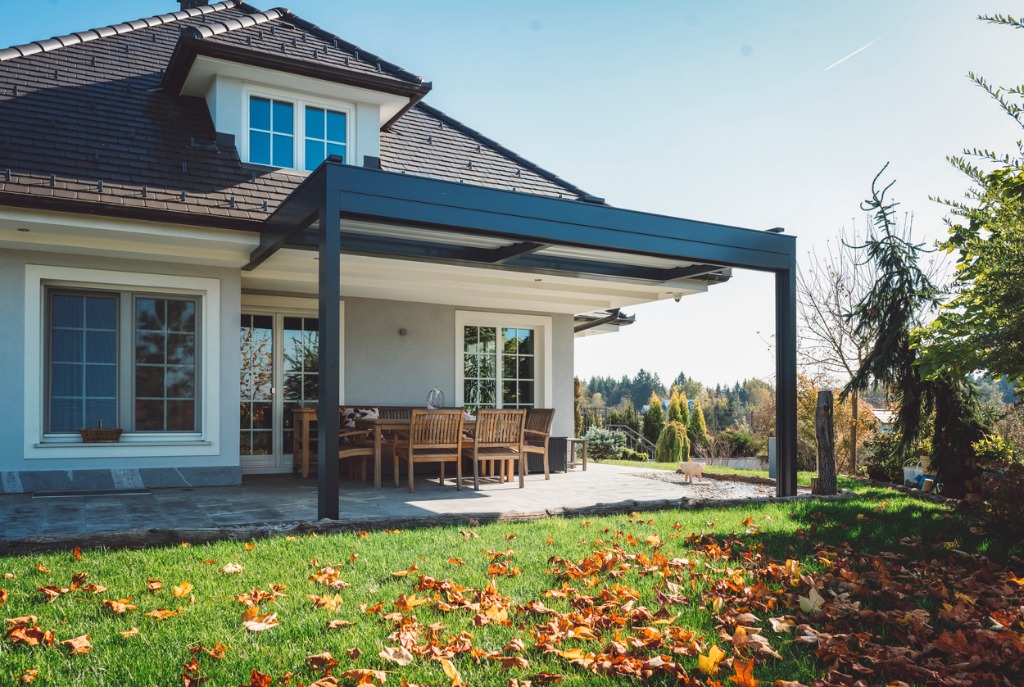
photo by spyderskidoo via iStock
Another detail-oriented consideration to make when photographing real estate is to pay close attention to how you crop and frame the image.
When you photograph people, you don’t want to cut off the tops of their heads. Likewise, you want to avoid framing the shot such that their joints coincide with the edge of the frame.
Real estate photography is similar in that you want to be sure that you aren’t chopping off essential features.
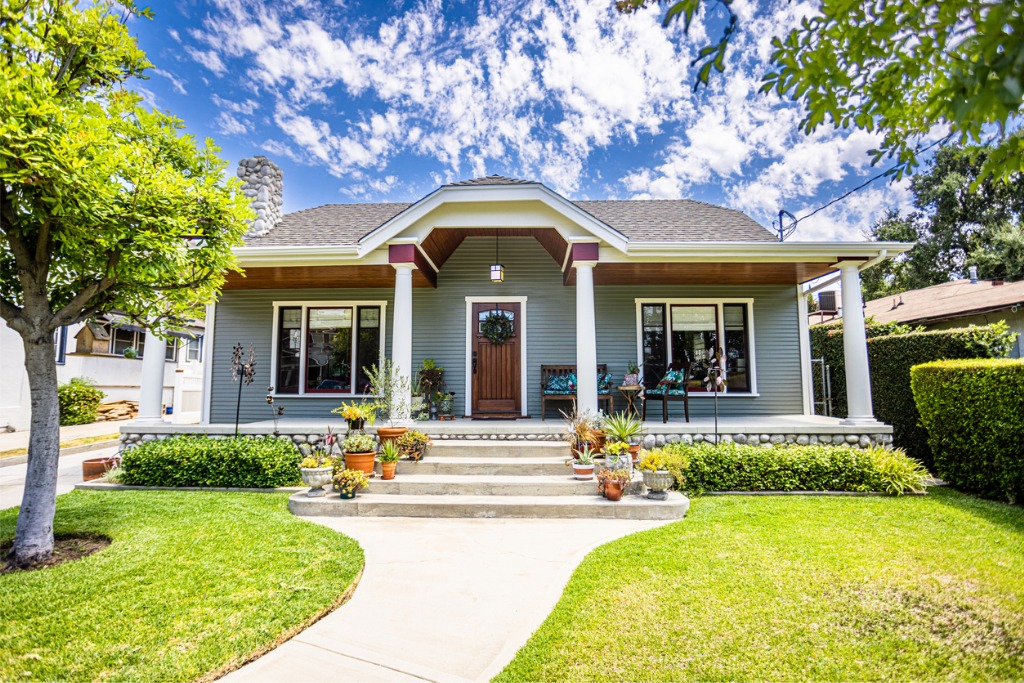
For example, the image above is oddly framed because the top of the roof is cut off, as is the left side of the home. A better composition would have been to shift the view to the left and take the photo straight-on to show the entire side of the home.
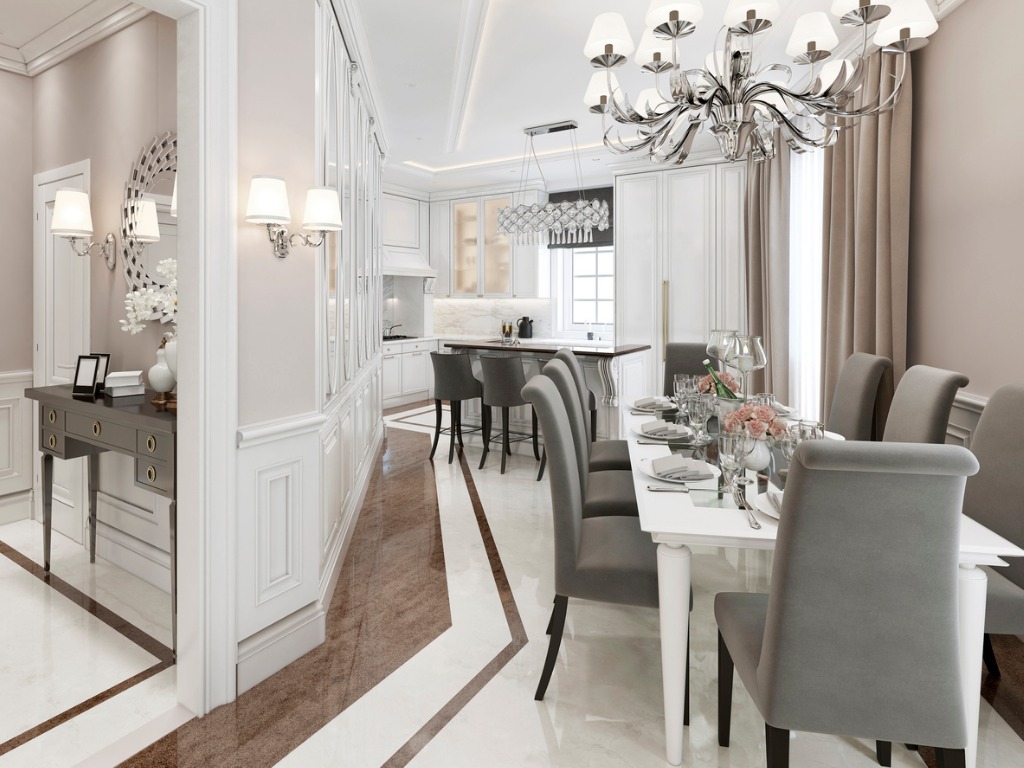
photo by Peter_visual via iStock
The same approach should be used when photographing interior spaces as well.
In the image above, note how the chandelier in the foreground is partially cut off. Again, a better composition would have been to move back or zoom out to incorporate the entire chandelier in the shot.
When working in some interior spaces, there might not be room to move back far enough to avoid unfortunate crops. Regardless, work to avoid this situation to the extent possible, and you’ll have more pleasing and impactful photos with which to impress potential buyers.