Real Estate Photography Tip: How to Photograph Living Spaces
- Best Camera Settings for Real Estate Photography Interiors
- Composition Tips for Photographing Real Estate Interiors
- What You Need to Do Before Taking a Single Real Estate Photo
- Best Lenses for Real Estate Photography
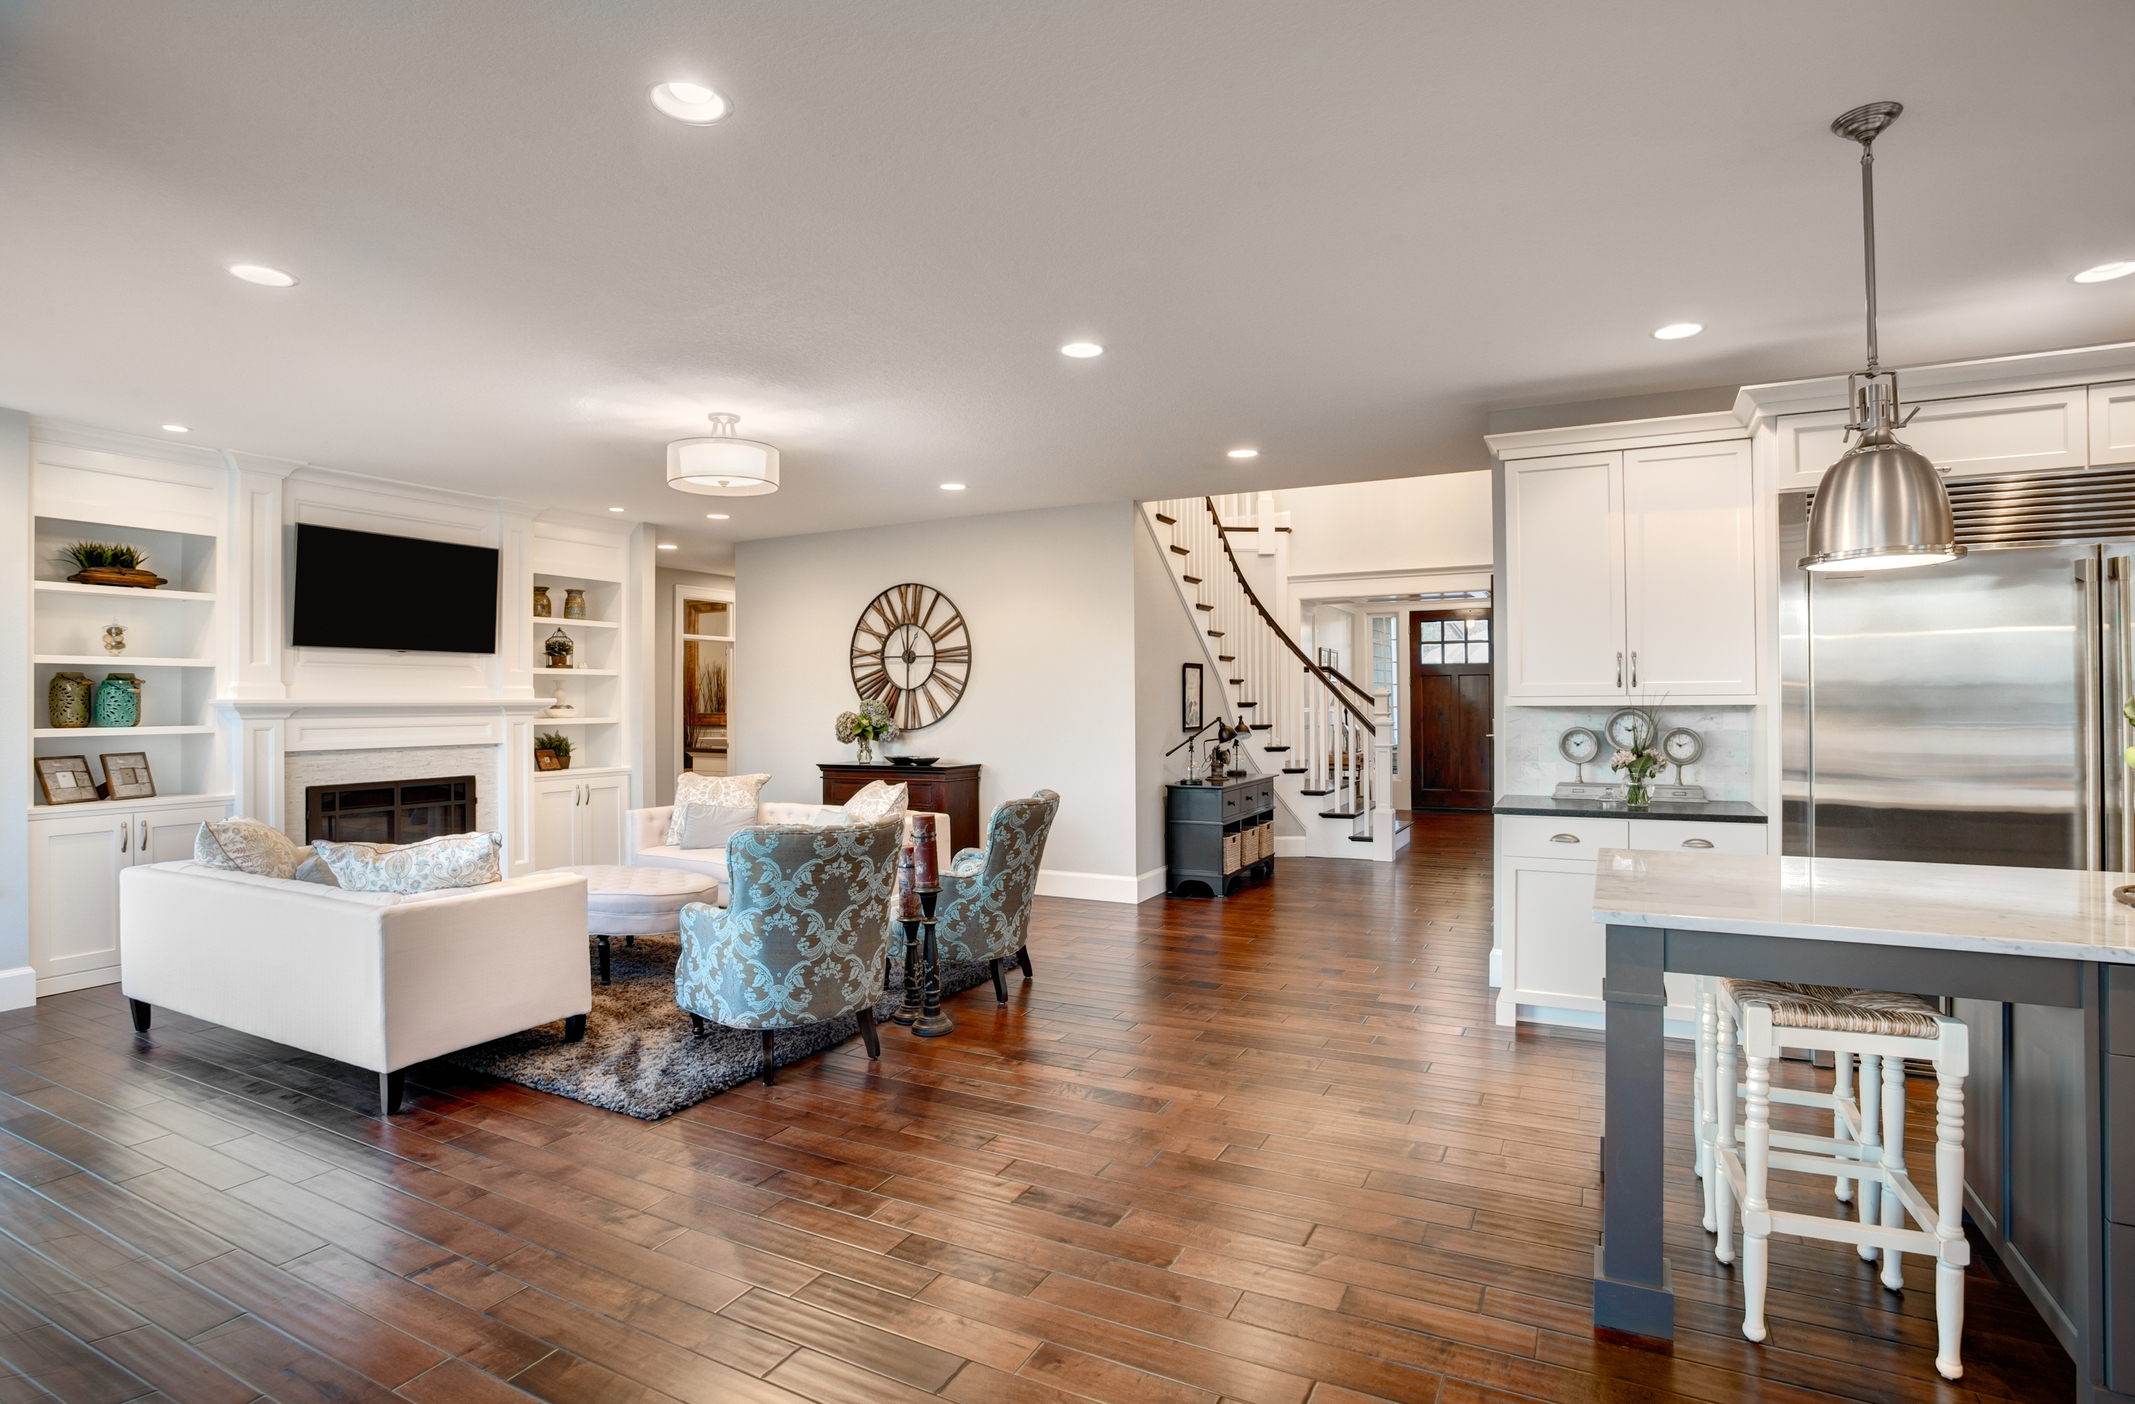
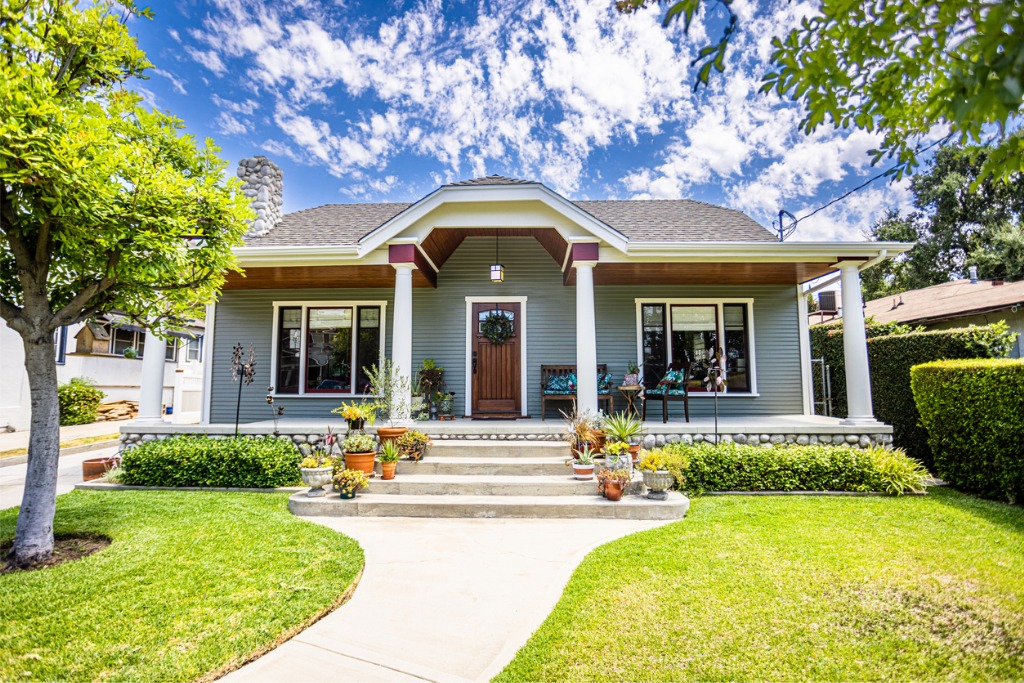
photo by hikesterson via iStock
Though it’s said that kitchens and bathrooms sell homes, the living spaces - the living room, family room, great room, dining room, and so forth - can’t be overlooked.
These areas of the home see a lot of activity, and potential buyers need to be able to see themselves living in these spaces. Your photos should help them do that.
The question is, how do you maximize the appeal of living spaces in your real estate photography?
Showcase the View
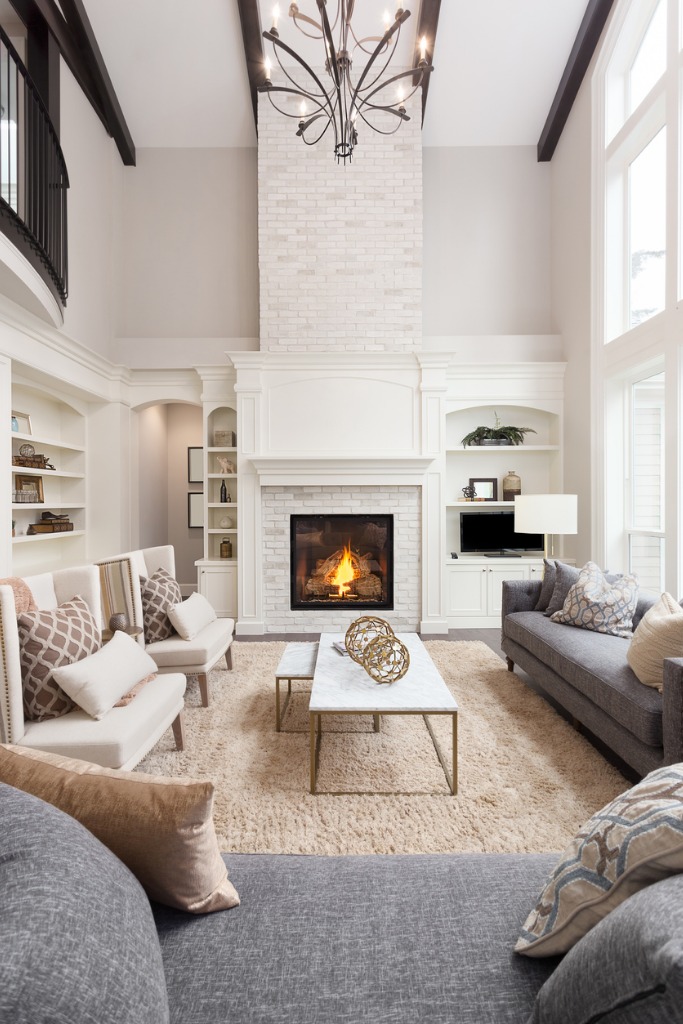
photo by hikesterson via iStock
It’s certainly necessary to take photos that show off the size of the living space, but to reel potential buyers in, you also need to show them the view of the room from different angles and perspectives.
That is, if there’s a gorgeous fireplace in the room, make it the focal point of the shot so viewers get a feel for what it would be like to sit in the space, look at the fireplace, and feel its warmth.
If that means you need to sit down on the couch to take the shot, do it! Likewise, don’t be afraid to take photos that are vertically oriented like the one above so you can showcase features like fireplaces and high ceilings.
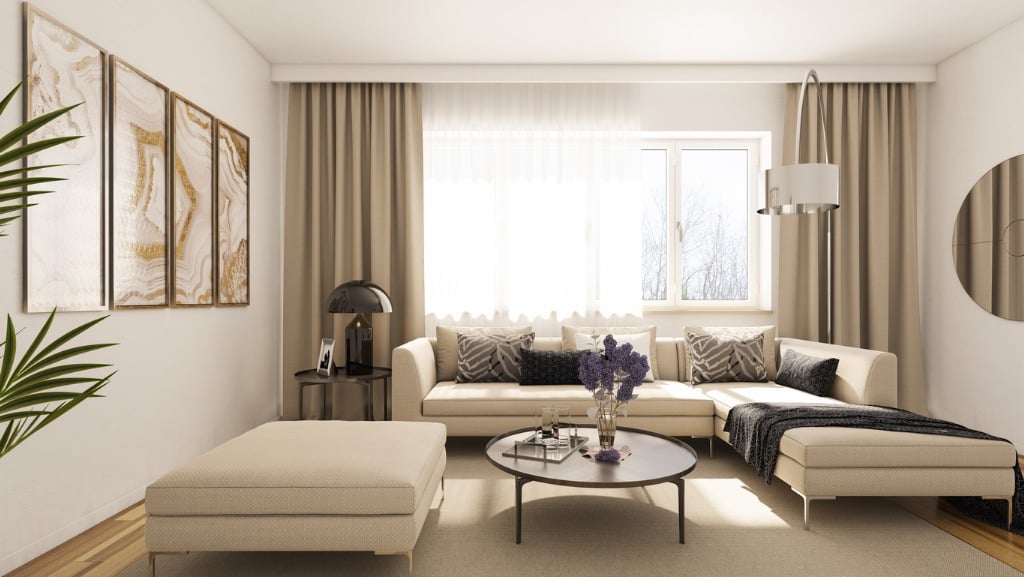
photo by Vlajs via iStock
But “showcasing the view” isn’t just about giving people perspective on what’s in the room; you also need to show them what’s out the windows.
The problem, of course, is that when photographing dark interior spaces during a sunny day, the view out the window is much, much brighter than it is in the living space, especially if the windows are relatively small.
With that very wide dynamic range, your photos will either be well-exposed for the room or well-exposed for the windows, but not both - even if you use a very high-end camera.
The solution to this problem is to bracket your exposures, whereby you take a series of photos, each at a different exposure level.
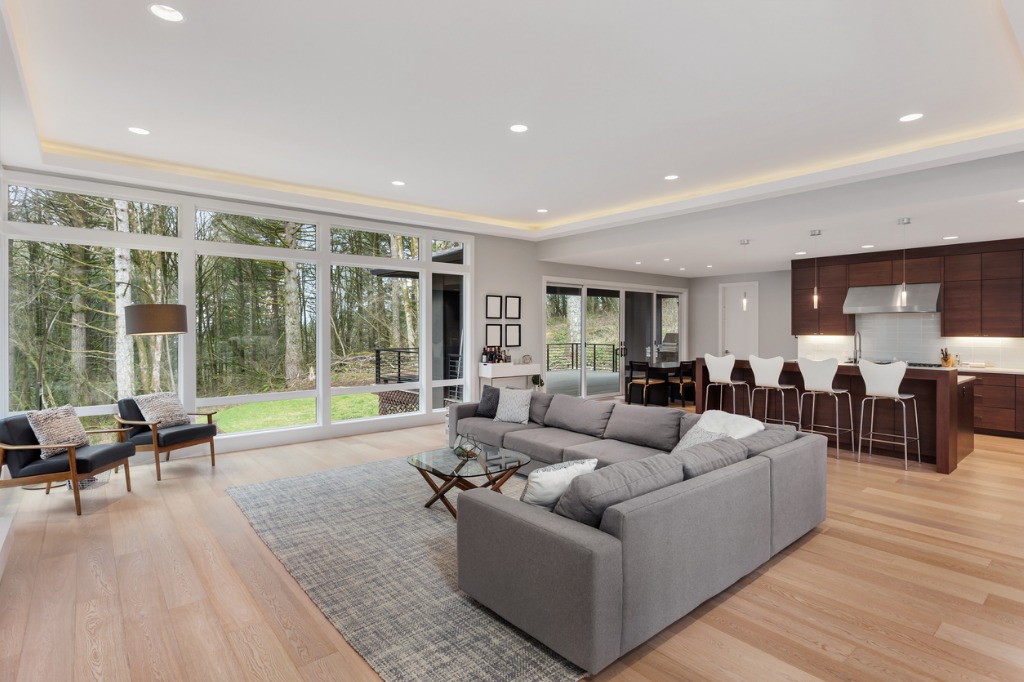
photo by hikesterson via iStock
For example, if photographing the living space in the image above, you might take a series of five different exposures to account for the brightness of the windows and the darkness of the space closest to the camera.
Then, you can blend the bracketed exposures together in HDR software to create a single image that’s well-exposed throughout and shows off both the interior space and the view outside.
There’s other advantages to using this technique - because artificial lighting gear isn’t needed, you’ll save time and money.
Learn More:
>
Pro Tip for Photographing Real Estate: Move Things Around
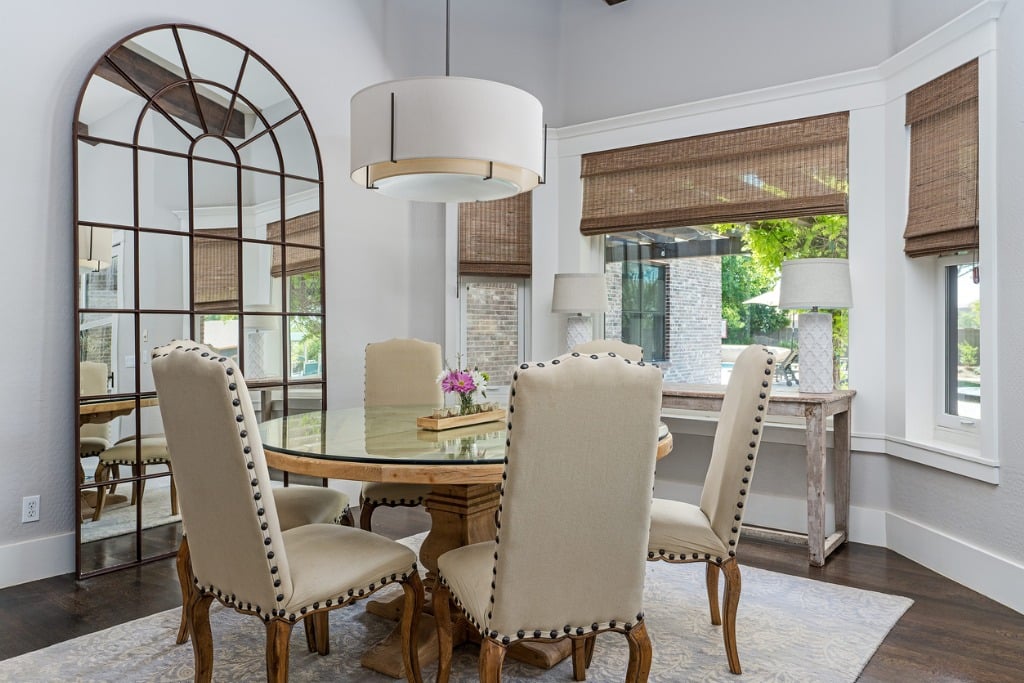
photo by contrastaddict via iStock
If you find that you simply cannot get the right shot of a living space, don’t be afraid to move things around to accommodate a better shot.
Granted, you’ll need to discuss your plan to rearrange things with the homeowner and/or the listing agent, but given the importance of real estate photography to getting homes sold, it shouldn’t be an issue.
For example, let’s assume you’re photographing a dining room, but there’s not enough space for a shot because a sideboard is in the way. If that’s the case, move the sideboard, take the shot, and move the sideboard back.
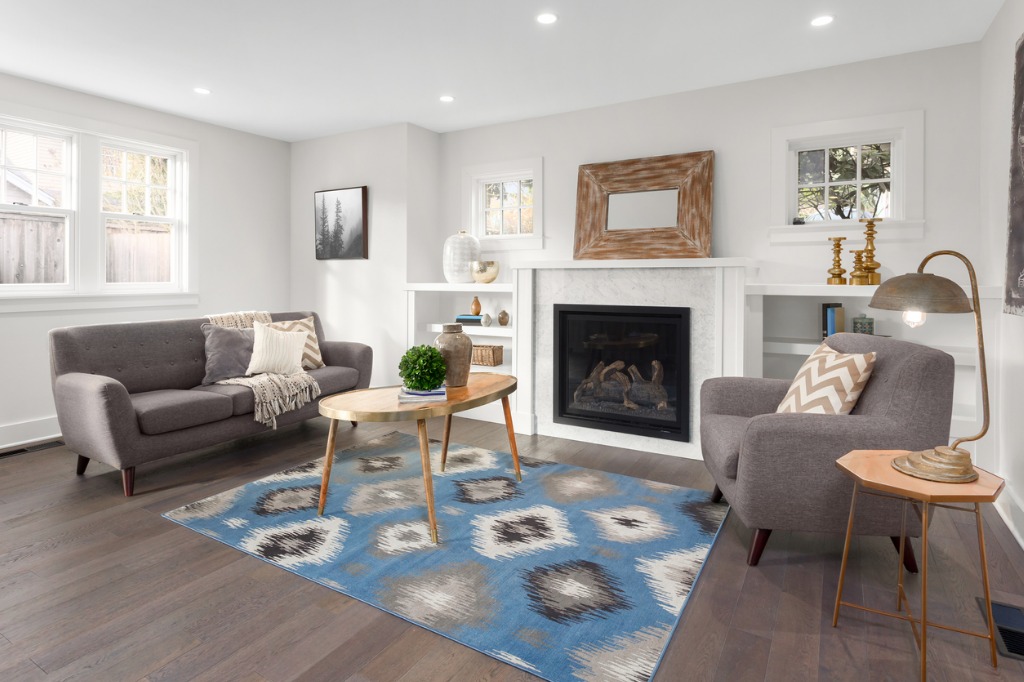
photo by hikesterson via iStock
As another example, if the arrangement of the furniture in the room blocks an important feature, like the fireplace in the image above, move it out of the way.
In this case, the coffee chair and side table have been moved to the right and the coffee table has been moved to the left to afford a better view of the fireplace in the background.
Making even small moves like this can make all the difference in the world when it comes to the visual appeal of the photos you take.
Watch the Depth of Field When Photographing Large Interior Spaces
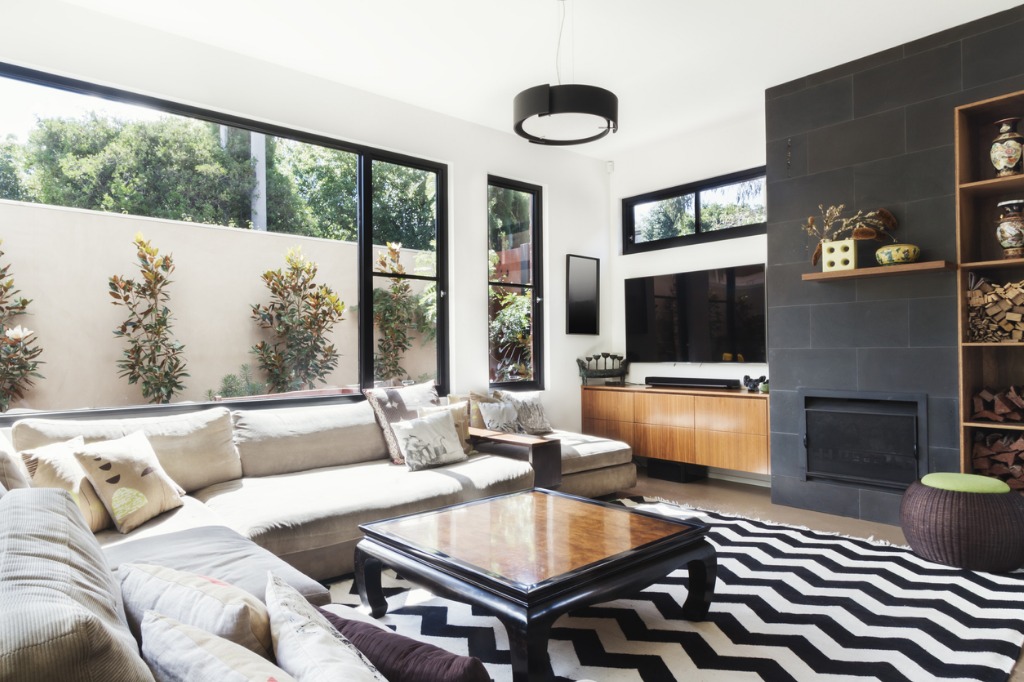
photo by jodiejohnson via iStock
When photographing a small space like a bathroom, you can probably get away with quite a large aperture (i.e., f/4) and still have the depth of field needed to keep everything sharp in the photo.
But when you’re photographing large spaces like a living room or family room, using a very large aperture might not get you the needed depth of field.
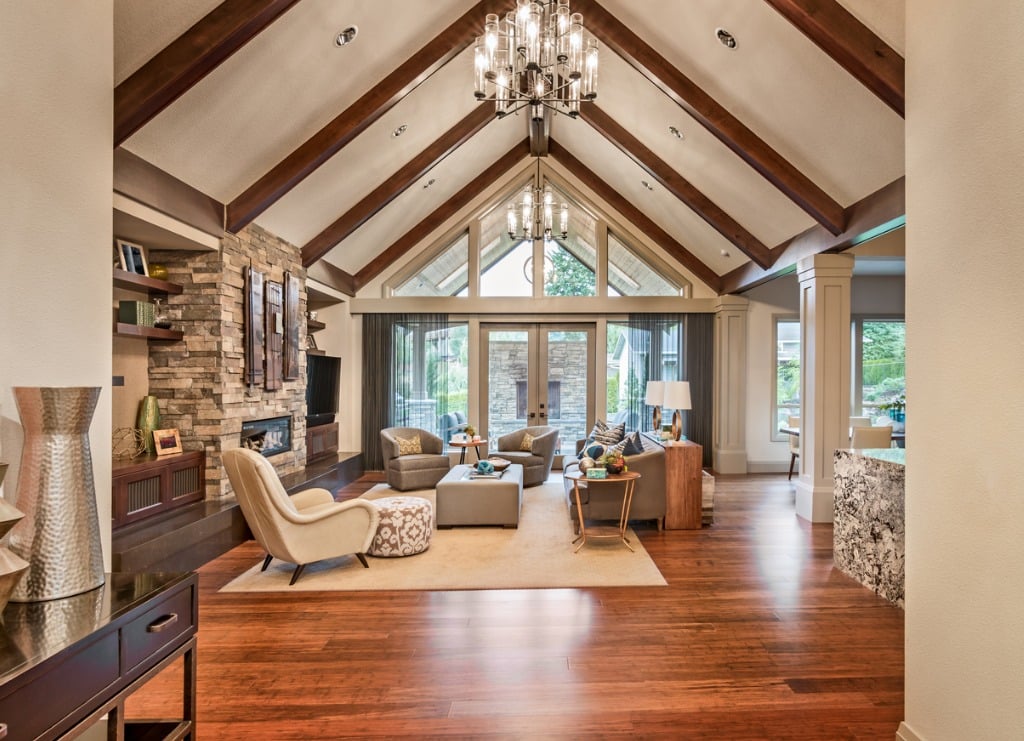
photo by hikesterson via iStock
As a good rule of thumb, try to keep the aperture between f/8 and f/11, as this will help you get sufficient depth of field while also capitalizing on the lens’s sweet spot, or the aperture at which it’s sharpest.
Doing so will help you generate photos like the one above, in which everything from front to back is sharply in focus.
Learn More:
Make It Look (and Feel) Like Home
photo by JodiJacobson via iStock
Ultimately, living spaces need to feel homey, comfortable, and inviting to entice buyers.
It’s your job to accomplish that.
Using the techniques above, you can make living spaces look like something that a buyer would want to spend time in.

photo by KatarzynaBialasiewicz via iStock
Additionally, you can add styling with just a little staging - a throw across the couch - that gives the room an extra bit of hominess.
It’s often the small touches like those outlined above that elevate the quality of real estate photos to a point that potential buyers turn into actual buyers!