Night Street Photography Hacks
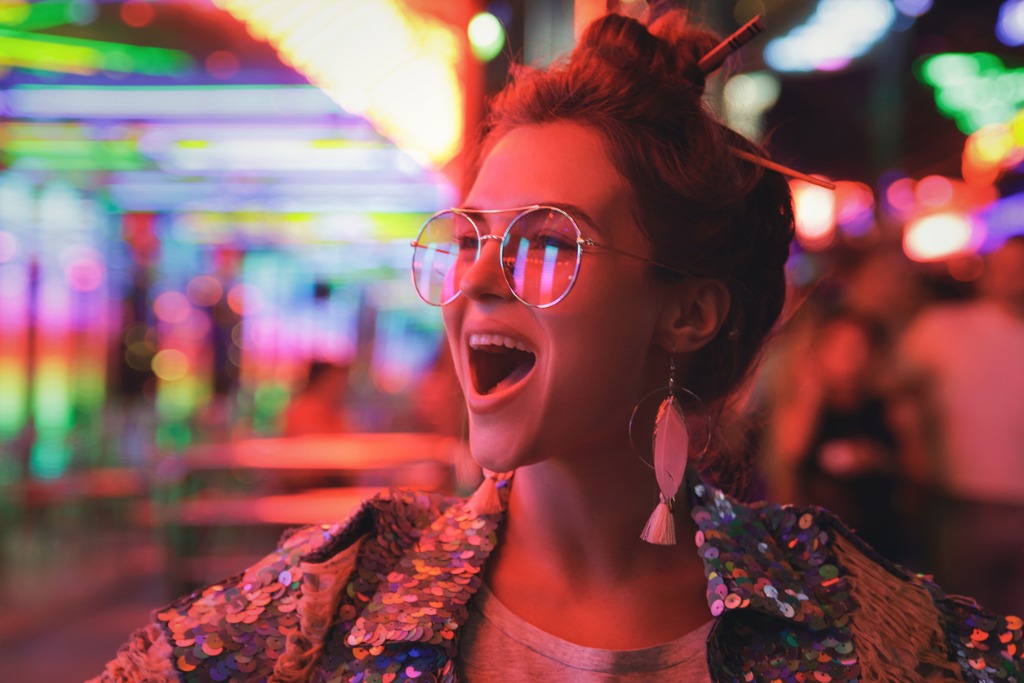
photo by Jun via iStock
I’ve been scouring YouTube for any interesting photography hacks or tips for you guys. Well, the other day I found this video by Evan Ranft that covers some night street photography hacks. Since I don’t usually participate in night street photography, Evan had a lot of street photography tips I never would have thought of.
I highly recommend that you watch the full video above to get all of his street photography hacks, but if you only have a few minutes I’ll summarize his night street photography tips for you.
Double Your Focal Length to Get the Right Shutter Speed
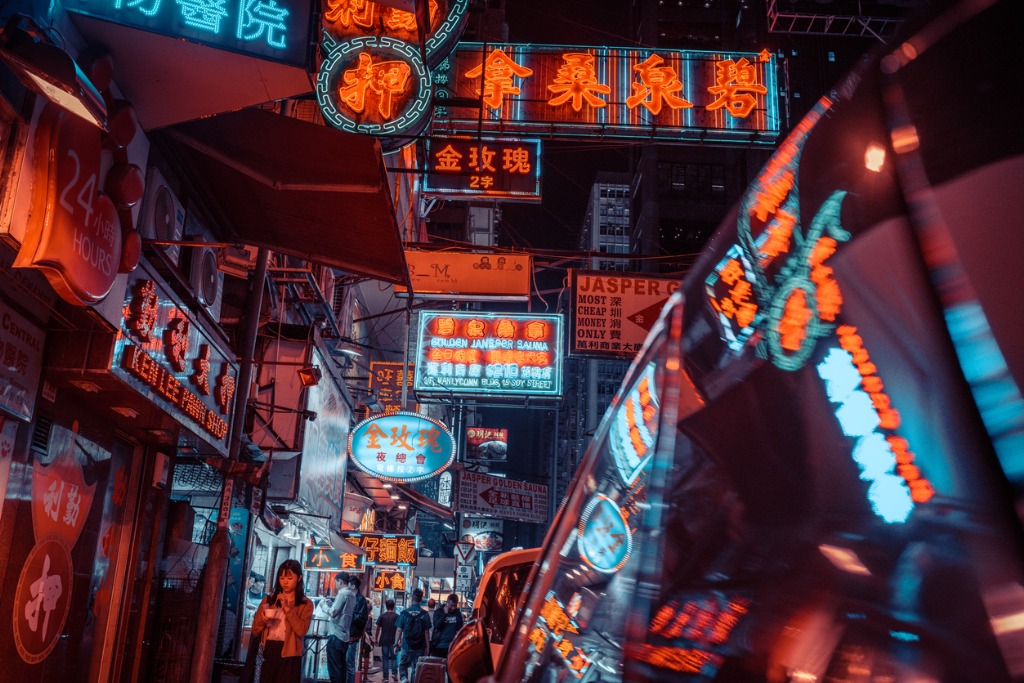
photo by Nikada via iStock
Evan pointed out that night street photography is really intimidating for beginner photographers, both from a safety perspective and from a technical perspective.
To start his video, he noted that the most important night street photography technical hack is to double your focal length. This means that if you are shooting with a 35mm lens, then you should double the focal length so that 1/70th is the lowest shutter speed you can use. Notably, this rule only applies if you’re planning on doing a lot of night street photography without a tripod.
It also only applies for photographers who are working with a lens that doesn’t have any image stabilization.
Use Composition Cheat Codes
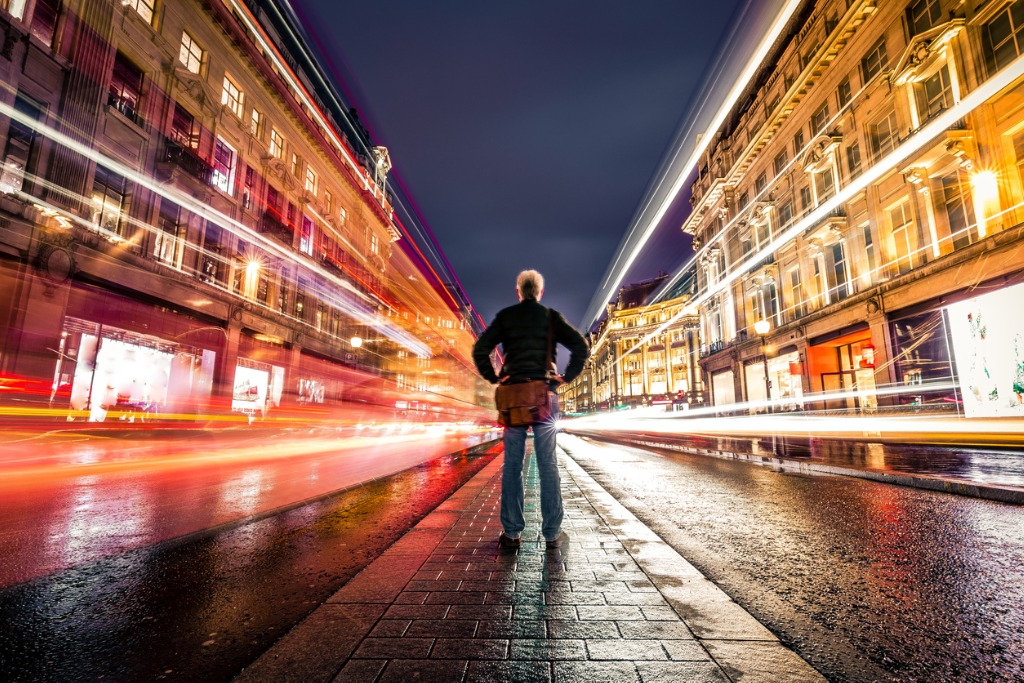
photo by coldsnowstorm via iStock
When you’re shooting night street photography, there are a bunch of composition cheat codes that you can pull from. The first one Evan noted is the use of leading lines. Leading lines are everywhere in night street photography - streets and sidewalks, painted lines and lines of street lights.
This is a great night street photography hack because you can find a great composition and then just wait for a subject to walk into it.
Another composition cheat code is to use a pro mist filter. Pro mist filters give street lights an extra glow. It will make all of your photos look more ethereal.
One more composition cheat code is to use arrows to your advantage. For instance, a lot of bike lanes will have arrows in them. You can use this to your advantage by waiting for a subject to walk in front of that arrow. It will help naturally direct your viewer’s eye to your subject.

photo by peeterv via iStock
You’ll want to use reflections as often as possible. You can obviously use water for your reflections, but you can also use the hoods of cars for that added effect.
Lastly, you should be using shadows to your advantage. This lets you expose for the highlights in your photo so that any subjects that happen to stumble into your photo can just act as shadows. It prevents any frantic, last minute spec adjustments. If you’re nervous about shooting night street photography because you’re nervous about upsetting your subjects, this is a great composition hack because it keeps all of your subjects anonymous.
Learn More:
Use Whatever Light Is Available
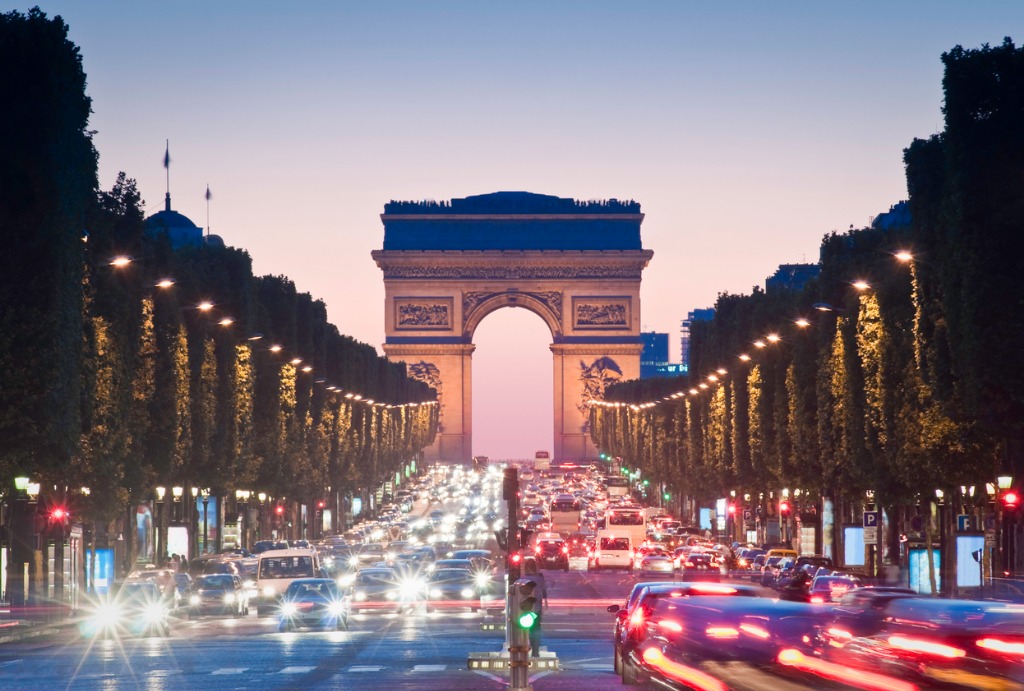
photo by matthewleesdixon via iStock
When you’re shooting night street photography in a really well-lit area, like New York City, Las Vegas, or Miami, you have such an array of lighting sources that you can pick and choose which ones you want to use. You can pick a specific composition because it provides a blue, red, or yellow light source, which then adds interest to your photo.
However, if you aren’t shooting in some huge city, then just look for any area in your city with more lighting at night.
If you are a photographer, like Evan, who enjoys mixing artificial and natural light, then it could be a good idea to shoot during “blue hour,” when there is still a tiny bit of natural light left in the sky. It creates really fascinating photos.
A Lower “F” Is Better
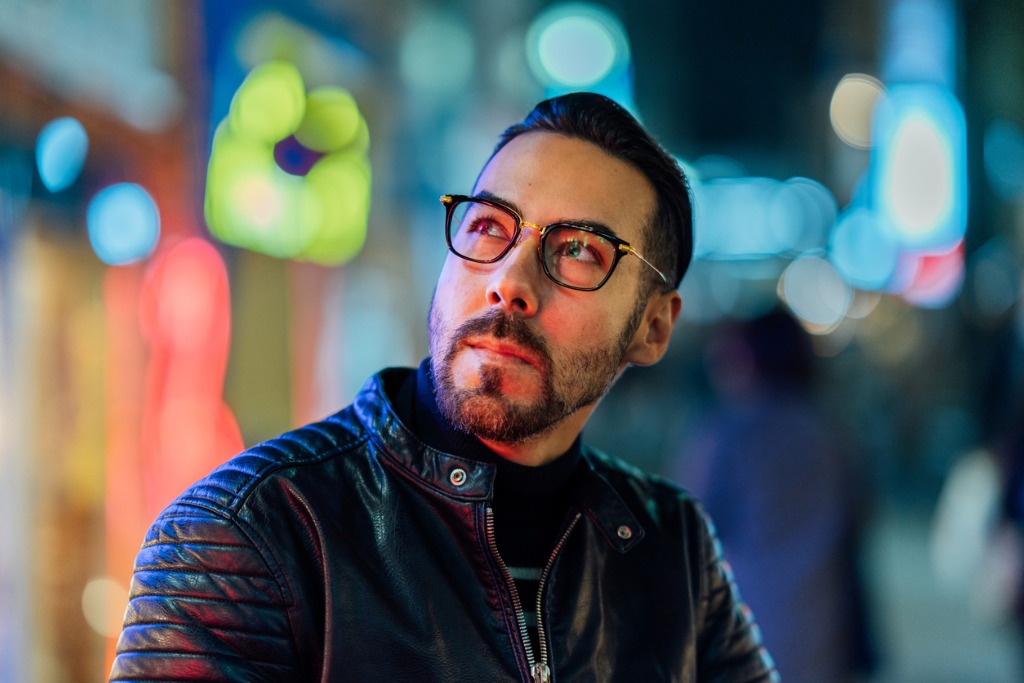
photo by recep-bg via iStock
This is one of the more obvious photography hacks for street photography in this list, but use a lens with a lower f-number. A 1.8 or 1.4 lens would be perfect because they allow you to use a larger aperture and let more light into the lens, which enables you to speed up the shutter speed, even when shooting at night (to a certain extent, anyway).
Besides, using a lower f-stop gets you a nice, blurry background with great bokeh, as shown above.
Be Safe
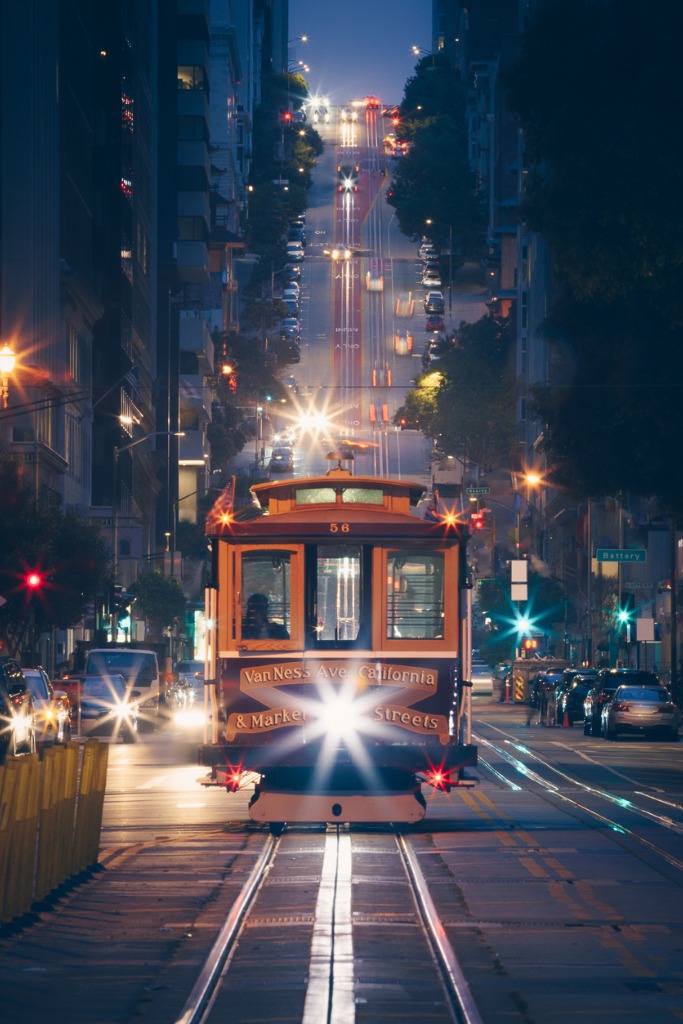
photo by heyengel via iStock
Know where you are. Even if you’re only in a city for a night, you need to know what cross streets you are shooting on. Know what buildings in your area are still open. Studying a map for only a few minutes before you start shooting can help you be far more safe.
Another tip for keeping yourself and your equipment safe is to not flaunt it. Instead of walking around with your camera around your neck, you can keep your camera in your bag and keep your bag in front of your body. This way, you can use your camera when you see a really great shot, but other people won’t see it while you’re walking around because it’ll be in your bag.
I hope that you guys found these tips helpful. If you use any of them, let me know how it goes.
Learn More: