Quick Tips for Shooting Cloudy Day Portraits
- Picture Perfect Lighting: An Innovative Lighting System for Photographing People
- The Dramatic Portrait: The Art of Crafting Light and Shadow
- Portrait Photography: From Snapshots to Great Shots
- How To Create Minimalist Portraits
- Lifestyle Portrait Tips
- How To Use Rembrandt Lighting For Portraits
- How To Use Fill Light For Outdoor Portraits
- Basic Portrait Lighting Principles
- Essential Portrait Lighting TIps
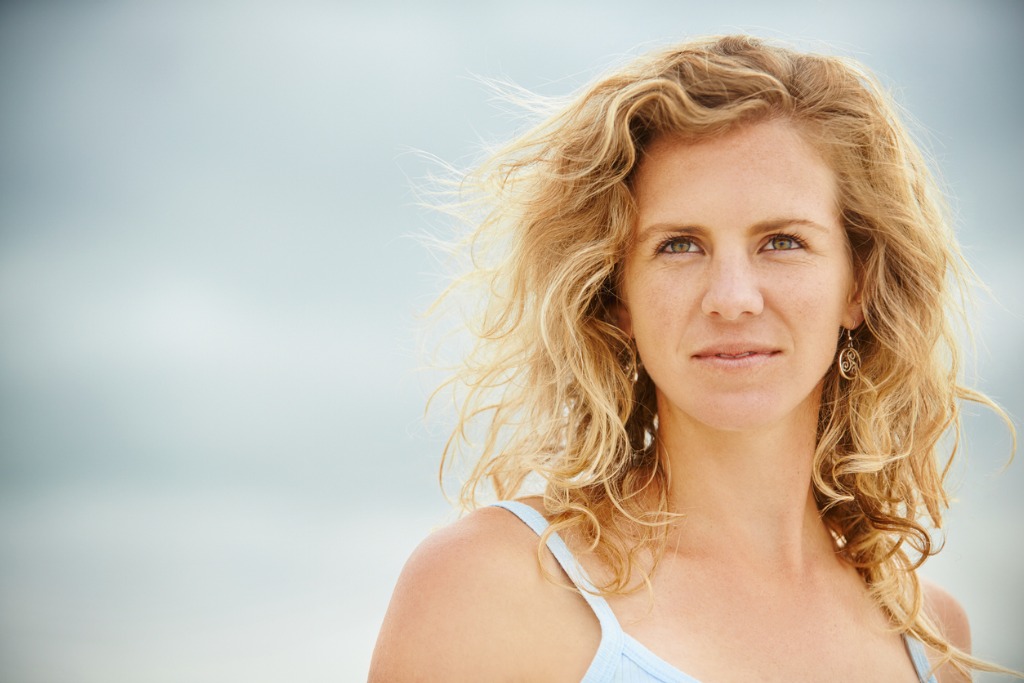
photo by AJ_Watt via iStock
We all know what those snapshots we took of our friend under the noonday sun look like…
Squinty eyes, deep shadows under the nose and chin, bright shiny forehead. That’s a reality of many outdoor portraits. If only we could put that sun in a soft box! Well, cloudy day portraits allow us to do just that.
An overcast day puts a cloud of diffusion between the light source, the sun, and our subject. The direction of the light has not changed, but it has been softened, diffused. The effect is similar to studio lighting with umbrellas, diffusion screens, or a soft box.
Shadow Control for Cloudy Day Portraits
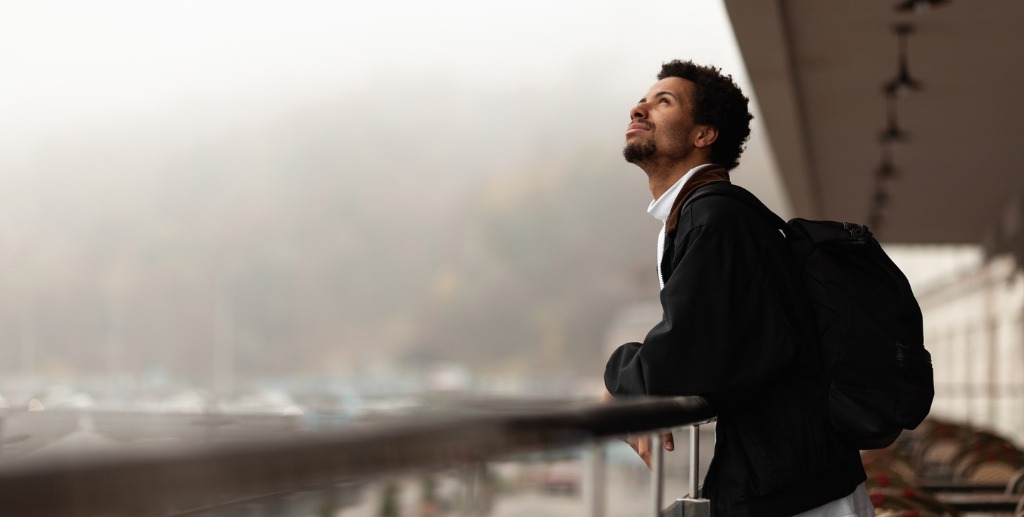
photo by Andrii Zastrozhnov via iStock
As you’ve seen in many portrait lighting tips, softening the light quality does not eliminate shadows, but it will tend to lessen the contrast between highlight and shadow.
Shadow control is important for outdoor portraits in any quality of light. One method that works very well is to add another light source. Reflectors are one way to go, a light is another.
By adding a light to the already diffused sunlight, you can make use of the portrait lighting tips you have already learned. With an extra light, you can try out broad lighting, short lighting, rim lighting, and even perhaps Rembrandt lighting.
Recommended Portrait Lighting Reading:
Three Options of Adding Extra Light
photo by AZImages via iStock
We have three options for adding an extra light to our cloudy day portraits. An external flash, a battery powered continuous light, or a reflector.
External flash, used off camera, will require some method of triggering the flash. Various wireless transmitters exist that can be used for this and some cameras have an optical control compatible with certain flash units for triggering from the camera.
Many of these flash units can be controlled by the camera for automatic exposure control, too, but you may want to experiment with fractional manual settings in order to get the lighting configurations you need for certain portrait lighting methods.
Get a quick tutorial on using an off-camera flash in the video above by Ed Verosky.
Photo by Talen de St. Croix on Unsplash
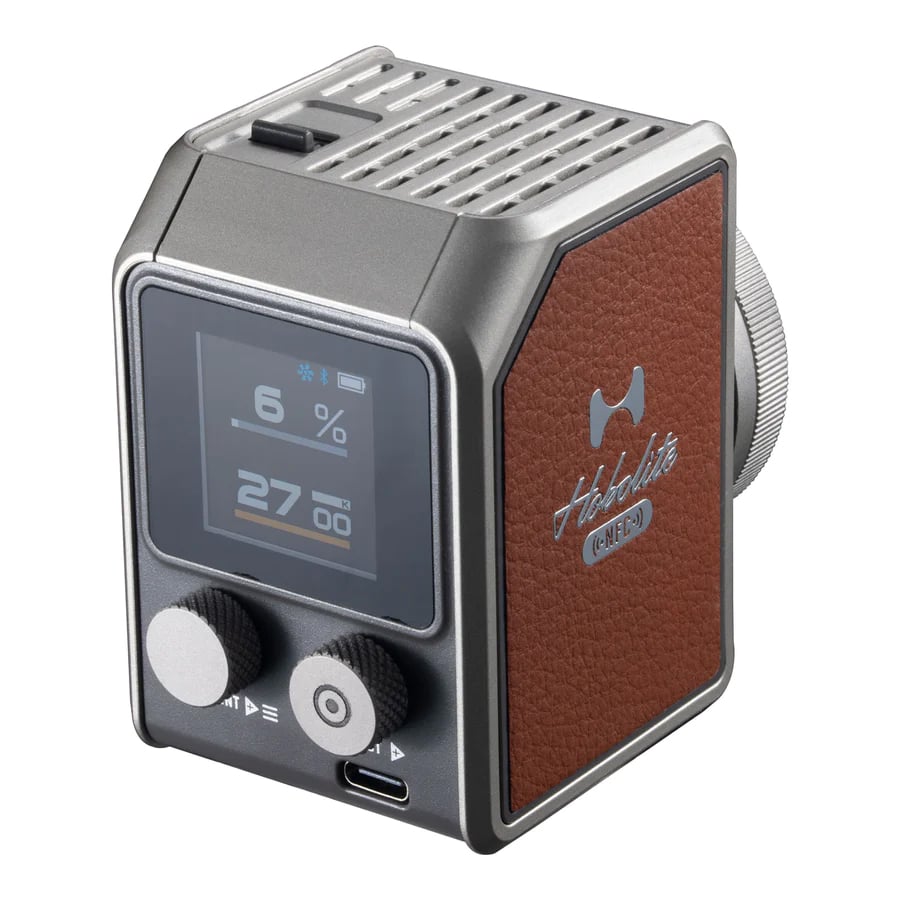
A battery-powered continuous light is another good option.
Being continuous light, you could use it in any camera mode, even the automatic modes, for adjusting exposure and contrast levels. A light like the Hakutatz Pocket Size RGB+AW LED Light I’ve reviewed before is an excellent choice.

The Hakutatz light is very compact, has LED bulbs for color correct cool operation, and is battery powered for true portability. A feature I really like is being able to control it from my smartphone with its app.
Speaking of control, you can adjust the brightness from 10-100 percent, the saturation from 1-100 percent, and select from dozens of RGB colors and lighting effects to get the precise look you need for your creative vision.
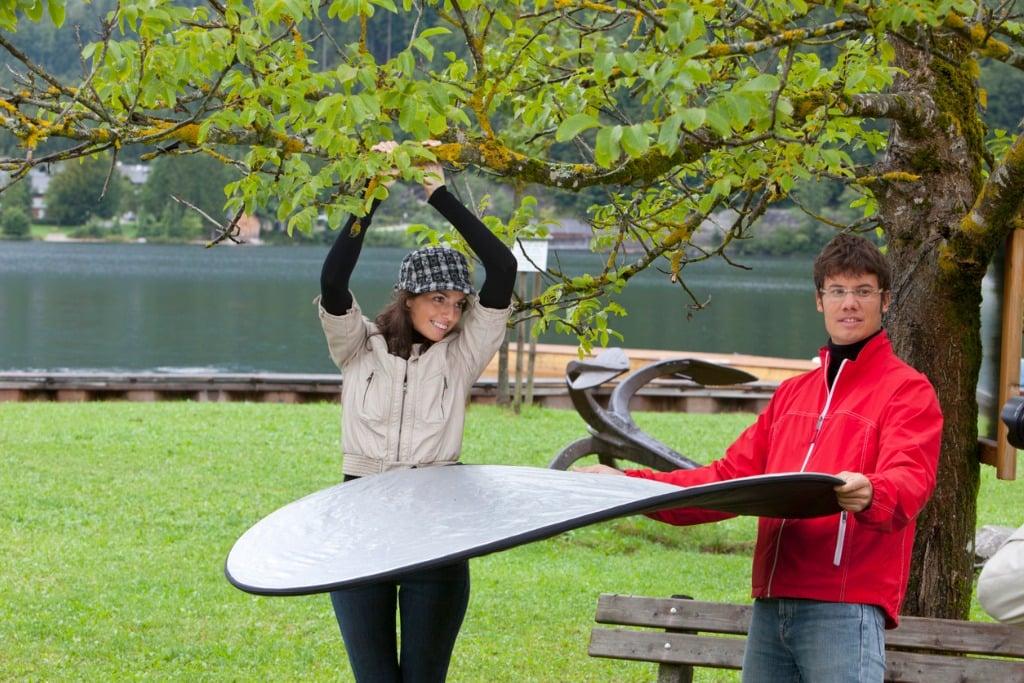
photo by brittak via iStock
The third method requires no batteries or plugs, but it can be a little bit difficult to get exactly what you want out of it. Because the reflector’s light direction, intensity, and color depends on the primary light source. Since the clouds are diffusing the sunlight, using a reflector may not add the necessary amount of extra light.
Of the three options, I like the small continuous LED light best. It gives the most control over intensity, color, and direction. When considering how to take outdoor portraits, control and portability take center stage in importance.
Learn More:
Shoot in RAW, not JPEG
Photo by Pedram Normohamadian on Unsplash
I keep saying this, don’t I?
JPEGs are fine for many photographic situations, but a RAW file has so much more exposure information embedded in it. Working with a RAW file, we can adjust or tweak exposure levels and color profile to accomplish the final image we desire.
With a RAW file, we can assign a color balance as we see fit after the exposure. We can also pull out a whole lot of shadow detail in the image, adjusting for contrast and tweaking the exposure value.
RAW is where digital photography really comes into its own. The image manipulation possible with a simple post processing program allows for creating superb final images when used for cloudy day portraits. A full program such as Photoshop, Photoshop Lightroom, or ACDSee lets us do almost anything with the image.
Bokeh is Boss
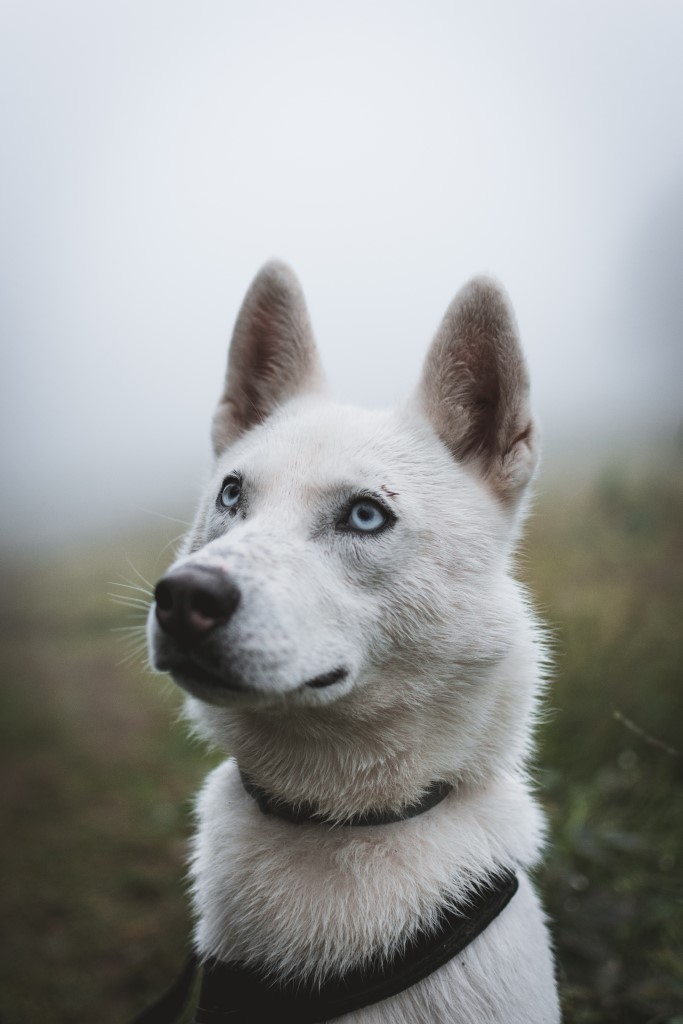
Photo by Tadeusz Lakota on Unsplash
The exposure values involved in cloudy day portraits allows for control over another aspect of outdoor portraits: bokeh. Bokeh is the aesthetic quality of out of focus parts of our images.
Since the light intensity is generally lower on an overcast day, this lets us employ wider or faster lens apertures or f-stops. A faster f-stop gives less depth of field and the possibility for creating amazing bokeh. It also lets us take advantage of selective focusing, which can be helpful when taking portraits.
Try Out Monochrome
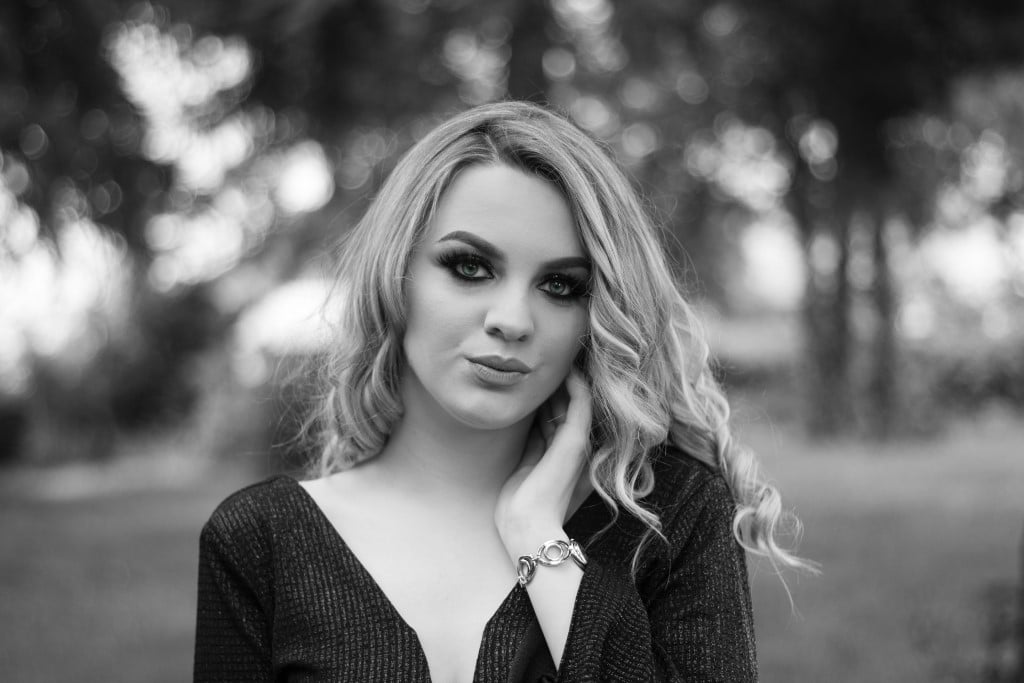
Photo by Anita Jankovic on Unsplash
The light quality of cloudy days gives us an opportunity to make images with a limited color palette. Monochrome images are often black and white, but they don’t have to be.
Some cameras have the ability to take monochrome images in camera, with others you will have to use a post-processing program to get the images turned into black and white. A black and white cloudy day portrait, when done well, can be a very pleasing image.
Other colors can be used for monochrome, too. Certain times of day, Golden Hour for instance, add a color tone to the image. Lens filters are another way to add a single color to the image. I like to use a good post-processing program to enhance one or two complementary colors in the final image.
Take Advantage of Cloudy Days
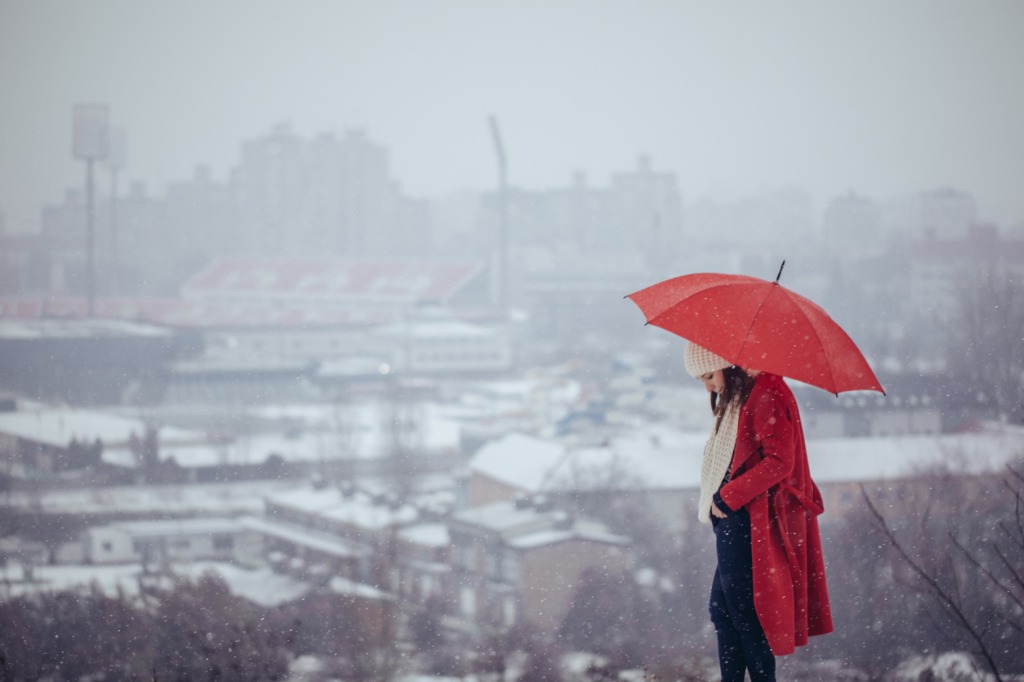
photo by South_agency via iStock
Instead of putting up our camera when it clouds up on our outdoor portrait session, learn to use the overcast sky to your advantage. The clouds can be heavy or very light or anywhere in between.
Cloudy day portraits let us make use of bokeh, selective focus, monochrome processing, and various portrait lighting methods. Soon, you’ll be looking for cloudy days to take pictures of your friends, family, or clients.
Learn More: