Real Estate Photography Camera Settings for Interior Photos
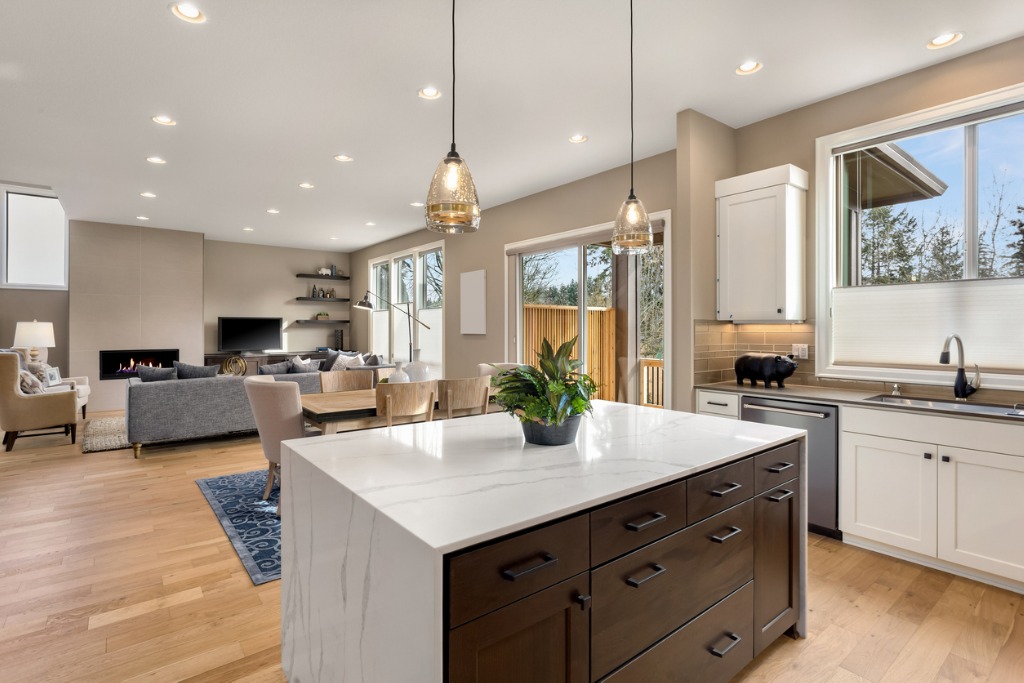
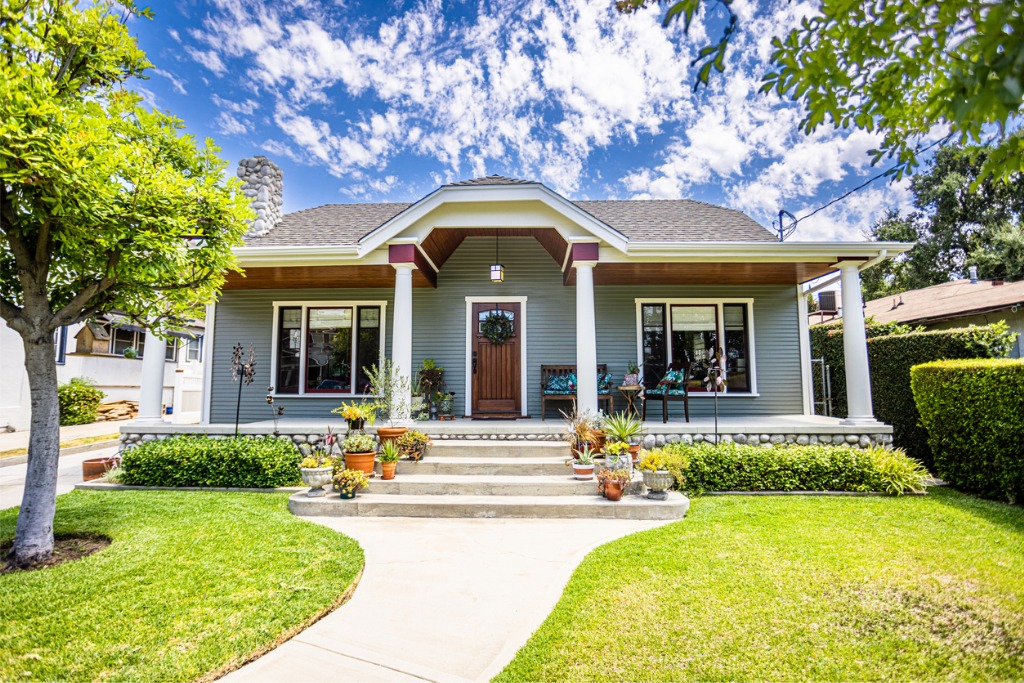
photo by hikesterson via iStock
Would you like to see some real estate photography camera settings and other helpful interior real estate photography tips? Read on!
Knowing how to take photos of real estate is a beneficial skill for photographers wishing to add a revenue stream or for real estate agents to be able to make appropriate images for their own listings.
For many serious photographers thinking of doing real estate photography, the camera settings for interior photos might cause some confusion.
Balanced Exposures - How?
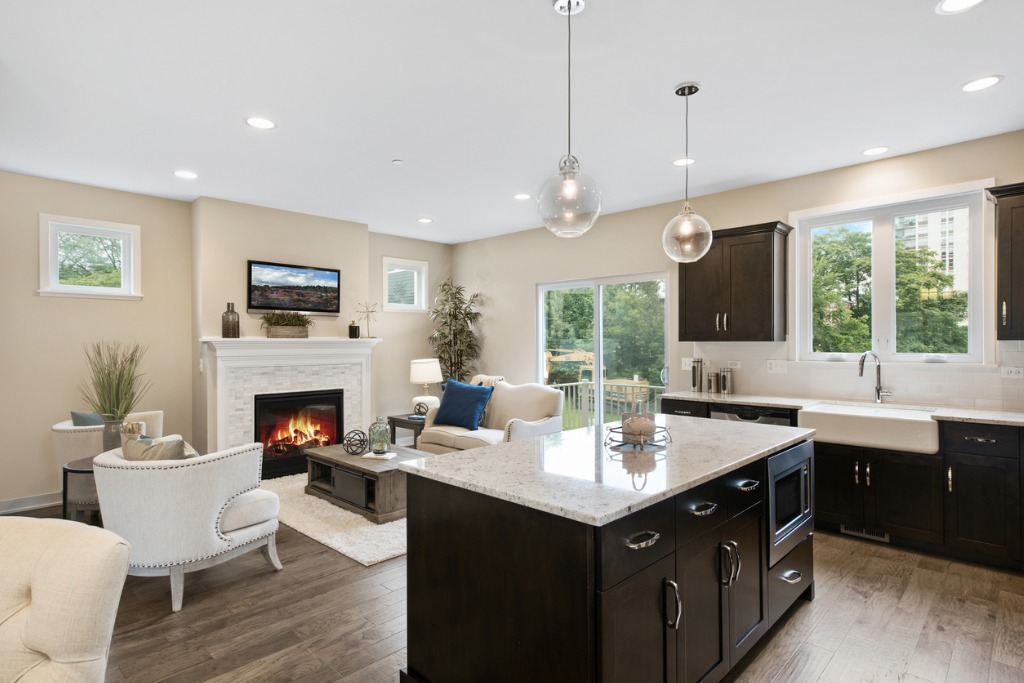
photo by PC Photography via iStock
A good photography already knows how to take pictures in low light conditions or under mixed lighting, but it’s the completely balanced exposure from extremely bright highlights like the view through a window to the darkest shadows of an unlit corner or under a cabinet that is seen in premium real estate listings that might make one wonder how it’s done.
Interior real estate photography is a special situation in that we’re generally not looking for an artistic image with interesting contrast. What the viewer expects to see in a listing is an accurate representation of the rooms.
However, since we often have such a mix of bright to dark in the scene that it exceeds the range of what the sensor can pick up, we have an issue to solve. Because if we expose accurately for the highlights in the scene, such as the window view, the shadowed areas of the room will obscure detail. Likewise if we expose for the shadow detail, then the highlights block up and have no detail.
So we try a middle of the road approach, exposing for the midtones, but then we usually end up losing some detail in both the highlights and shadows. This is called a dynamic range issue.
Fixing Dynamic Range Issues
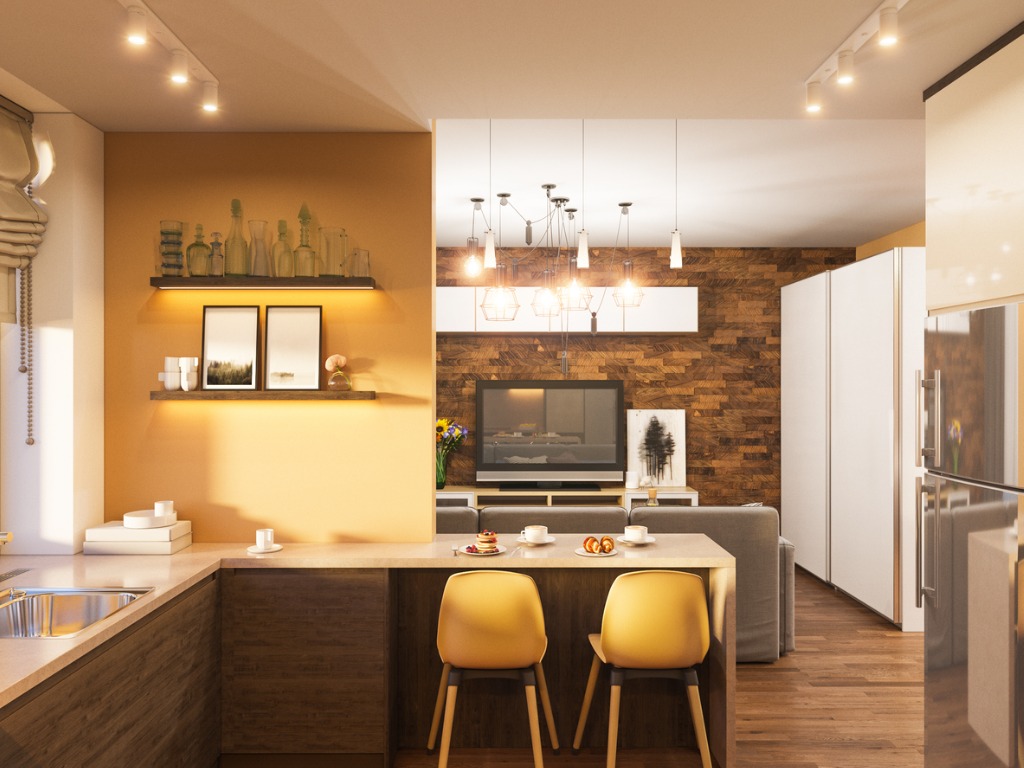
photo by Richman21 via iStock
The dynamic range of a camera sensor is the total spectrum from lightest bright to darkest shadow that can be recorded showing accurate detail. We measure the dynamic range in stops of exposure.
As an example of possible real estate photography camera settings we might run into, let’s meter that bright window and dark corner, see what the settings would be.
A bright window view in full daylight is going to be very close to an exterior exposure value. So, if our camera ISO is at 200, our shutter speed and lens aperture or f-stop could be around 1/250th and f/11 or so. These exposure values will accurately capture the exterior view through the window if we use that as our real estate photography camera settings.
The rest of the room will look very dark, though, except for any parts of it exposed by the sunlight streaming in through the window. Even when we turn on all the house lights, there will still be areas relatively unlit. Not too useful for real estate photos.
Now look over to the under cabinet area or an unlit corner and take a meter reading there. If we want to have an aperture that provides sufficient depth of field, it could very well be suggesting 2 full seconds at the same lens aperture.
That’s 9 stops difference from the previous exposure values. Exposing correctly to show adequate detail in those darker areas of the room will seriously overexpose anything lit by the window and whatever is viewed through the window. Also unacceptable for the real estate listing photos.
Learn More:
Bracket and Merge HDR Technique

photo by alvarez via iStock
There are two techniques or methods used to overcome this challenge. Add extra artificial lighting or use High Dynamic Range (HDR) photography. Both are good methods, both require more photographer input, and the real estate photography camera settings are substantially different between the two.
In order to balance out the lighting in a room with artificial photographic lights, we use flash units or continuous lights and position them and modify their power output to achieve a natural look. For best results, some sort of light modifier is used, such as softboxes or bouncing flash or LED lights off of the ceiling.
Using bracket and merge HDR photography, we take several exposures at camera settings for the lighting involved. An exposure optimized for the brightness, an exposure optimized for the deep shadows, and several more in between. Then the separate exposures are blended together into one final image using a program designed for that.
In addition to the fine tutorial linked above, here is a helpful YouTube video on how to use the bracket and merge technique and how to calculate the real estate photography camera settings involved.
Camera Settings for Interior Photos
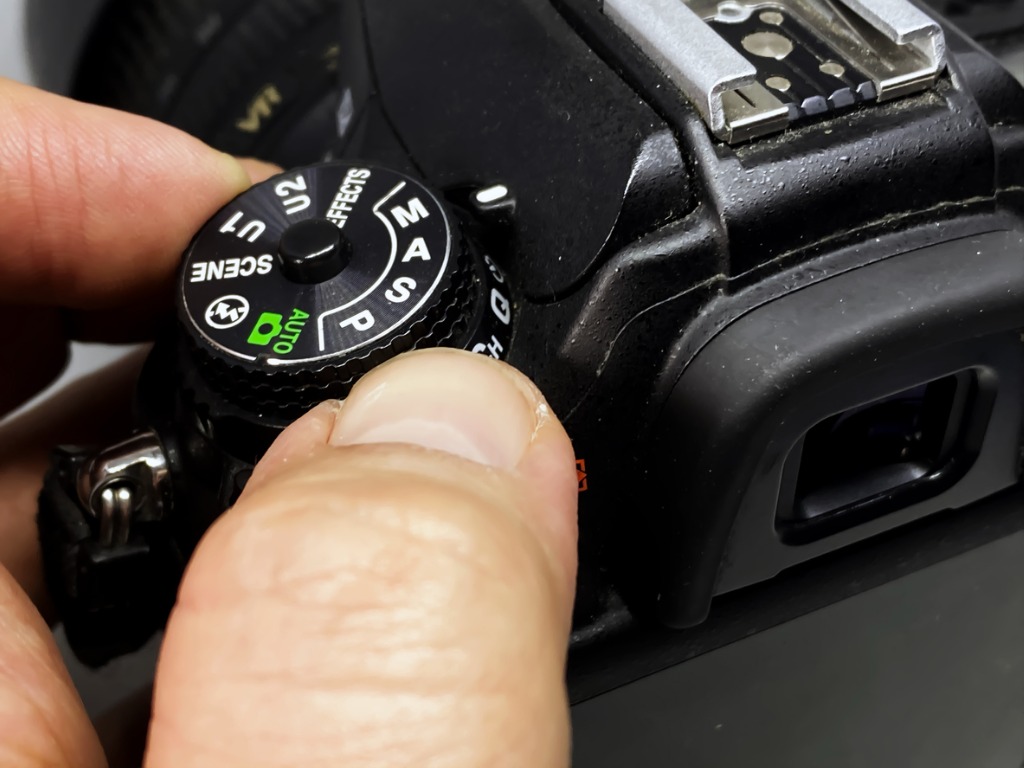
photo by rarrarorro via iStock
Depending on the circumstances, I will sometimes add extra light either with LED lights or a camera flash, but I really prefer the bracket and merge method for real estate photography. Besides balancing out the dynamic range exposure issues in a scene, HDR processing programs provide lots of options for fine tuning the final images.
So now we come to figuring out actual real estate photography camera settings using the bracket and merge technique of HDR photography. Let’s choose a representative camera and lens, a prosumer APS-C camera with a wide angle zoom lens.
Mount the camera and lens on a good tripod, level it out with a spirit level in the camera hot shoe or using the camera function if it has one. Zoom out to the wider end of the lens, for this lens, 10mm and compose with the three wall method discussed in some of our other articles.
Our prosumer camera (and several newer entry level models) has a control labeled AEB for auto exposure bracketing. Set the control for 5 bracketed exposures, 2 stops apart. Have the AEB change shutter speed, not lens aperture. This will provide us with an exposure value range of 7 stops. With that 9 stop scene we described earlier, this leaves only 2 stops of unaccounted exposure value.
Now let’s find a neutral color wall space in a mid tone value of the scene to get our base exposure setting. From experience in several hundred rooms in all sorts of buildings from small homes to large factories I am probably shooting at ISO 400, f/8.0, and 1/8th of a second and inputting these manually.
No A, S, or P on the control dial for these pics, use M for manual. Turn off autofocus as well and manually focus to 1 meter or 3 feet, since a 10mm lens at f/8.0 has a lot of depth of field.
With the AEB control changing shutter speeds to provide the bracketed exposures, the camera will expose at 1/125th, 1/30th, 1/8th, ½, and 2 full seconds, all at f/8.0 and ISO 400. Shooting on a tripod with a remote release, we can input these image files into our merging program without losing any detail in the brightest light part of the scene to the darkest shadow.
Use these real estate photography camera settings as a jumping off point for your own specific situations and fine tune as you go.
Learn More: