Simple Techniques to Improve Interior Photos
- What You Need To Do Before Taking a Single Real Estate Photo
- The Importance of Quality Real Estate Photos
- The Challenges of Real Estate Photography
- Real Estate Photography Tip: How To Photograph Living Spaces
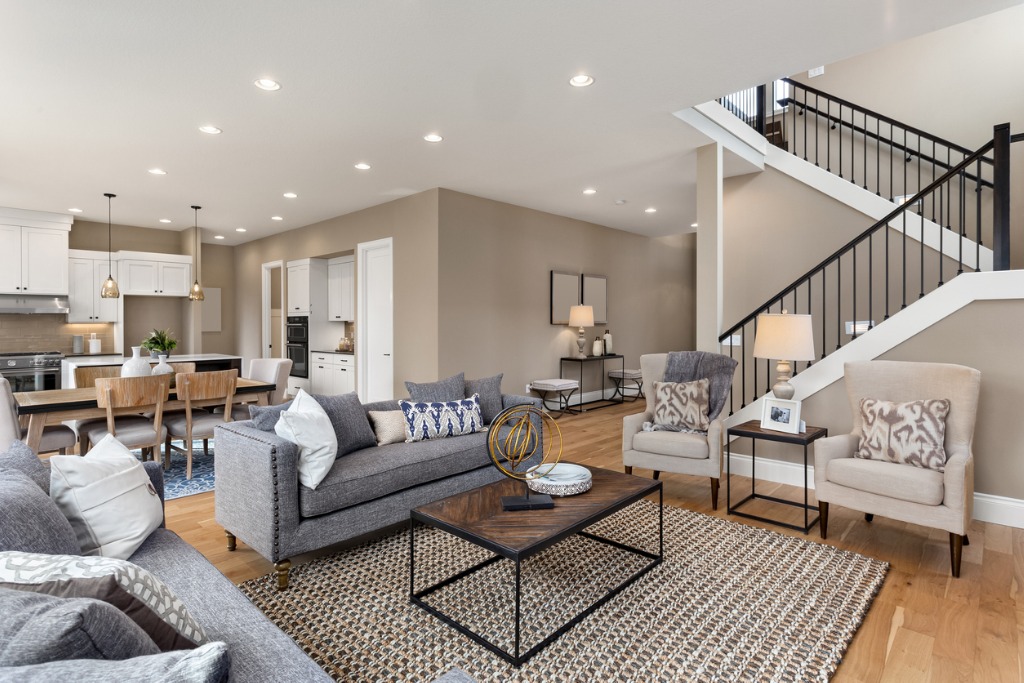
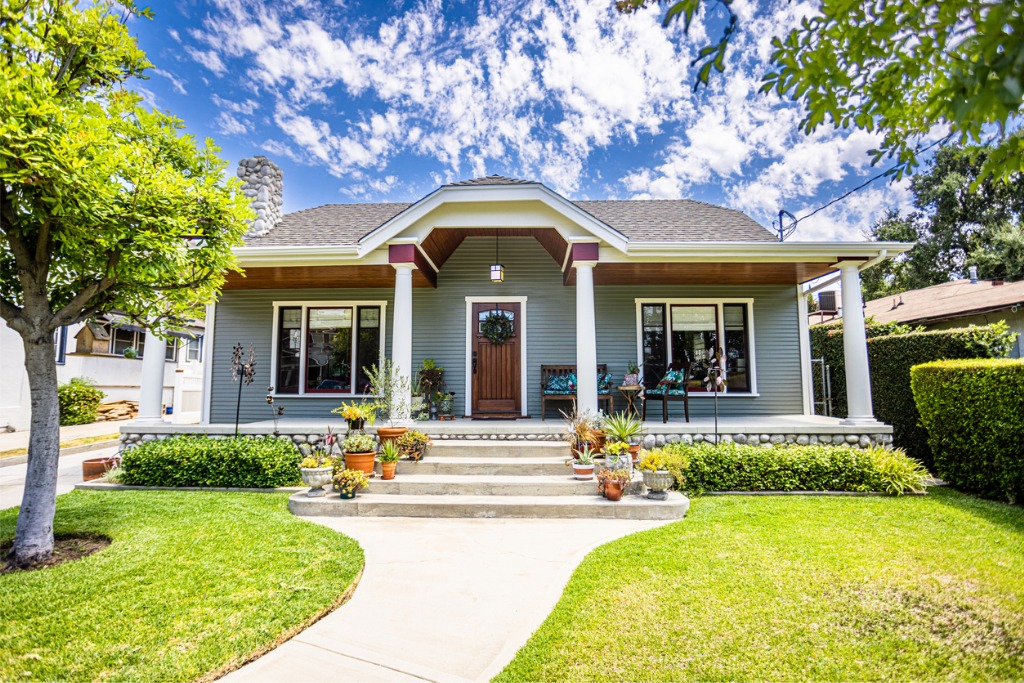
photo by hikesterson via iStock
Now that you’re making clients happy with your high-quality real estate photography, let’s look at some more real estate photography tips and a few simple techniques to improve interior photos of the properties you’re shooting.
Clean Up First
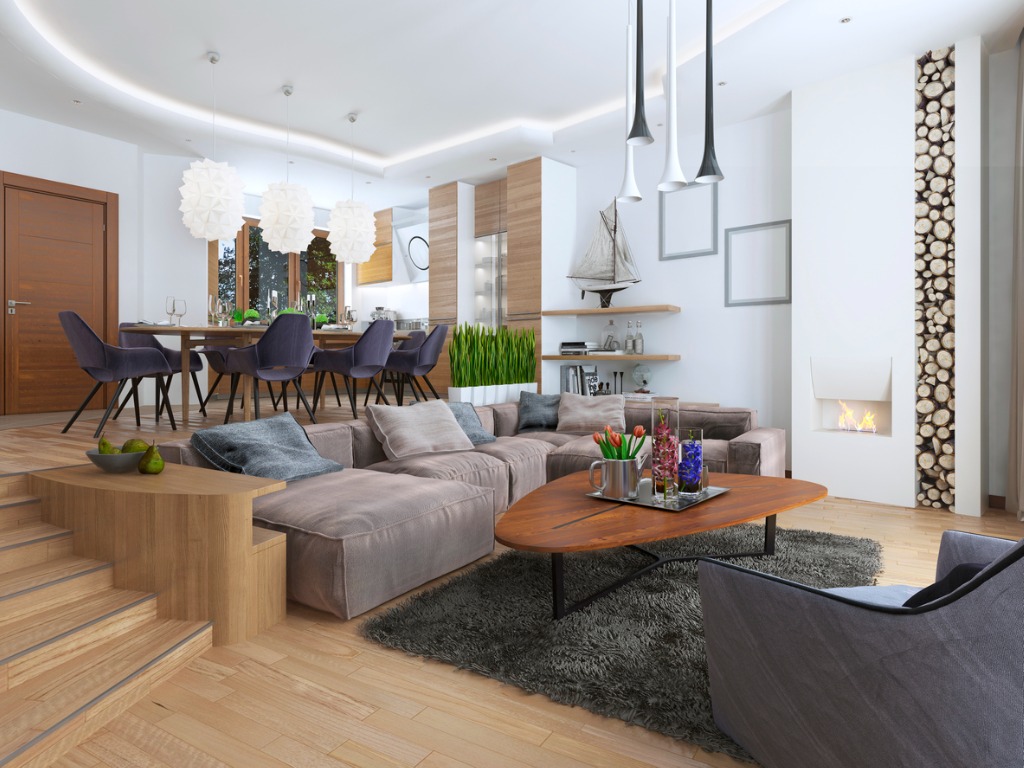
photo by Peter_visual via iStock
Real estate is one of the highest priced big ticket items anyone will sell or buy in their lives, but I am constantly amazed by how little effort some sellers put into preparing their property to look as good as it can.
A lot of effort is often put into home improvements such as painting, repairs, and home improvement. So it should be an easy idea to do some simple cleaning and prepping of the property before the photographer comes.
Sadly, many people seem to think that any imperfection can be “photoshopped” to look amazing. A lot of photographers sometimes also fall into this mindset. While some post processing is a fact of life for digital photographers, getting the initial capture as correct as possible and then enhancing it will generally result in better images than trying to “Fix it in post” for a suboptimal image.
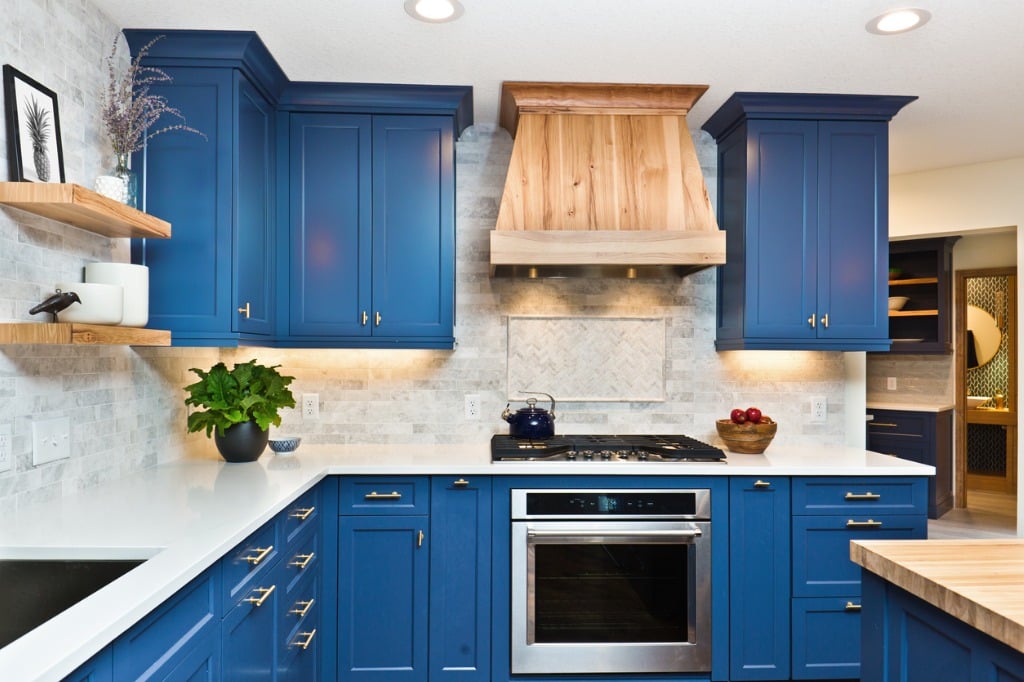
photo by YinYang via iStock
Part of my learning curve for how to photograph interiors for real estate was in speaking up well ahead of time to the realtors or the homeowners about the importance of cleaning up the house and yard. Dusting ceiling fans, vacuuming carpets, cleaning windows and mirrors, and putting away clutter for the inside. Mowing and edging the lawn, weeding the flower bed, sweeping up debris, and stowing the garbage cans out of sight for the outside.
Primarily, this responsibility lies with the homeowners and real estate professionals, but as photographers, we should schedule enough time to walk the property ahead of the shoot and pitch in to help in a minor way to make sure the photos have the right impact.
I’m not going to clean the kitchen from the breakfast mess or use a grass blower on the driveway, but I can straighten up misaligned throw pillows on a couch and put the toilet seat lid down.
Clean the Sensor
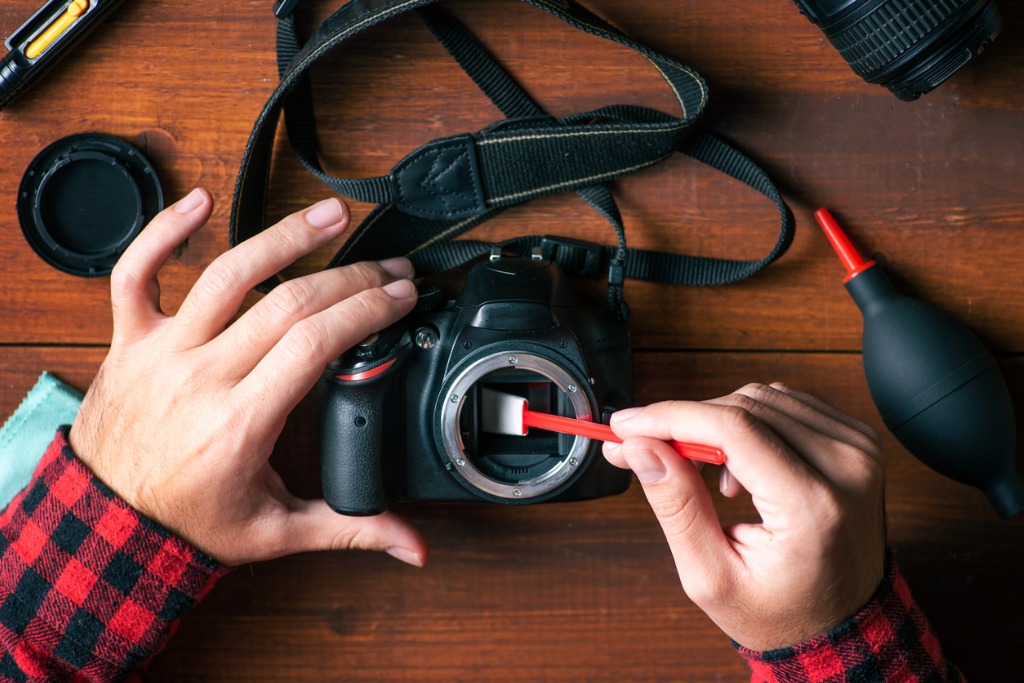
photo by Stefan Tomic via iStock
Since we’re going to be stressing to clients the importance of cleaning up before the shoot, one of the most important of the simple techniques to improve interior photos as a photographer is to ensure the cleanliness of our camera sensor and our lenses and filters.
Dirty lenses or filters can lower the contrast level of an image and also cause optical problems such as lens flare and a decrease in sharpness. A dirty camera sensor can render all the images from a session completely unusable.
This is a step we should take care of well before arriving on property. In fact, I always check my cameras and lenses when I get back from a job as well as all of the cleaning and prep work I do before leaving for the job.
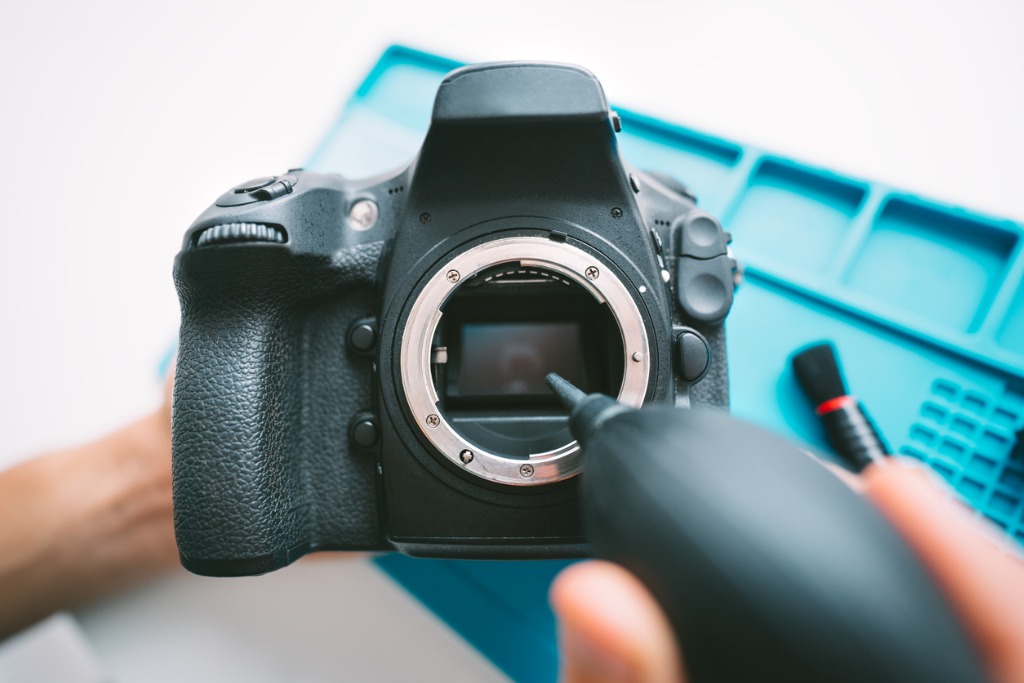
photo by Daria Kulkova via iStock
A microfiber cloth works well for cleaning lenses and filters as part of our prep work and after the shoot routine. We can also keep one on us as we’re in the field shooting in order to handle any unexpected dirt and smudging that might happen in the heat of the action.
I don’t recommend trying to clean a sensor in the field except in the most dire of emergencies. This is a job that either should be done by your trusted technicians at your favorite local camera store or by yourself in a very clean environment at home or at the studio/office.
It only needs to be done every now and then, but learning how to check for a dirty sensor by shooting a white poster board is good to do periodically. As a rule of thumb, if you can’t remember the last time you checked, take a moment to do it right away.
Learn More:
Bracket and Merge Exposure Technique
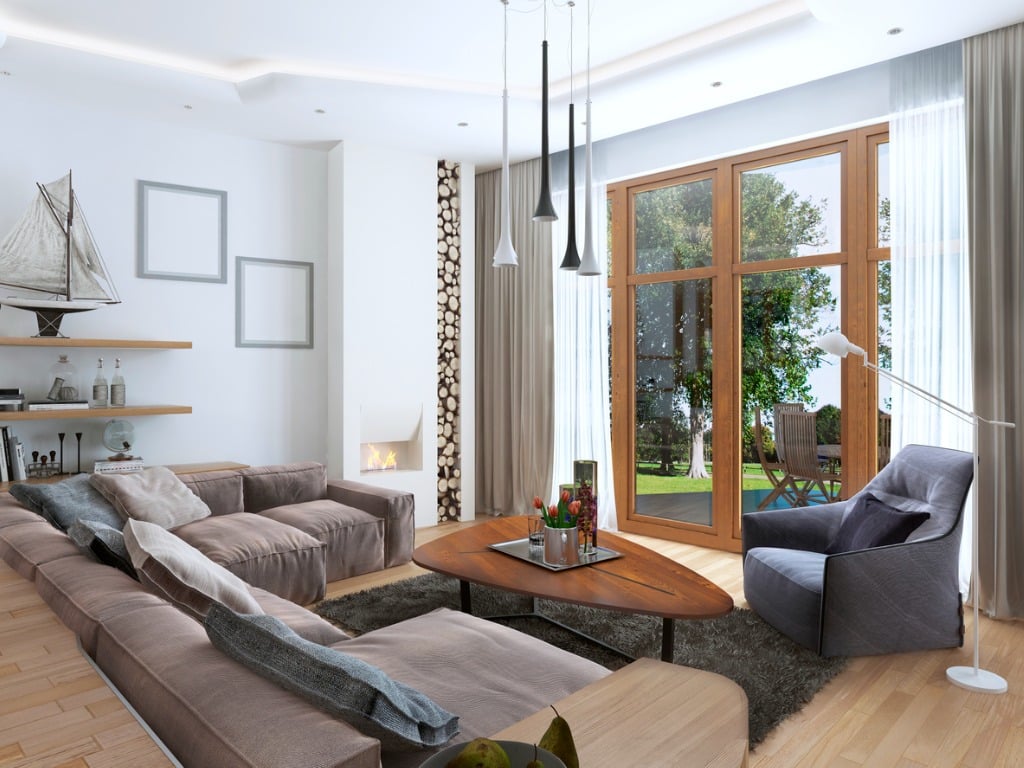
photo by Peter_visual via iStock
Among the most useful of the interior real estate photography techniques I’ve learned and am constantly showing to other real estate photographers is the bracket and merge technique of HDR or high dynamic range photography.
I know some may chuckle a little since I tend to preach a lot about not relying on post processing for saving substandard image files. This technique is different in that it’s not fixing a poorly crafted image file but rather enhancing several files by blending them together in order to handle the problems of how to shoot a house with bright windows and dark corners or how to get an exterior in bright sunlight to show detail in the shadows of the front porch.
As far as knowing simple techniques to improve interior photos, capture good detail in the exterior views, and craft a beauty shot from a twilight image, this post processing technique is one of the most fantastic capabilities of shooting these real estate images with digital cameras. Here is a helpful YouTube video about the process.
In this case, we’re not using post processing as a crutch for trying to save images we should have done a better job with, but rather using to full the outstanding capabilities of modern digital photography technology.
Be “Level” Headed
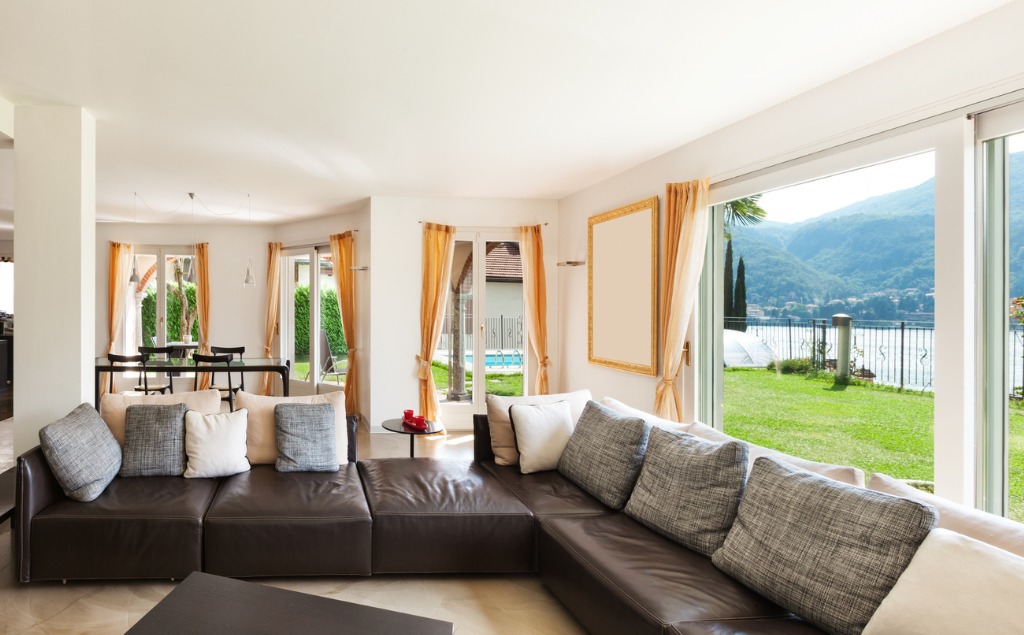
photo by piovesempre via iStock
The ultra wide angle lenses we use for a large part of our real estate photography can show a distorted view of the scene, especially within straight lines, if they are not used properly. Real estate photography has a lot of straight lines, but we also really need these wide angles of view.
Among the least complicated of the simple techniques to improve interior photos is to use a tripod and a small spirit level to capture the least distorted view possible.
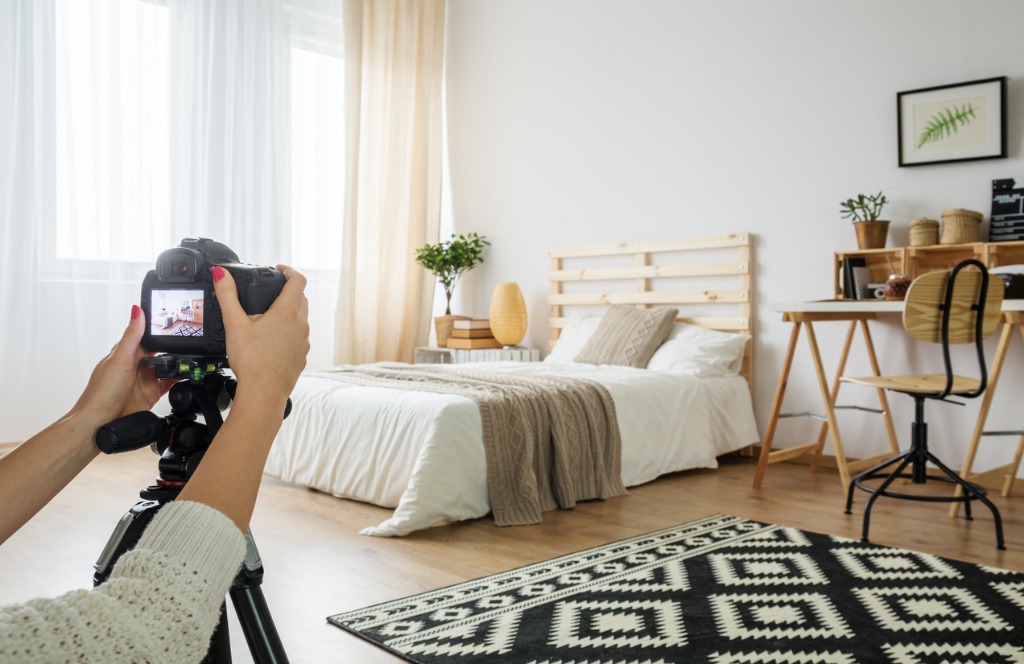
photo by KatarzynaBialasiewicz via iStock
We’re already on a tripod if we're using the bracket and merge technique for taming the dynamic range issues inside most homes, so adding this one small step into our shooting workflow will save time in our processing workflow.
And it results in a better image capture in the first place, so we can spend our time enhancing our great images into superior ones instead of fixing less than perfect shots. Using these real estate photography tips and simple techniques to improve interior photos will help us deliver the highest quality end results to our valued clients.
Learn More: