Tips for Getting Panoramic Photos Printed
- ND Filter Kit
- Peak Design Travel Tripod
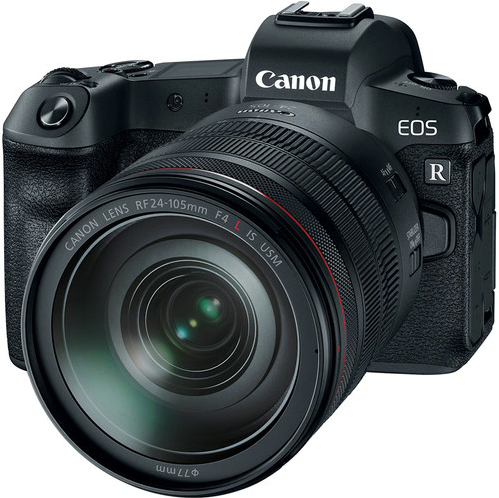
- Canon EOS R55
- Acratech GP-SS Ball Head
- Haida M10 Pro Filter Kit with Drop-In Circular Polarizer
- Haida M10 ND Filter Kit
- Peak Design Everyday Backpack V2
- Canon RF 15-35mm F2.8 L IS USM
- Peak Design Leash Camera Strap
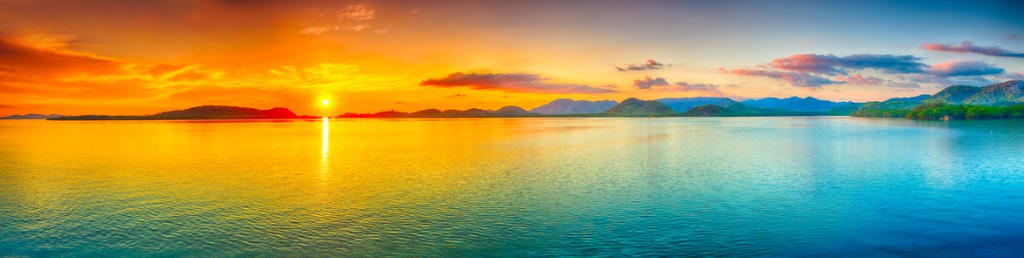
photo by GoodOlga via iStock
Panoramic photos are a wonderful way to show off the beautiful scenery you’ve found for landscape photography. Interactive spherical panoramas are fun to share online and are great for commercial realty clients, so you’ve probably already started making panoramic photos.
Getting panoramic photos printed is another good way to show off these fascinating works of art. But when you look at the dimensions of panoramic photo prints, you see that getting panoramic photos printed isn’t as straightforward as printing other types of images.
Getting Panoramic Photos Printed - Where?

Panoramic images have been available for a long time. A careful film photographer could have lined up image captures with overlapping borders to later take in for panoramic photo printing, or a specialty camera with a motor turning the camera automatically could be used for creating a panoramic photo from one long negative.
The print sizes for panoramic were not the standard sizes like 8X10 or 16X24, instead being more along the lines of 8x30 or 16x80, so finding a printer able to print those negatives was often problematic.
The same holds true in the digital age. We can easily make the image files in camera digitally for awesome panoramic prints, but getting panoramic photos printed can still be a challenge. A high quality printing company catering to serious photographers and professionals is your best bet for finding someone to make your digital files into panoramic photo prints.
An alternative is doing the printing yourself if you have a photographic printer that uses rolls of paper instead of single sheets. For some images and print sizes, you’ll end up with quite a bit of waste to trim away.
Getting Panoramic Photos Printed - What Type of Print?
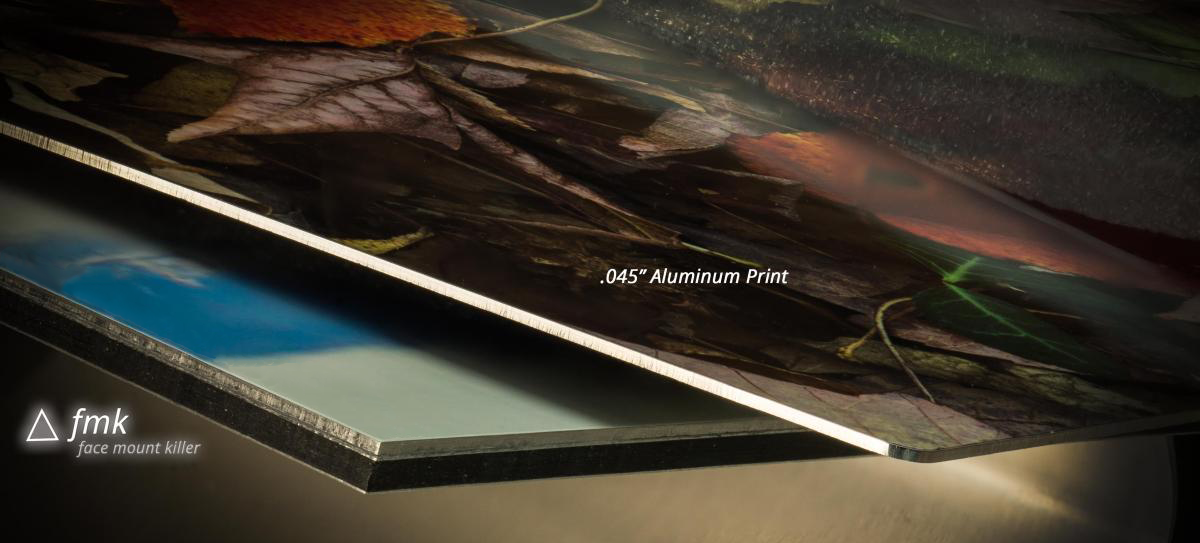
Choosing the right type of material for getting panoramic photos printed can add to the visual impact of your images, more options are available besides paper. Since a large part of the appeal is the oddball sizing of panoramic photo prints, choosing a printing option that allows you to highlight the picture itself, such as flat metal prints, is desirable,
While it may be a little difficult to find the exact size options on a printer’s website, most specialty printers can handle many out of the ordinary sizes. Metal Mouth Prints is a printer specializing in metal prints with Chromaluxe aluminum panels and also FMK (Face Mount Killer) options for some sizes with an added layer of acrylic.
Metal prints will really show your panoramic images in the best way possible, since you don’t actually need any frame or other mounting since the metal print can stand on its own. You’ll have to submit the image to them in order to know what sizes are available and what prices they are before they actually print. Getting panoramic photos printed is a custom printing job.
Learn More:
Use a Panoramic Nodal Mount
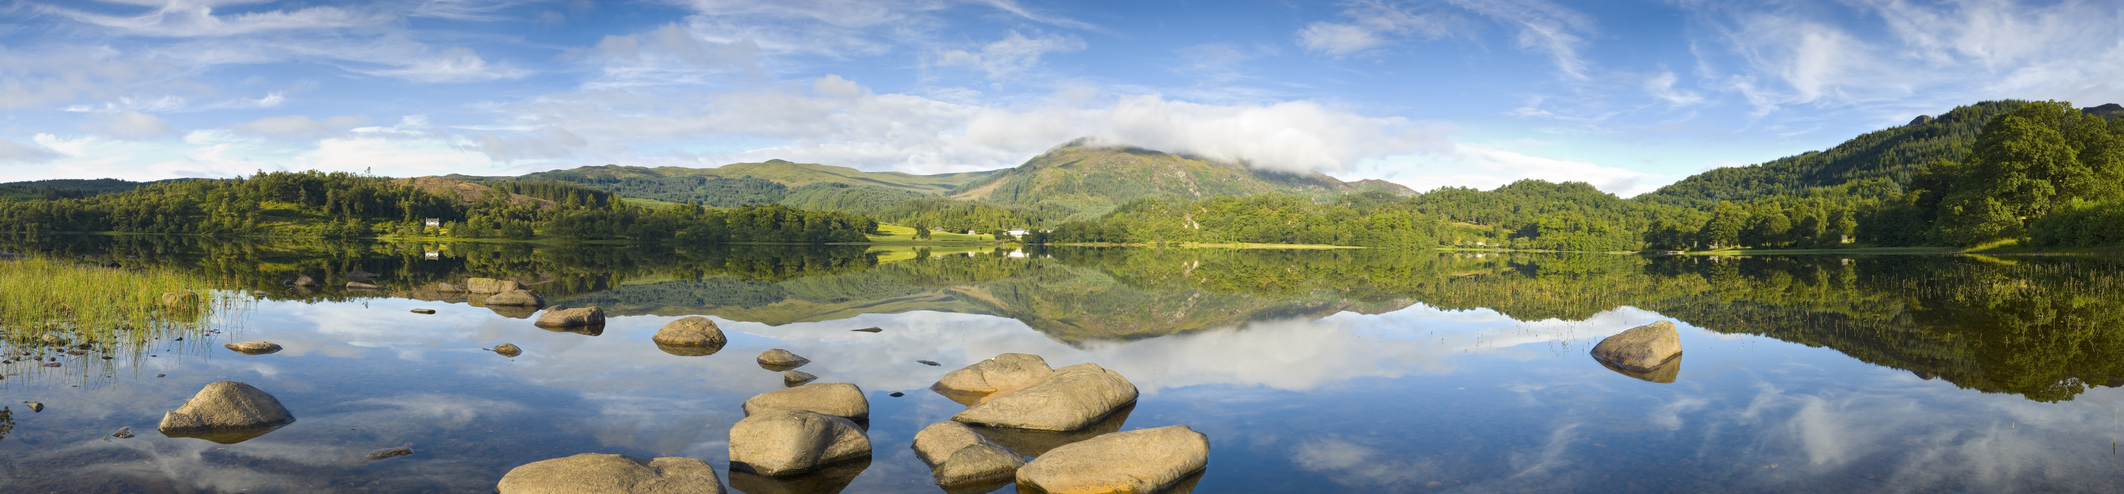
photo by fotoVoyager via iStock
A basic rule for creating great panoramic photos digitally is to have the separate images that you will blend together line up properly. The best method for this is to use a nodal panorama mount.
A nodal mount requires some setup in order to give us any real benefit, but it’s not too difficult to do that. The setup changes with different lens focal lengths and different physical sizes of the cameras and lenses used. It allows the camera to pivot along the actual nodal point of the lens so image files line up properly with minimal distortion.
Blend and Stitch
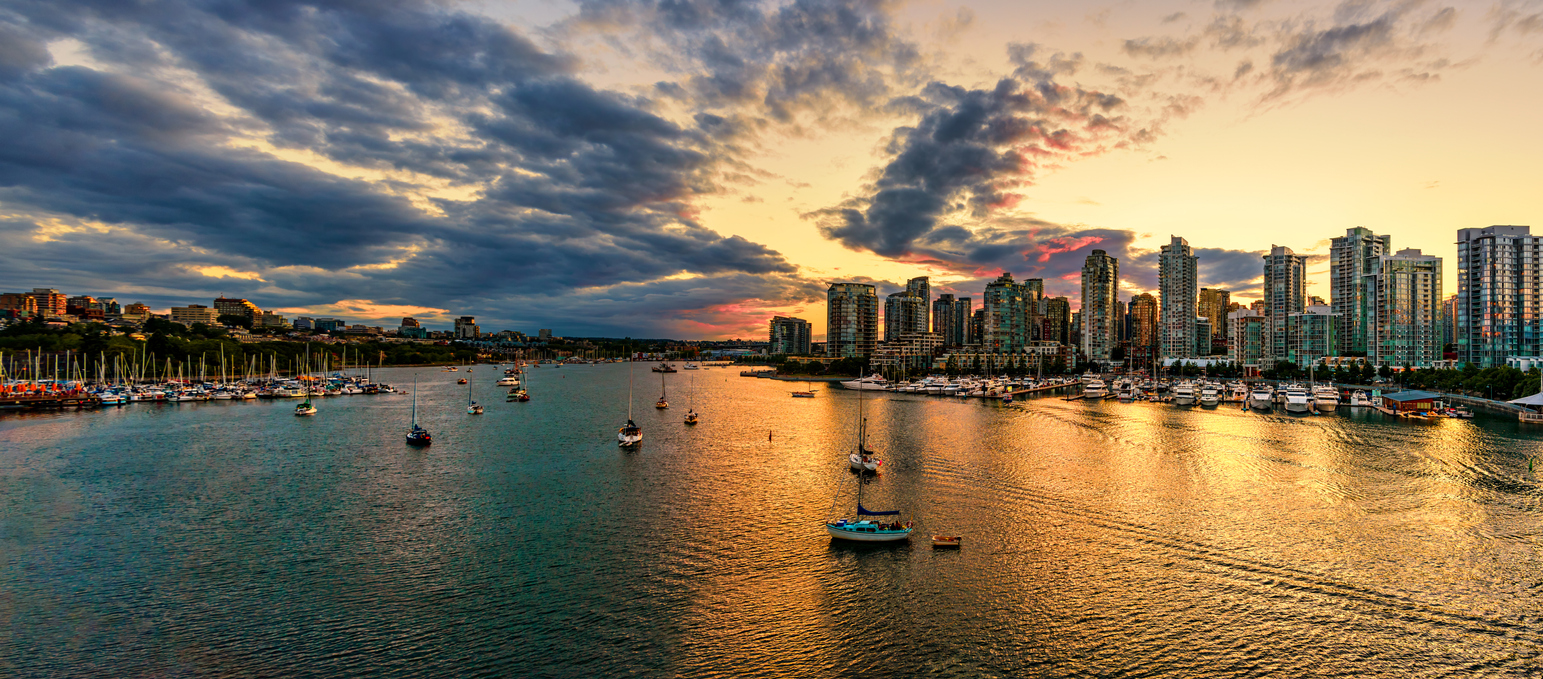
photo by Birkus-Viktor via iStock
While you could send a printer several different image files and hope they line up properly or trust that the printer will stitch them as you intended, it’s a better idea to do this part yourself. Many post processing programs have stitching and blending modes built in, or you could opt for a specialty stitching program.
Whichever method you choose to use, you’ll have a lot of control over the final image by blending and stitching yourself. An important tool is the cropping tool. Sometimes, despite our best efforts, the images aren’t lined up as perfectly as we intended.
The way to keep any white edges on our panoramic photos is to crop them out. The better job you do of adjusting your nodal mount and choosing enough image overlap to allow good blending, the less cropping you’ll be forced into.
Getting Panoramic Photos Printed: Display Them With Pride!
photo by borchee via iStock
The whole point of getting panoramic photos printed is to show them to others. A well designed image, printed by a high quality printer, on a superb surface such as metal printing will really grab the attention of viewers. Carefully craft your digital files and have them printed on metal for an attention grabbing impact.