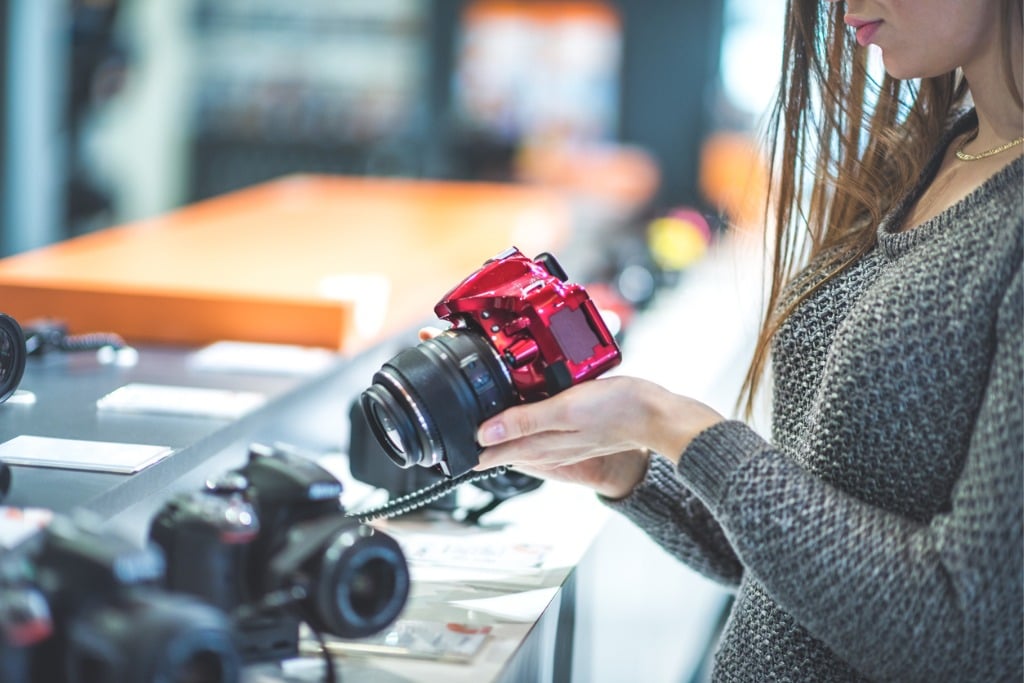
When Should You Use Manual Focus?
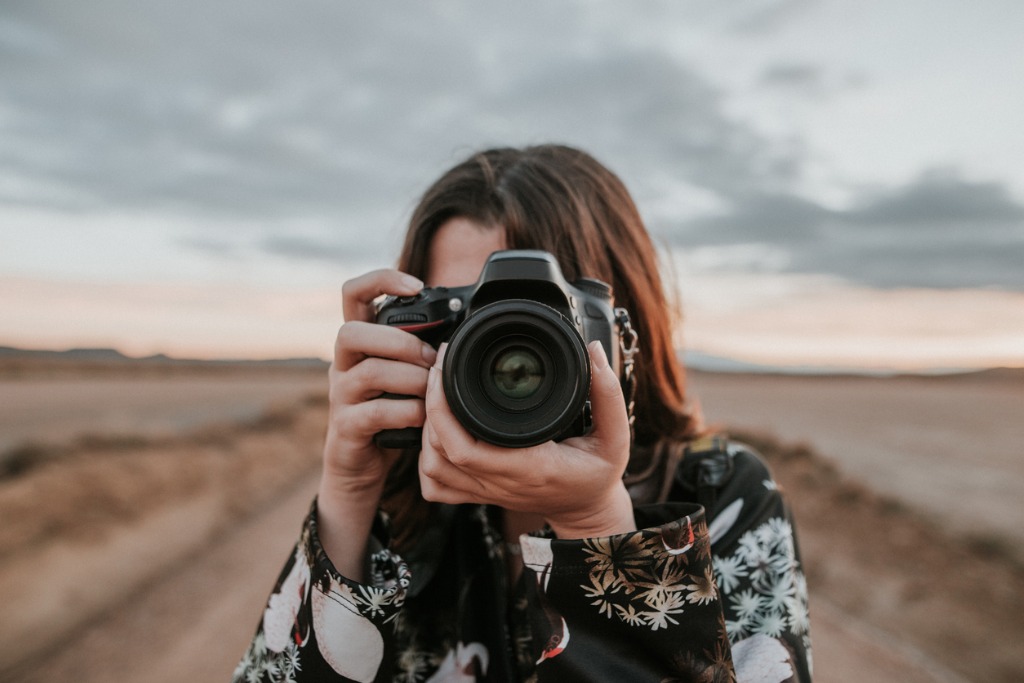
photo by MarioGuti via iStock
Autofocus is so good and so fast that many photographers have come to rely on this technology for a large percentage of their picture taking. In fact, there are 2 technologies of automation in photography that many advanced and professional photographers seem to prefer over “the old way,” TTL flash and autofocus.
Still, even with as advanced and accurate as these technologies are, there are still many times we could, perhaps should, choose manual focus and manual flash calculations over letting the camera automation take charge.
Controlling Autofocus vs Manual Focus
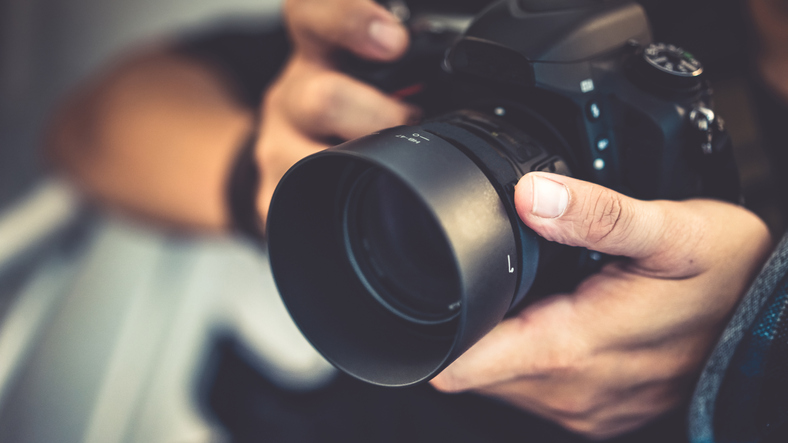
photo by ArisSu via iStock
Out of all of the camera automations, autofocus is probably the most consistently accurate and definitely one of the most widely accepted auto modes. Autofocus is amazingly accurate in many situations, and for other situations, there are ways to control the focusing automation which add a touch of manual focus control to our AF use.
Many modern cameras have numerous focus sensor points covering most of the viewing area of a scene. We can allow our camera to choose what focus point to use in conjunction with a dynamic focus area program, or we can decide which sensors to use. On some cameras, it’s as simple as using a wheel, button, or joystick to key in on one or a small group of several focusing points.
We also have control over how the focus interacts with other camera controls. The single-shot (AF-S) vs continuous or servo (AF-C or AF-Servo) modes control when and how we can trigger the shutter in relation to focus confirmation. There are also back button focus or focus lock controls that also give us more input into the focusing decisions of our camera’s automation.
Still there are simply some situations where we must know how to use manual focus. How and when to use manual focus is what we’ll examine today.
Macro Manual Focus

photo by Valengilda via iStock
Macro or extreme close-up photography is a fascinating field. Exposure, lighting, flash, camera shake, image magnification, and razor-thin depth of field are some of the challenges to capturing good images in macro photography.
Primarily it’s that razor-thin depth of field that will end up with us using manual focus for our macro photography. The camera can’t know what is the most important part of the subject to focus on, that’s an artistic direction.
In the super close-up views of macro photography, a camera is often forced to hunt between foreground, background, or middle areas with its autofocus. Using manual focus for macro generally results in more usable, accurately focused images.
Learn More:
Off-Center Subjects

photo by Aleh Varanishcha via iStock
Changing focus points or using some form of focus lock control helps out a lot with off-centered subjects, but manual focus often produces more consistency for our final images.
Environmental or group portraits are prime examples of situations where it may be quicker and more accurate to use manual focus as opposed to any AF mode.
Eye-Focused Portraits

photo by chubbs1 via iStock
Some newer cameras have eye focus modes for portrait photography, but not all cameras have it. Even for those cameras that do have this automation, it won’t always choose the correct eye for your image.
For this technique of selective focusing, the eye closest to the viewer is usually the preferred eye to be in focus, but not always. Again, that’s an artistic choice you as the photographer should be making.
So manual focus is an excellent option for this technique. Besides, not all digital cameras have an eye focusing AF mode, or if they do, it isn’t always in line with what we desire in the final image.
Selective Focus
photo by werayuth via iStock
The eye focusing portrait technique is one of many situations in which we can make great use of manual focus for selective focusing techniques.
Sports, action, and wildlife photography are times when selective focus is a preferred method. Certain types of architectural and nature photography also benefit from this technique, and it’s a regular choice for many types of portrait photography.
Hyperfocal Distance Manual Focusing
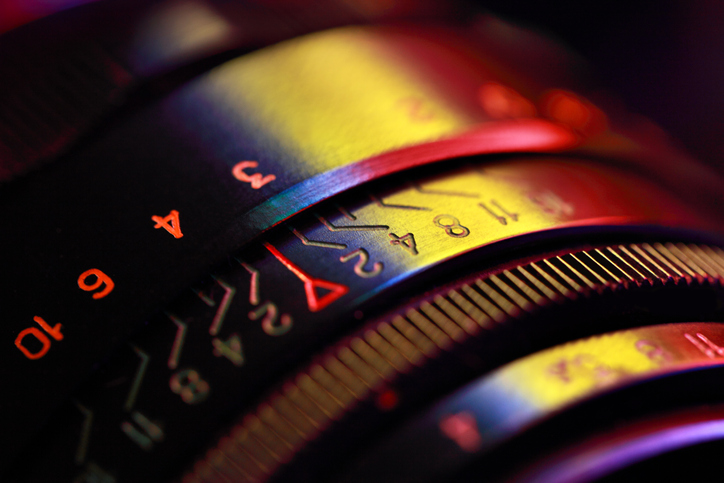
photo by Savushkin via iStock
Going towards the other end of the depth of field spectrum, making use of the hyperfocal distance for a lens at any given aperture allows for extremely deep depth of field, or just the right depth of field for grabbling shots such as in street photography.
Here’s an example of the extreme depth of field you could achieve with manual focus of the hyperfocal distance: On an APS-C format DSLR or mirrorless camera and a lens of 12mm focal length, setting the lens aperture or f-stop to a middle aperture such as f/11 and a manual focus distance of 2.13 feet will produce a depth of field from 1.06 feet to infinity.
For hyperfocal distance, we could go smaller aperture for eleven more depth of field or we could use our diffraction-limited sweet spot f-stop for maximum image sharpness and still have extreme depth of focus.
With a Full Frame format camera and a fast 35mm lens, we could set exposure to give us a sweet spot aperture of f/5.6 and set manual focus for about 24 feet or so. This will give us a range of around 10 or 12 feet to infinity being in focus. So you can see why manual focus and the hyperfocal distance are preferred for candid street photography.
HDR and Panoramas Require Manual Focus

photo by Bike_Maverick via iStock
HDR photography and panorama photography are best done with manual focus as the default mode. Both of these specialty genres of photography are accomplished by taking and blending multiple exposures. Changes of focus distance can pretty much ruin the image.
In HDR photography, a change of the exposure value can affect exposure calculations, but that can cause AF to hunt back and forth. The method relies on exact registration of each exposure in order to blend together as the final output image.
Changes of focus distance will cause a registration mismatch which negatively affect final image quality. So, manual focus is the preferred method for HDR photography.
Panorama photography is even more sensitive to AF negatively impacting the final production, whether a simple 3shot wide view still image or the extremely involved interactive spherical panoramas which may involve 100s of separate images.
Small and large changes of focus distance can occur as swing the camera around on its nodal mount, any of which will change how accurately we can blend together the separate exposures for a final product. So again, manual focus is the default mode for panoramas of all types for best results.
How to Manual Focus
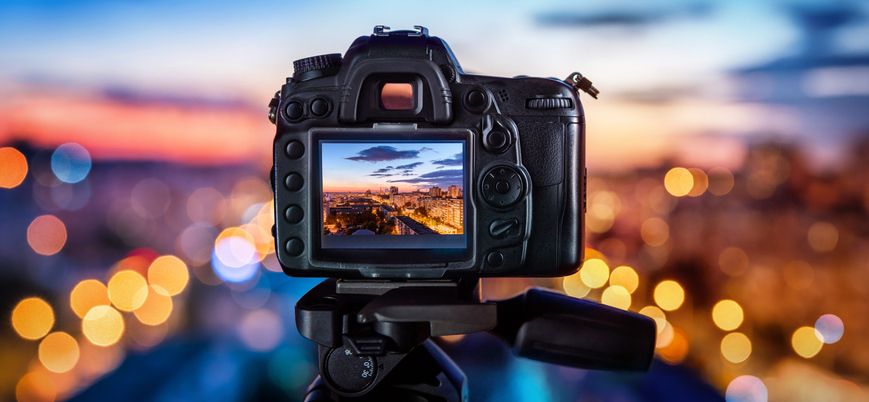
photo by Trifonov_Evgeniy via iStock
Now we come to the workshop part of all of this, how to find focus or how to manual focus our lens and camera.
Before autofocus was the default standard in our cameras, and for a long while after good AF was introduced (thanks Minolta!), camera makers included focus aids in the viewfinders of cameras.
The 3 most common were also the 3 easiest to use, ground glass, microprism, and split image. On a ground glass, the image either looks sharp or is in some percentage of unsharpness. Works great most of the time.
Microprisms were exactly what they sound like, a bunch of tiny prisms placed together that break up an out of focus quite noticeably and clear up when in correct focus. A split image mimics a classic rangefinder superimposition, when the 2 halves line up, you’re in focus.
Modern digital cameras usually won’t have a microprism or split image manual focus aid, just the ground glass. Some may have a type of rangefinder focusing aid or some modern electronics that mimic the classic optical superimposition.
To get into manual focus mode, you may need to check for switches or dials both on the camera body and on the lens. Set these to the M position.

photo by empire331 via iStock
On the lens, there will be a ring around the lens barrel that lets you manual focus. It may be a very narrow ring near the front of the lens or a wider one closer to the center of the barrel. Twist the ring clockwise and anticlockwise until you see what you want in focus on the ground glass of the camera viewfinder.
You could also use the rear viewscreen to discern proper focus. In some situations, this may actually be preferable, since these view screens often let you enlarge a portion of the view, providing you with a higher magnification view for critical manual focus control.
That’s especially useful in low light or when doing macro photography. A tripod is an obvious and welcome accessory for this method of manual focusing.
A third way you could determine manual focus is to use the focus confirmation indicator of the AF system, but that’s pretty much just you doing the work for the camera. Unless you’re using an older manual focus-only lens, might as well just use AF with the appropriate control method such as changing focus points or back button focus.
You’re in Charge

photo by pixdeluxe via iStock
Autofocus, manual focus, or somewhere in between, the most important thing to know is that you’re in charge. Modern camera automation is outstanding, but sometimes you just need to do it yourself. Besides, it’s also fun!