8 Practical Black and White Photography Tips
- Shoot RAW
- Adjust Contrast Levels
- Use a Polarizer (and Other Filters)
- Look for Patterns
- Play With Light
- Study Old Film Images
- Use the Zone System
- Expose for Colors
- Bonus Tip (Infrared)
Photo by RobChristiaans via iStock
Beautiful black and white images are a timeless art form and are still relevant in the digital age. In these black and white photography tips, we’ll show you how to get started in this art form and share some valuable techniques of black and white photography that will make your images timeless, too.
The question that is bound to come up in most photographer’s minds is how do you make a black and white image from a digital file that is either JPEG or RAW?
Well, there are some really simple ways to accomplish this with any digital camera. We will show you some of those ways and will give you a basic black and white photography tutorial as we discuss digital black and white photography.
Photo by Oliver Kufner via iStock
Along with the technical discussion, we will also include some fun black and white photography tips for beginners. By the way, if any of the photography tips we present on this website ever seem a little difficult to grasp, just check the Learn More links for additional information or join in on our forum discussions and ask us. We’re here to help!
Here are our black and white photography ideas and tips for digital photographers.
Shoot RAW
Photo by IanChrisGraham via iStock
Camera RAW is the preferred format for my personal black and white photography. The reason is because RAW format is the closest in response and feel to film than the other digital file formats.
With B&W film, you had to consider how the film was processed and how the resulting negative was printed in addition to your own exposure in order to have complete control over your final image. Shooting in your camera’s RAW file format requires that you use some sort of post-processing program to finalize the photograph. The post-processing program is what we will use to change the files to black and white from the original color. More on that in a little bit.
Photo by peeterv via iStock
JPEG files are a good format, but they are already processed and compressed by the camera. Sometimes, beginner photographers are confused by the emphasis put on shooting RAW since their JPEGs look so good and bright on their computer screen. They look great because the camera processing engine is programmed to deliver balanced images.
It’s the balance that makes the difference in why so many advanced photographers shoot RAW. Some images need a different balance that isn’t preprogrammed into the camera’s CPU. Plus, having an uncompressed file ensures you of the most resolution possible and a lot of extra exposure detail which will come in handy for other techniques of black and white photography.
Adjust Contrast Levels
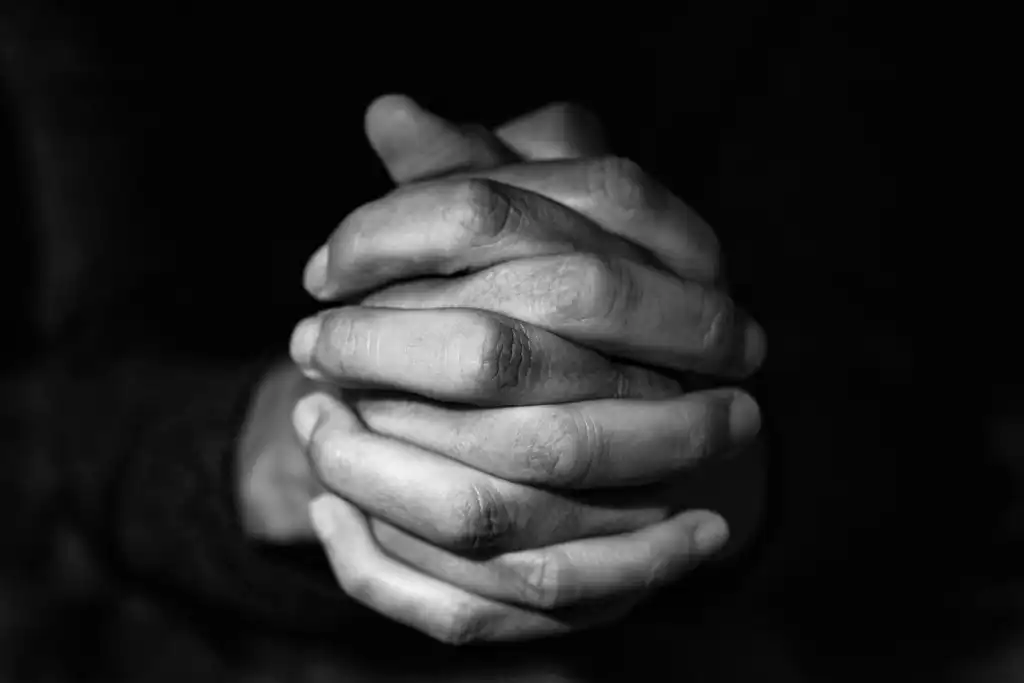
Photo by nito100 via iStock
Since you’re shooting in RAW, you have all the exposure information possible in your photo which can allow a little more control over contrast levels. There are multiple levels of contrast in any scene that can be manipulated or taken as is by a photographer.
The scene in front of our lens has more than merely black and white, there are levels of gray in between those extremes. Adjusting the contrast levels can emphasize any of those shades of gray to make it the dominant focus.
We can also expose and then post-process to make either a high key or low key image. High key images tend to be exposed to emphasize the highlights and are also generally lower contrast. Low key images emphasize the shadows and tend to be higher contrast.
Not all of the adjustments need to be done in the computer, many of them can be made in the initial in camera exposure by metering for what end of the spectrum you want to emphasize. Using your camera features such as spot metering can give the necessary exposure value readings to let you make a high or low key photograph.
Use a Polarizer (and Other Filters)
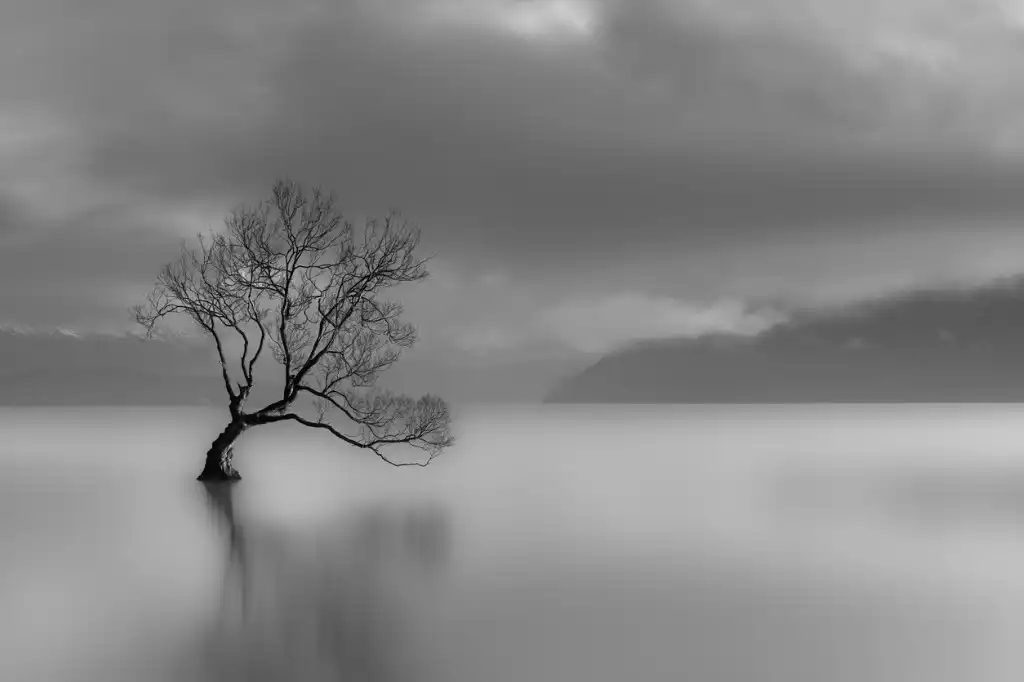
Photo by thomaslusth via iStock
When we shot black and white photography with film, most of the films had characteristics that allowed us to change contrasts by filtering the light with different color lens filters. By using a red filter we could make higher contrast images, a yellow filter gave us more balanced results but still increased scene contrast.
The reason we’re talking about old school film and filters in a discussion of digital black and photography is because we still need filters to get the most out of our images. Highest up on the list of important filters for digital black and white is the circular polarizer (C-POL) filter.
Using a polarizer is especially important with landscape and cityscape photography since they can deepen the blue of the sky and eliminate unwanted reflections and haze. Adjusting the exposure and using a C-POL filter can give us that amazing looking almost black sky with puffy white clouds that draw a viewer into the picture.
Another valuable filter for black and white photography is a graduated neutral density (GND) filter. A GND filter can be used to balance bright exposure values to fit in with the rest of the scene.
Look for Patterns
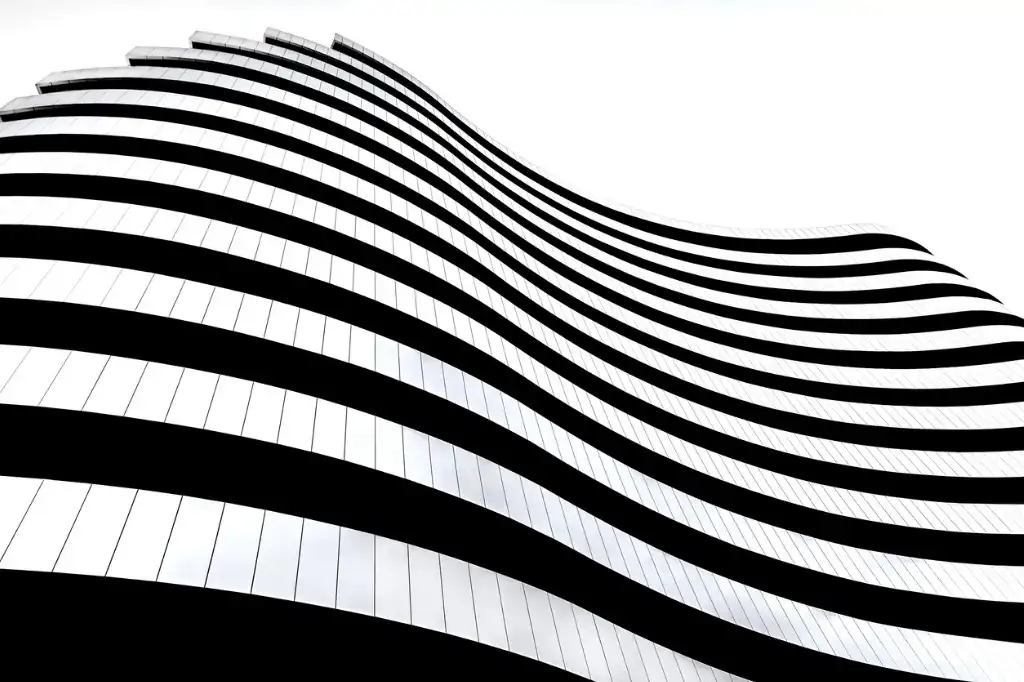
Photo by nedomacki via iStock
One of the techniques of black and white photography that can really set your images apart from your color imagery is the depiction of patterns. Since B&W lets you really play with contrasts, you can find patterns in everyday scenes merely by adjusting your exposure to emphasize the patterns.
Even though I’ve done black and white photography for years, since the time I was using film, I still will give myself a fun assignment to go out and look for patterns to make into black and white photos. This keeps me aware of how important contrast and exposure to the final image. Besides, it’s a fun exercise.
Play With Light
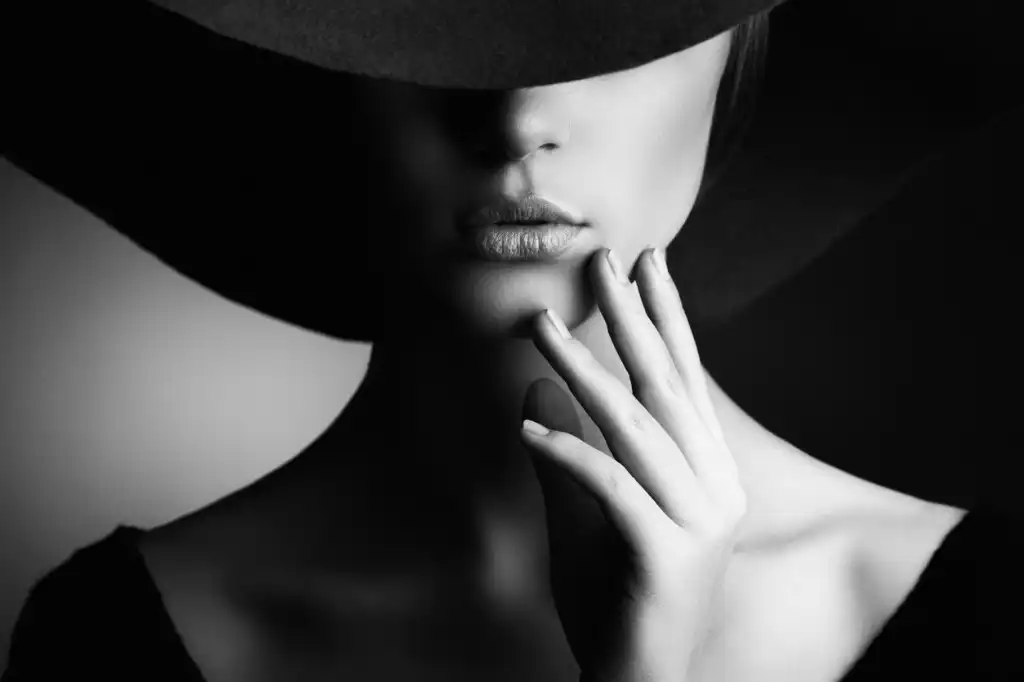
Photo by CoffeeAndMilk via iStock
Hand in hand with patterns and contrasts is using light to our advantage. Certain levels of contrast may not work well with certain subjects but look great in black and white photography.
As an example, take a portrait with classic Rembrandt lighting. Making the ratio of key to fill light higher than normal can really enhance the emotional impact of that portrait.
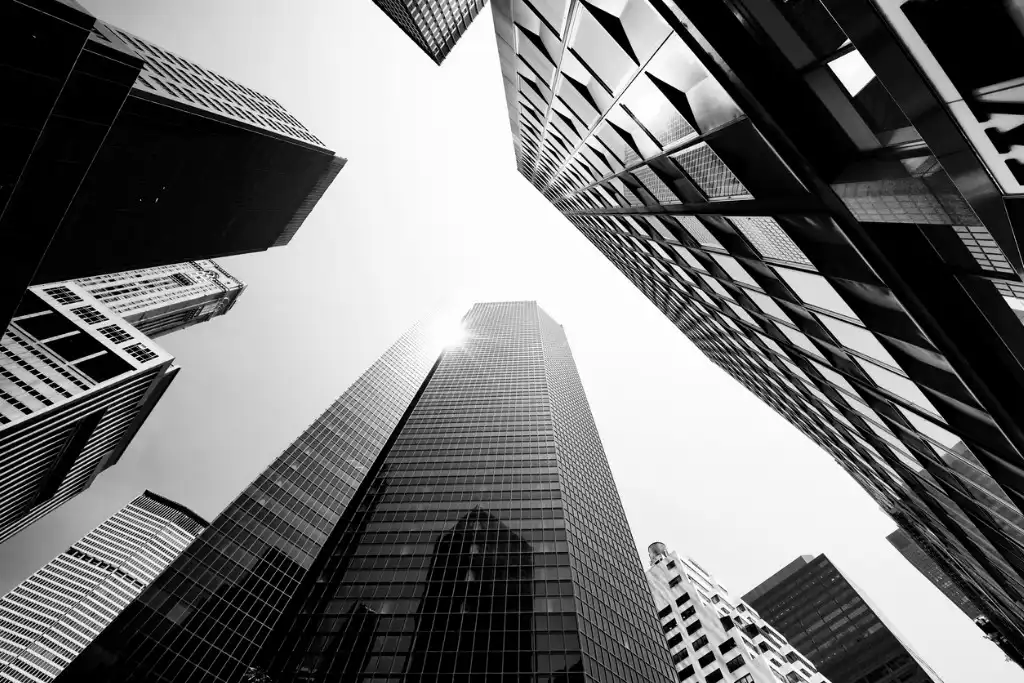
Photo by Lisa-Blue via iStock
I like to search out cityscape views with deep shadows and bright highlights during early morning and late afternoon hours and I’ll trade off exposing for the highlights and then the shadows.
It’s another fun continuous learning exercise that can yield some amazing black and white photos in addition to keep us on top of our game.
Study Old Film Images
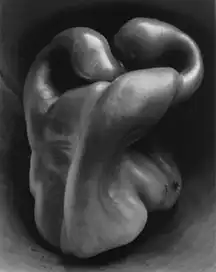
Photo by Edward Weston. Fair use via Wikimedia Commons.
In order to really get an idea of what black and white photography offers us, we should look to the old masters for black and white photography ideas.
The film images might be your own from when you started in photography or perhaps a family member who was really good at taking pictures. I’m constantly surprised when I search through some of the thousands of images my Dad took when I was young and even before I was born.
Other masters that are easy to find through a Google search or at your local library in photography annuals. I like the photography annuals from the 50s through the mid 60s. Some names to look for are Edward Weston, Henri Cartier-Bresson, Richard Avedon, Dorothea Lange, Robert Frank, and Ansel Adams.
As you admire their work, think about the processes they may have used to create them and what we can do digitally to accomplish the same things.
Use the Zone System
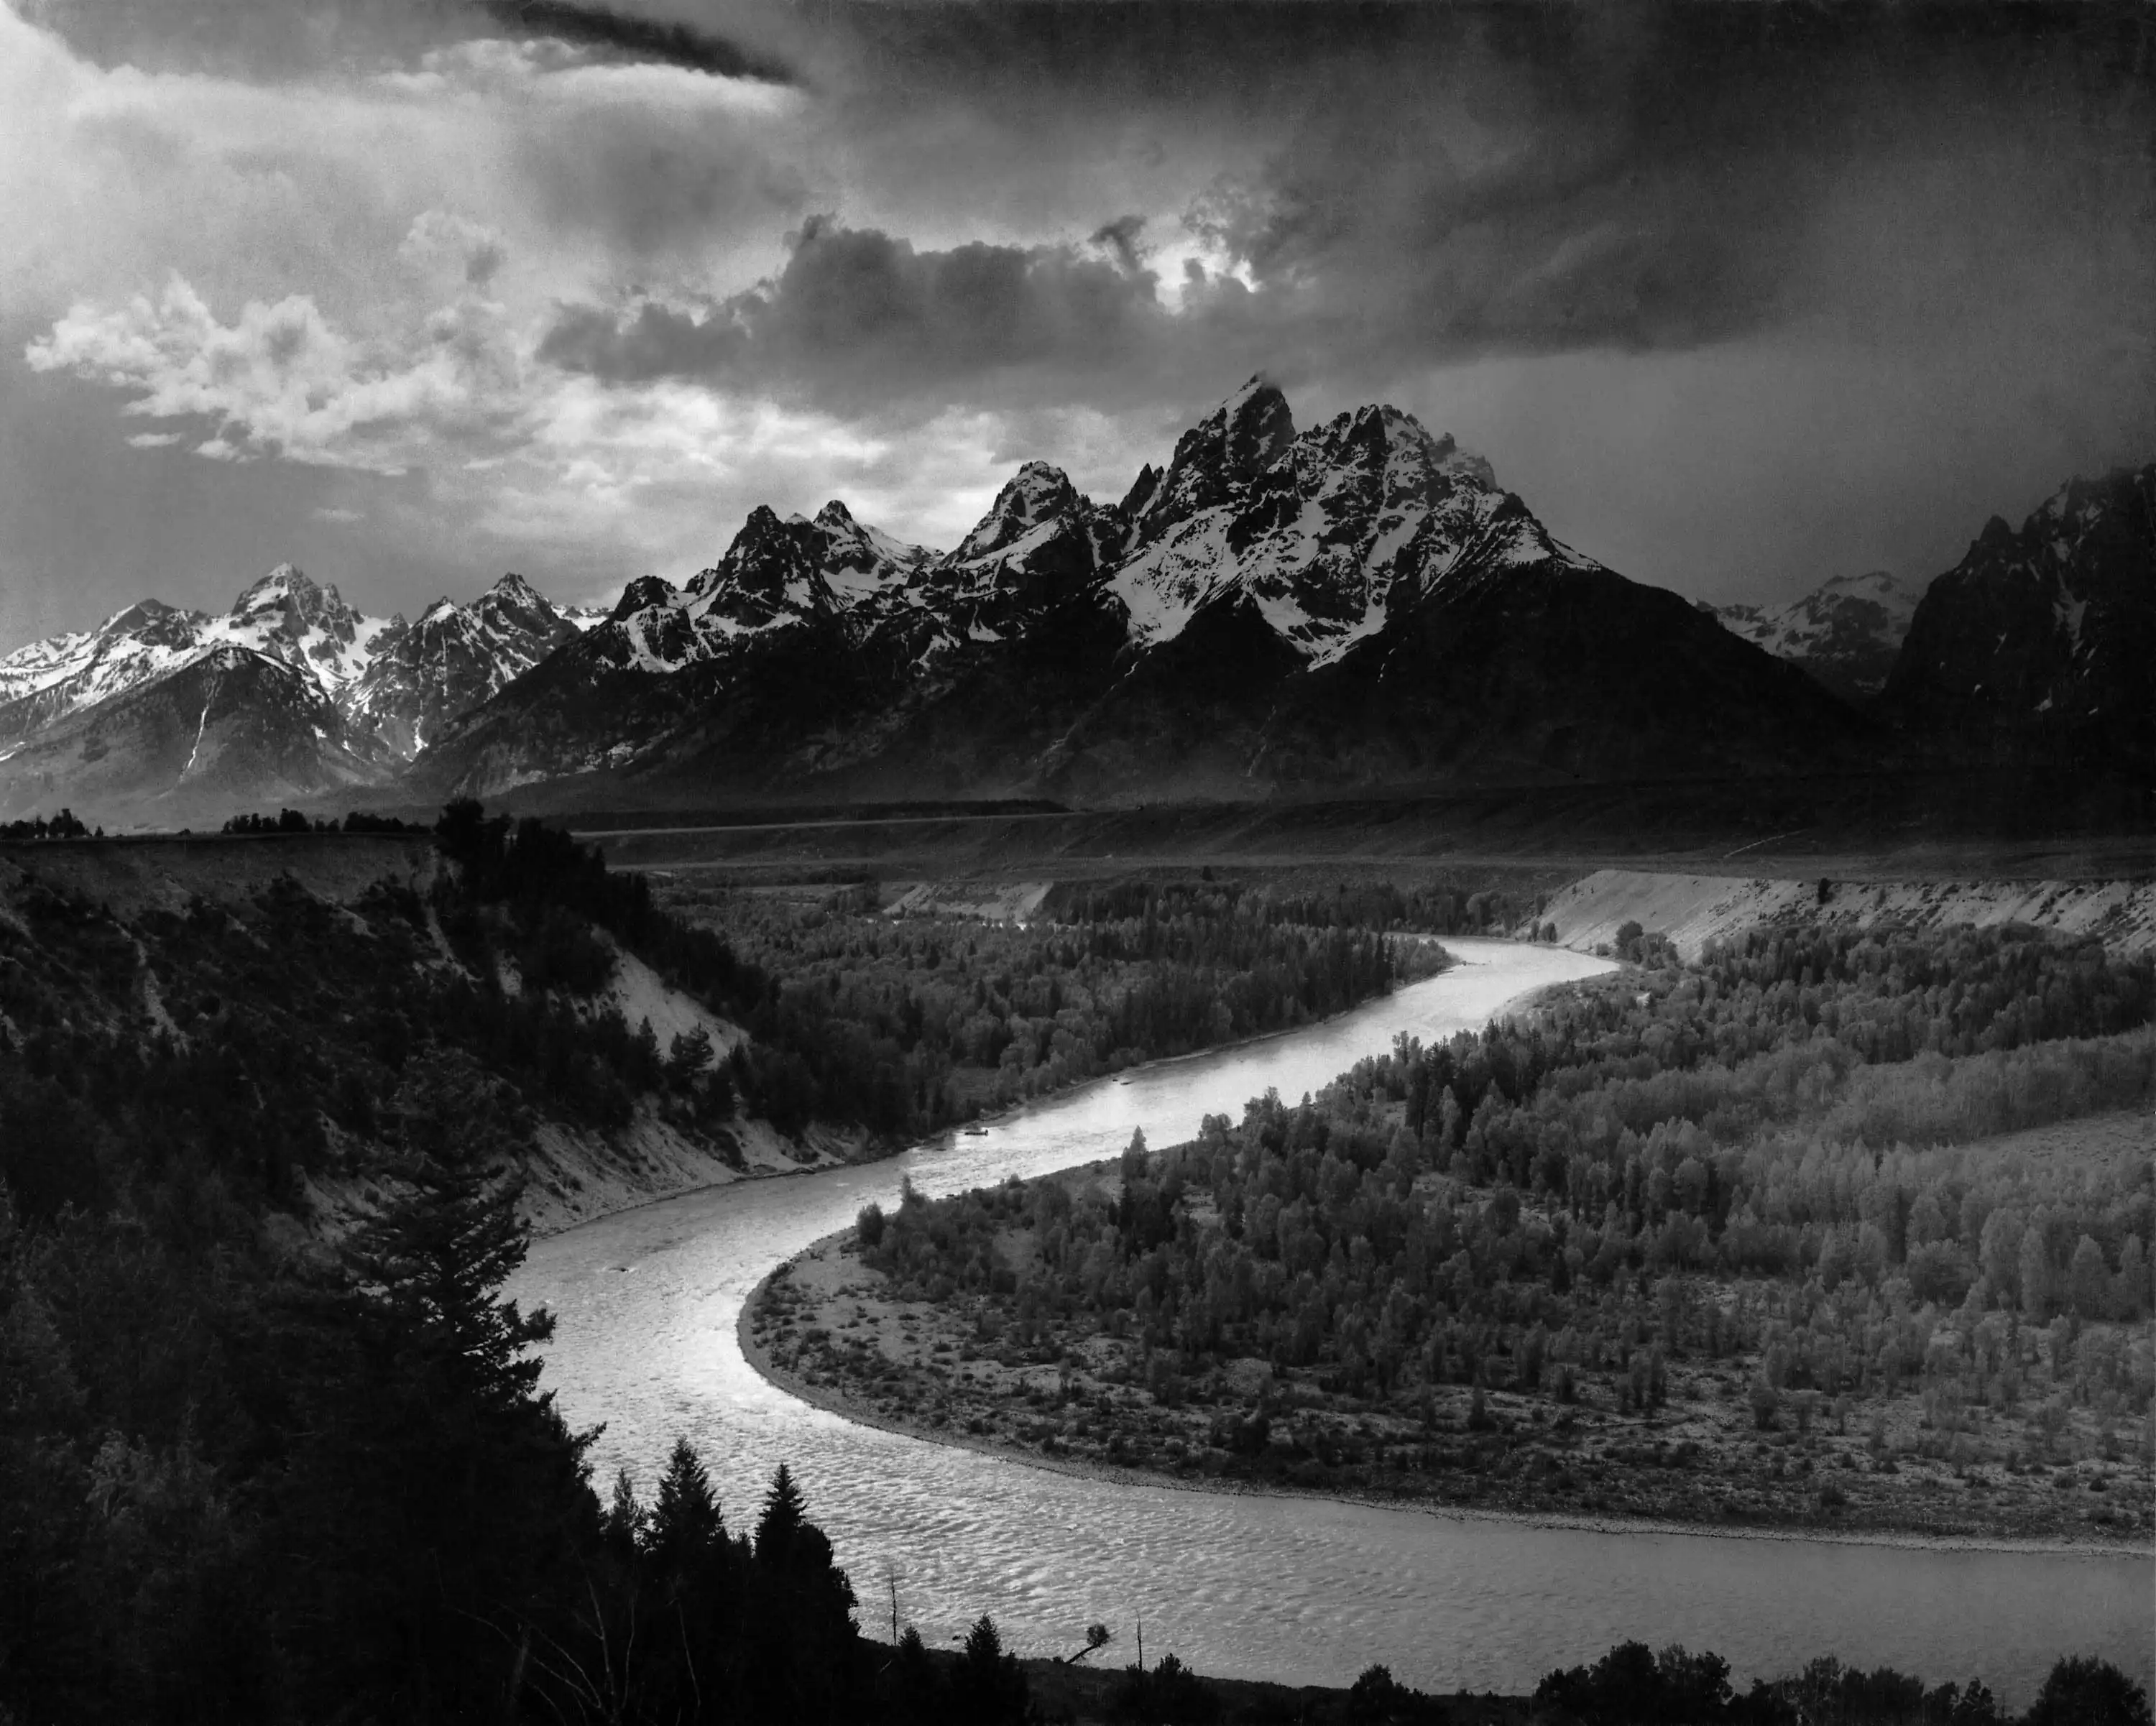
Photo by Ansel Adams/Public Domain via Wikimedia Commons
Since you’re looking at images that used the Zone system or similar techniques of black and white photography, you might as well find out what made those techniques so valuable for creating great B&W photos.
The primary takeaway for digital black and white photography of this exercise is to learn the technique of previsualization. While the technical aspects of true Zone System photography may not all translate over to digital, many of them do, and learning the technique of previsualization in order to control every aspect of our images will result in us becoming a better photographer overall. Check it out when you have some time, I guarantee you’ll be glad you did.
Using the black and white photography ideas we get from studying the old masters and the Zone System, we will expose for how we plan to process them later. Post-processing programs such as Adobe Photoshop, Lightroom, ACDSee, Luminar, and Corel have loads of controls we can use to turn our files into black and white images.
Expose for Colors
Photo by Edalin via iStock
Since we’re using previsualization, or taking control of the black and white photography process from start to finish, we can now start to really control what we’re doing.
One thing you can do in black and white photography that may not work as well for regular color images is to base your exposure on one color in the scene, perhaps the dominant one, and then adjust in post-processing to enhance the black and white rendering of the image.
Photoshop, ACDSee, and several other programs, you can use sliders to adjust the saturation, brightness, and contrast level of specific colors in your black and white processing. In many of the newer versions of these programs, it feels exactly like you’re shooting, processing, and then printing in a darkroom with black and white film such as Kodak Tri-X or Ilford Ilfopan. It’s so much fun to do, even if you never shot in film yourself.
Bonus Tip - Infrared
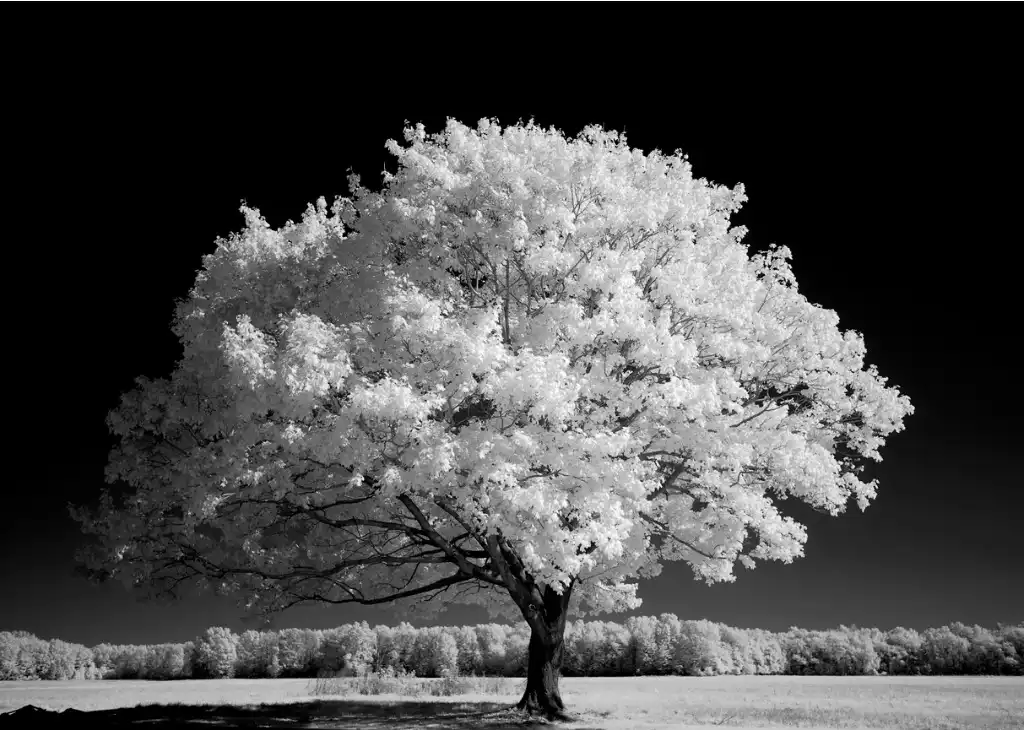
Photo by Thomas Shanahan via iStock
If you have the Adobe subscription that includes the full version of regular Photoshop, you have access to a mode called infrared. After adjusting the RAW image file for black and white, now you can take that file and plug it into the infrared adjuster.
It’s not true infrared, you need an altered sensor for that, but it can give your black and white photography that extra edge and allow you to create a truly outstanding image. I like it for nature landscapes where I can turn healthy green foliage bright white and have the blue sky turn dark black. It is stunning when done right.
Try It Out
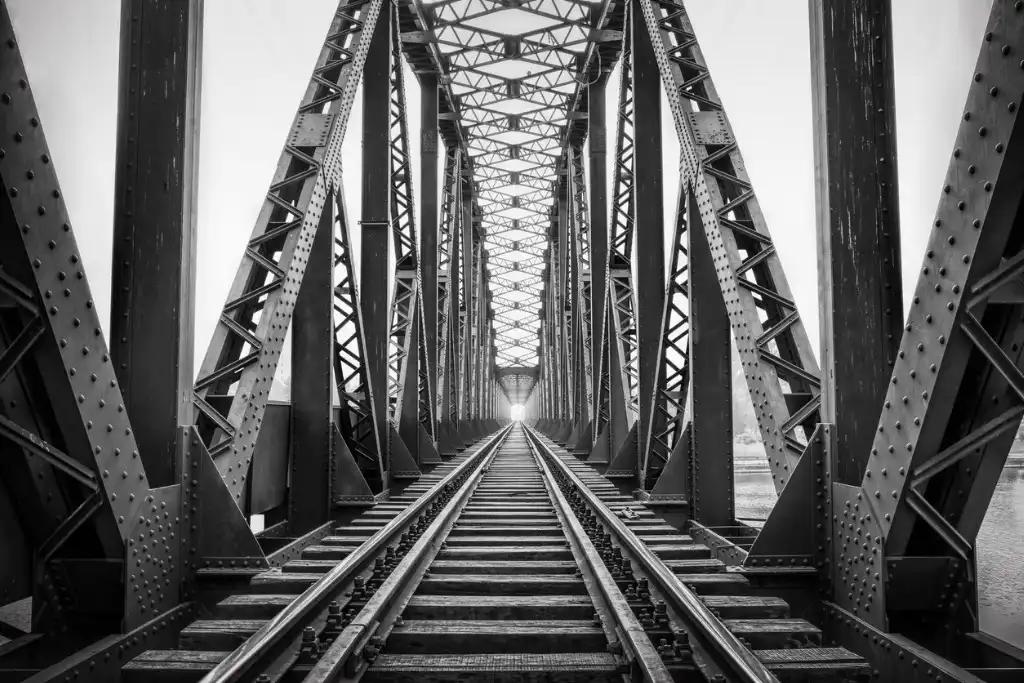
Photo by SonerCdem via iStock
If you have been thinking about black and white imagery, go ahead and try it out. All you can mess up is an image file that you can always delete or file away in your storage. These black and white photography tips can open up a fantastic new world for you as a serious photographer.
Along the way, you’ll learn more about the art and craft of photography as well as the science behind our craft. It can male you a better photographer overall, not simply in black and white, and you will have a whole lot of fun trying it out, I guarantee it.