How to Stabilize a Camera for Vlogging

photo by ozgurdonmaz via iStock
Part of the process of creating a vlog that’s engaging and that draws viewers is having footage that doesn't make viewers seasick.
That means you need a means of stabilizing your camera as you shoot.
Fortunately, there are a variety of methods you can use to capture ultra-smooth video for your blogs, from tripods to dollies to gimbals.
Let’s get to it so you can learn how to stabilize a camera for vlogging.
Use a Tripod to Stabilize Your Camera

Chances are you already have a tripod of some sort, so it might be the best and easiest option for you.
Tripods like the E-Image EG01A2 shown above give you the stability you need for the camera while offering a host of features that make getting better footage a reality.
For example, this tripod has a payload of up to 11 pounds, so you can add an on-camera light, a shotgun microphone, and other camera accessories for capturing better-quality video.
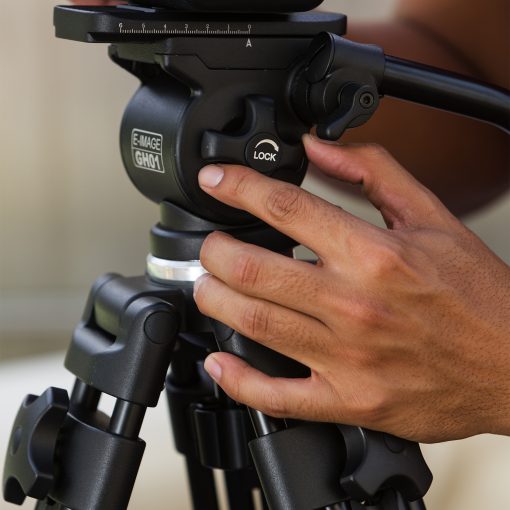
The included pan/tilt fluid head enables you to get nice, fluid B-roll with a range of 360-degrees for panning and 135-degrees for tilting. The quick-release baseplate system makes for easy work of attaching and removing your camera from the head.
Tripods like this also give you a range of heights (in this case, 31.5-inches up to 63.25-inches) so you can vary the eye level of your video sequences to create more visual interest.
This tripod in particular has an integrated mid-level spreader that aids in keeping the legs stable, and with removable anti-slip pads and metal spikes on the feet, you don’t have to worry about the tripod sliding around as you film.
Obviously, a tripod for vlogging is a great option if you’re filming in a home studio or out in the field when you aren’t moving around. But what other options are there for more mobile support?
Learn More
Try a Dolly for Vlogging
Dollies and camera sliders have been used forever by filmmakers to get smooth tracking shots.
And while this might not be a traditional type of shot for vlogging, there’s no reason why you can’t jazz things up a bit and use a dolly to incorporate beautifully stabilized video sequences into your vlog.
As this awesome tutorial discusses, there are a plethora of options when it comes to sliders and dollies, including building your own budget-friendly dolly system.
In the video above by Premium Beat, you can see that it’s really not that difficult to put a DIY dolly together, and you can do it for only $50!
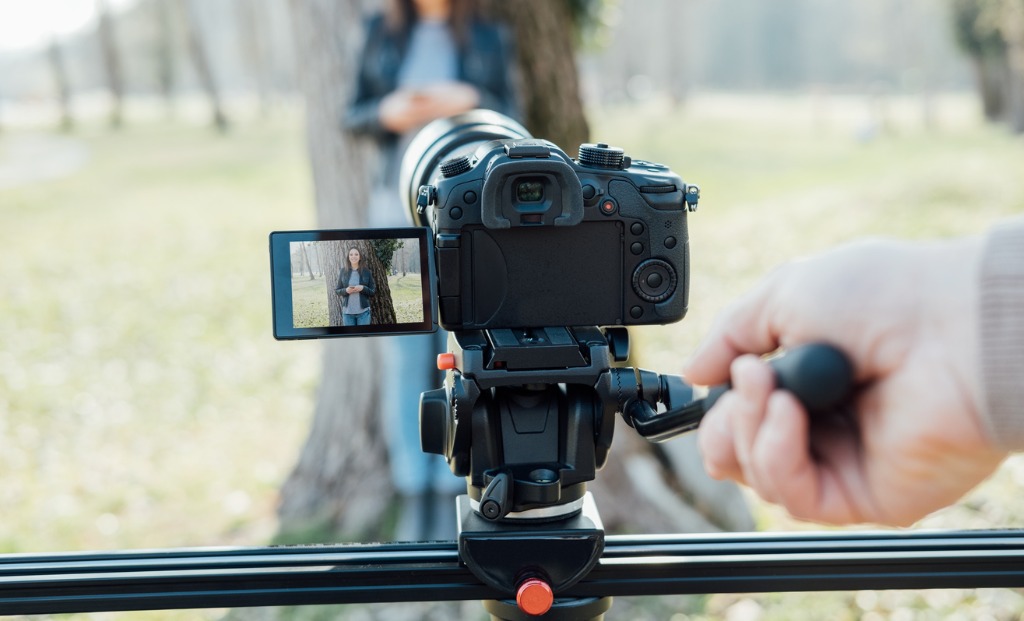
photo by cyano66 via iStock
The advantage of using a dolly or a slider (as shown in the photo above) is the unique tracking shots I mentioned earlier. This can certainly add a layer of polish to your vlogs while also giving viewers a little more visual interest than simply watching handheld or tripod-based videos.
The problem with a slider or dolly is that it’s a lot to carry around and set up, at least when compared to using a simple tripod or gimbal. Nevertheless, if it’s stable video footage you’re after, a dolly is a slam dunk!
Smooth Out Handheld Video by Using a Gimbal
Of course, the most popular option for shooting nicely stabilized vlogging footage is using a gimbal.
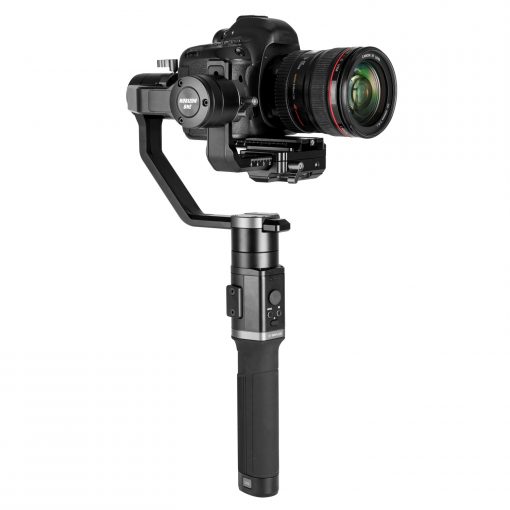
Gimbals like the E-Image Horizon One shown above use brushless motors combined with steady computing technology to ensure your video footage is beautifully smooth.
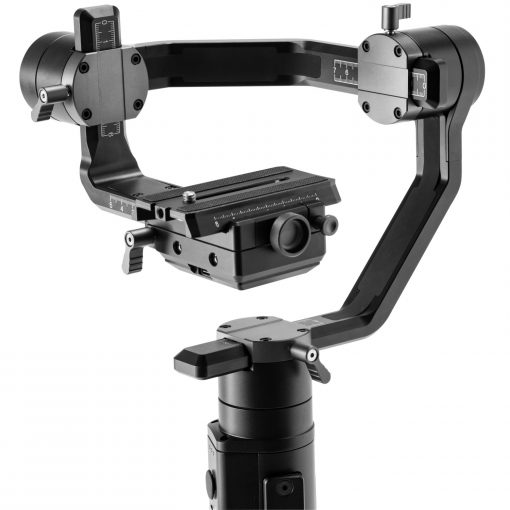
Gimbals can’t hold as much gear as a tripod, but some, like this one, have a payload up to 8 pounds. That means you can use a wide range of cameras, lenses, and other accessories without exceeding the maximum payload.
This particular gimbal featured three-axis image stabilization and multiple operational modes, including pan follow, free follow, all locked, sport follow, and dream follow.
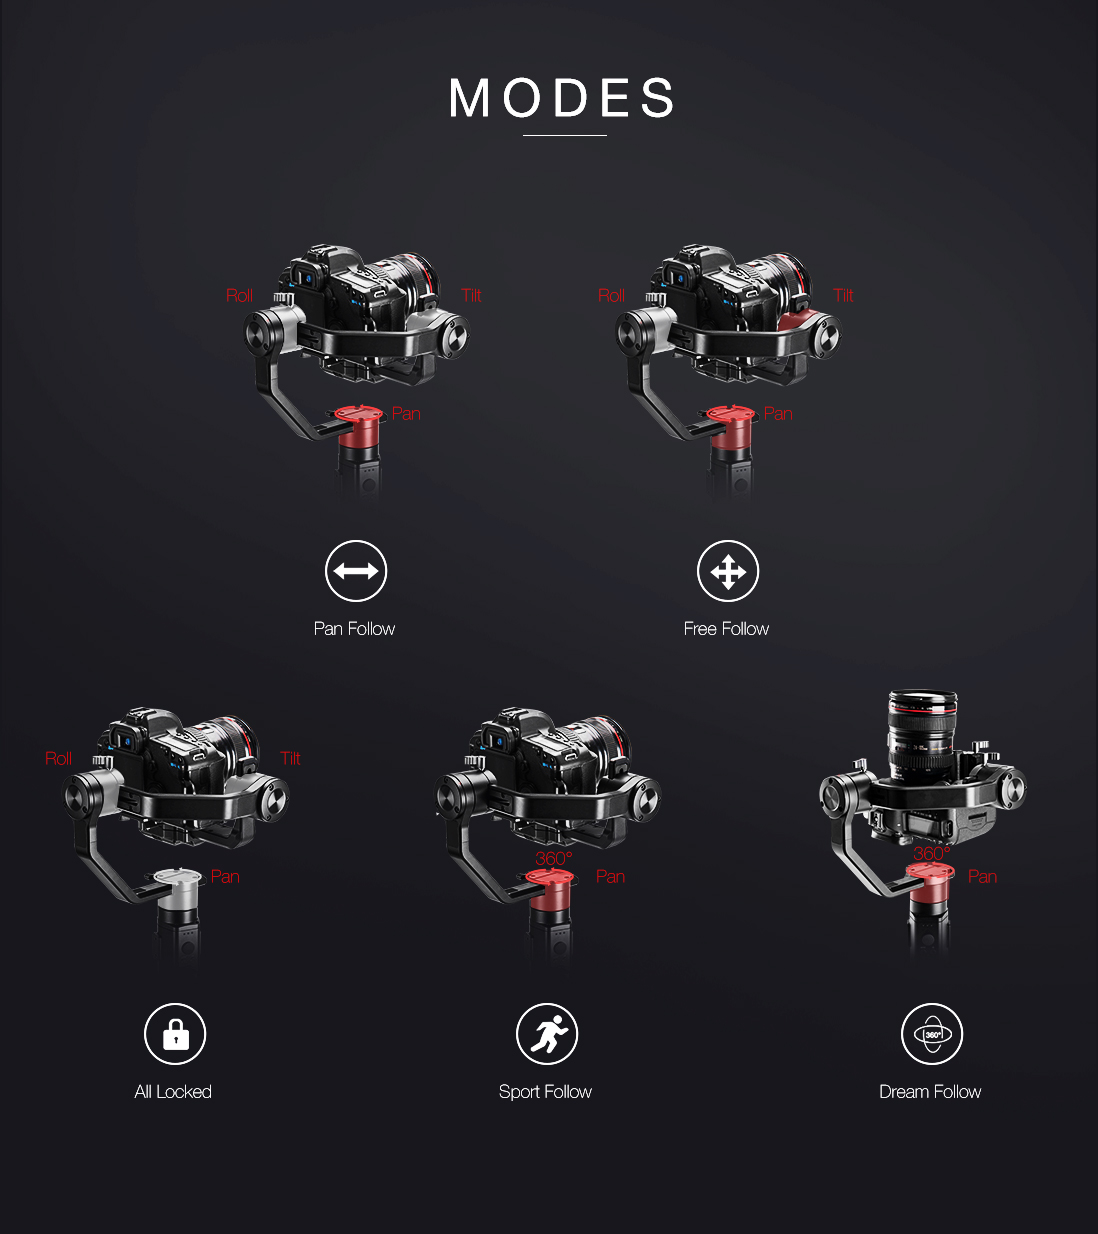
With that kind of versatility, you can vary the look and feel of your video footage for a higher-quality final product.
And with 12-hour runtime, a companion smartphone app for easy control, a universal quick-release plate for rapid gear changes, and full 360-degree movements on all three axes, this is certainly a gimbal for vlogging that can help you improve the production value of your vlogs.
Additionally, you can pair a gimbal with a monopod to create shots that look like they were taken on a dolly or slider.
The video above by Ikan International is a great example of how you can “fake” a shooting style by using nothing more than a gimbal. While this video features a product that is at the end of its product life, the point is that you can utilize these methods with any gimbal to get improved results.
And, really, that’s all we’re after here - improved results.
While simply holding your camera in your hand as you move around or setting it on top of a solid surface to get your shots works fine when you’re just starting out, creating engaging content requires that you have the means to vary the types of shots you get.
With a tripod, a dolly or slider, and a gimbal, you can do just that!
Learn More