Long Exposure Photography Tips You Don't Want to Miss
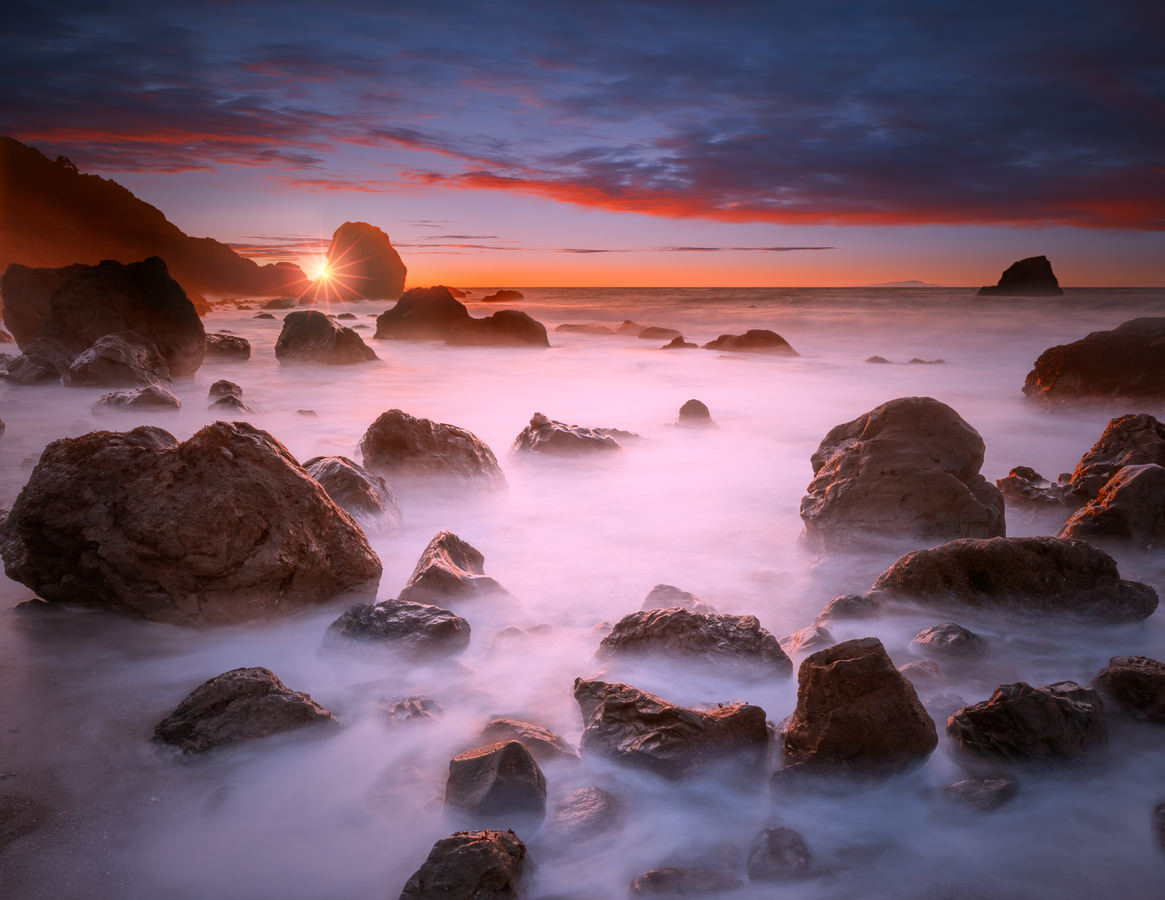
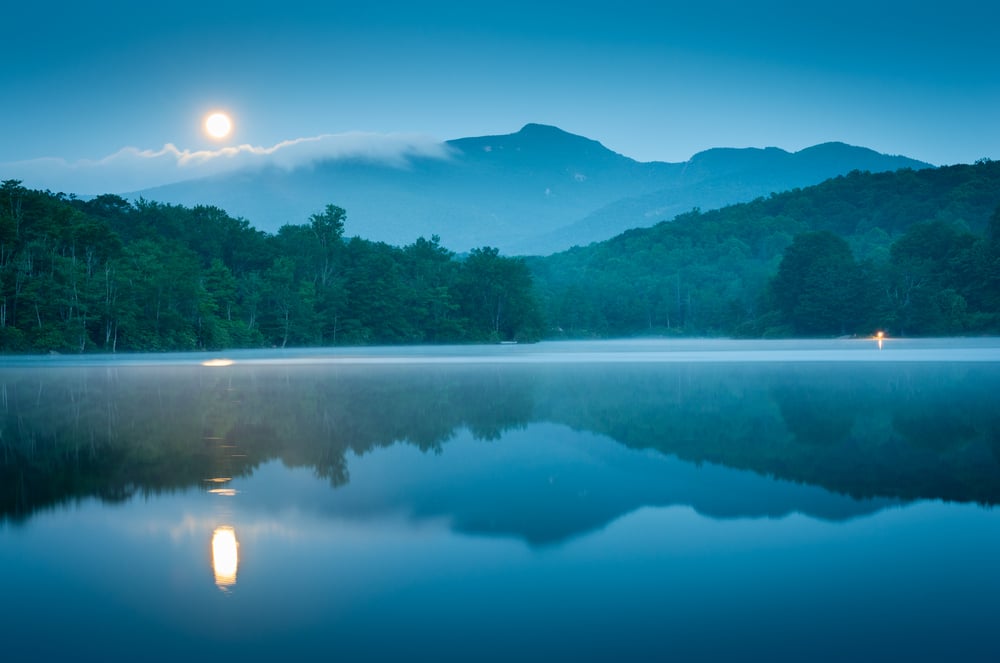
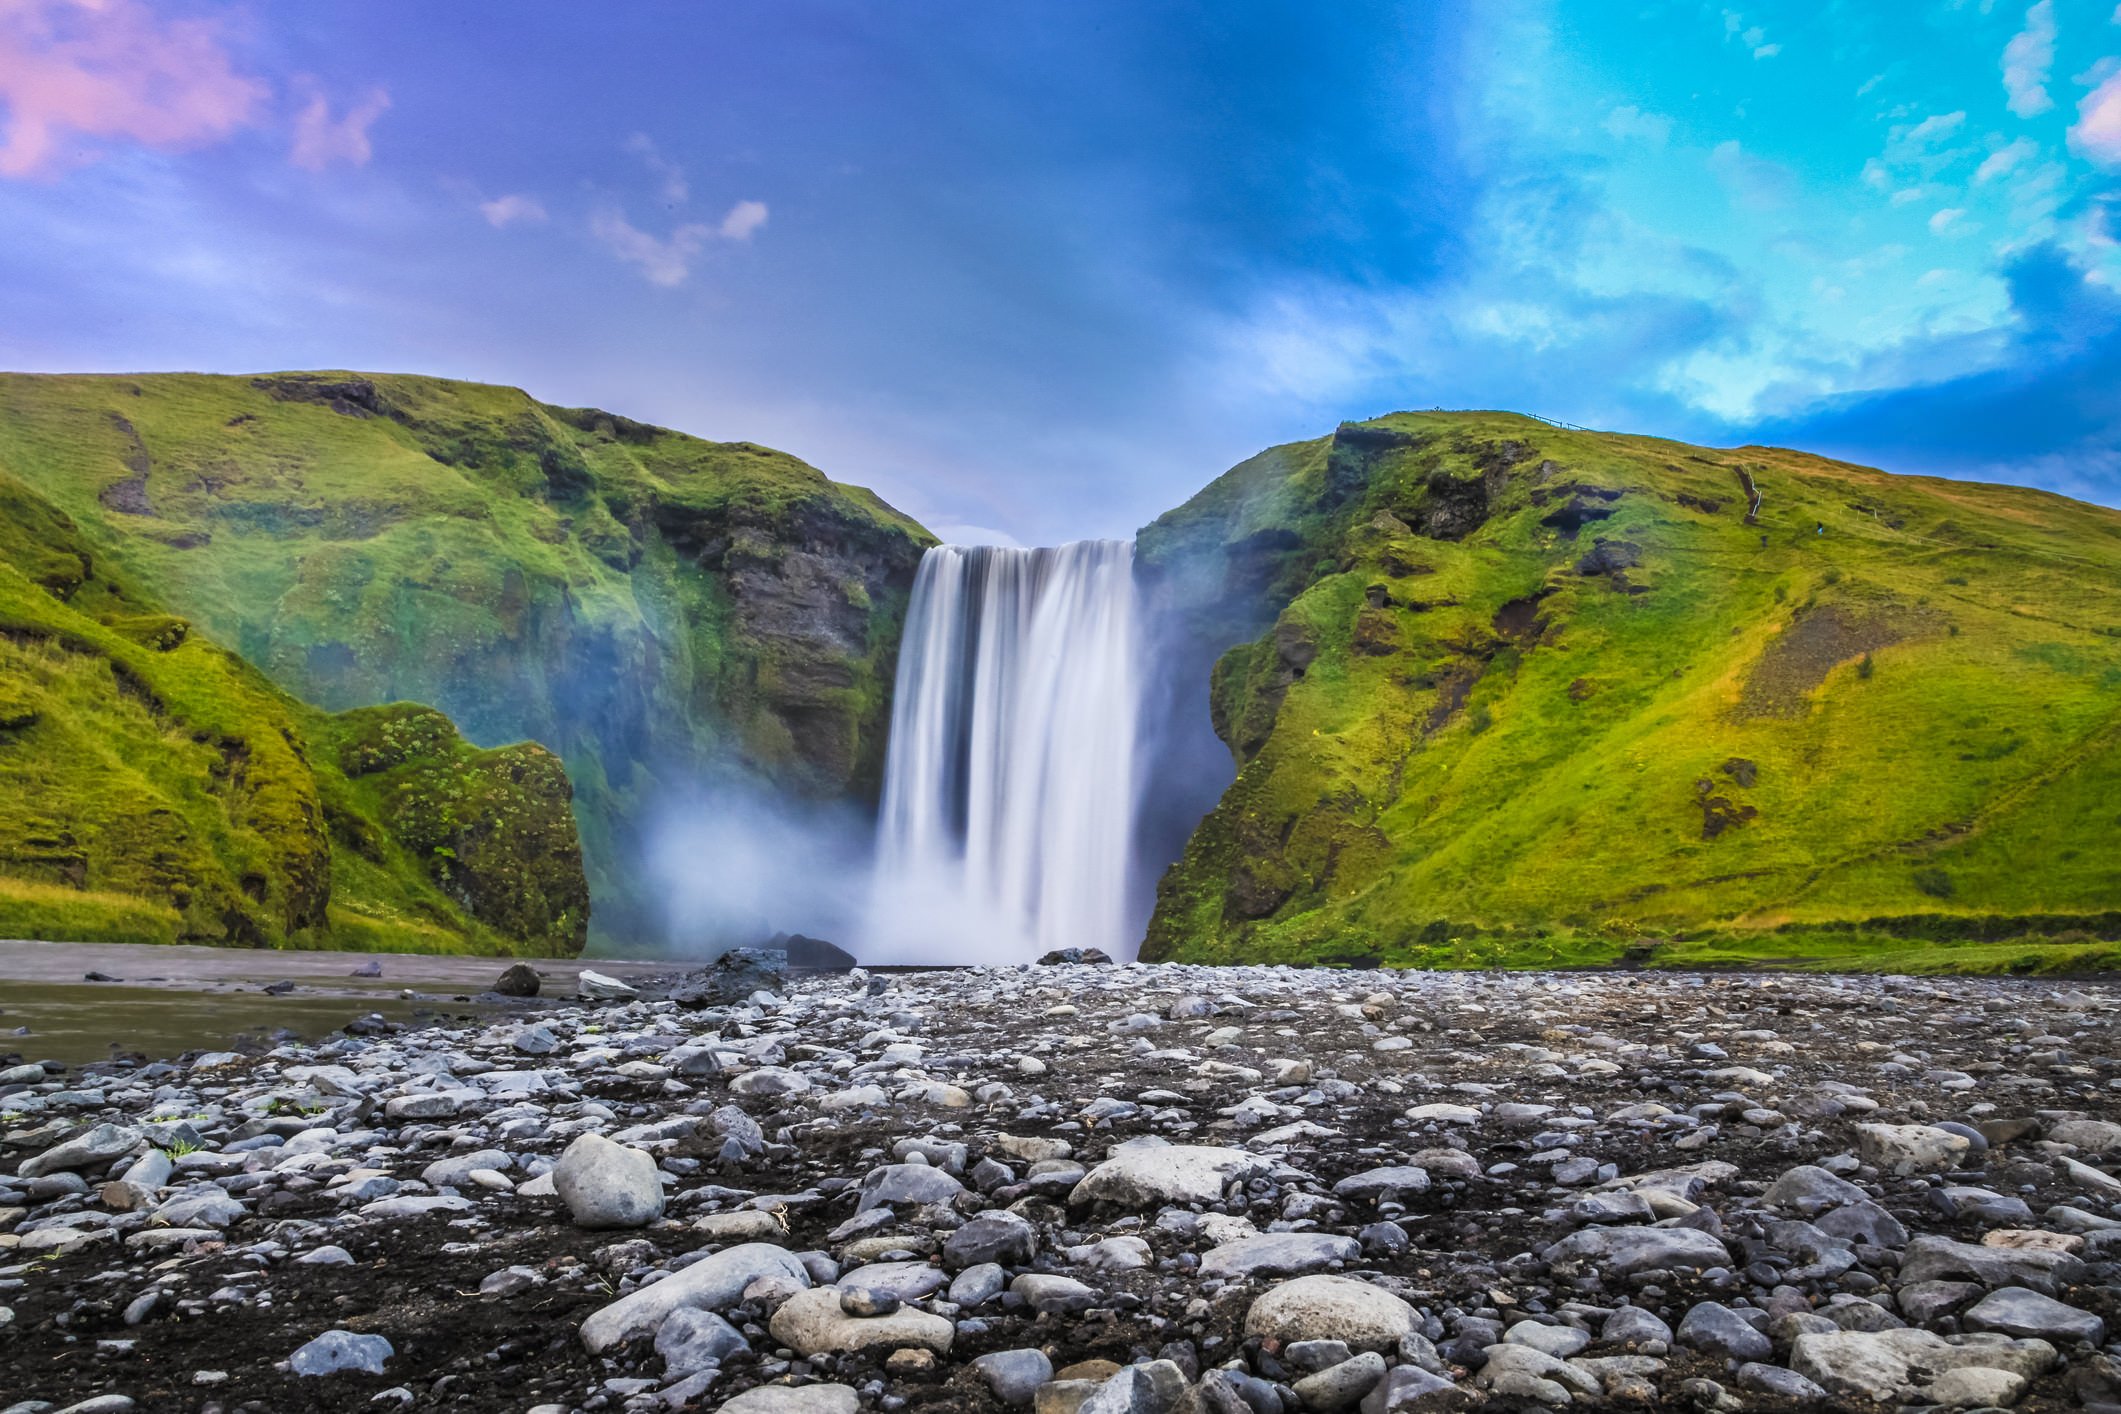
One look at a long exposure landscape photo like the one above, and I'm sure you're salivating at the thought of creating something so beautiful.
I know I am!
Long exposure photography is one genre I need to spend more time practicing.
I've dabbled here and there, but I wouldn't consider myself a long exposure pro by any means.
However, I've learned a lot about taking high-quality long exposure photos.
I think what I've learned will be of value to other photographers like you that want to make it a more important aspect of your photography undertakings.
With that in mind, here are a few essential tips I've learned along the way as I've practiced, made tons of mistakes, and even managed to get a few good long exposures too! You also need to take care of the exposure triangle and the right accessories for photography, while going for good exposure shots.
A Quick Refresher
If you've experimented with long exposure photography, you probably have at least a working knowledge of how neutral density filters work.
But for the sake of us all being on the same page, here's a quick refresher about neutral density filters.
First, a neutral density filter should filter out light in a way that's neutral - thus the name.
That is, an ND filter shouldn't have a color cast that impacts the colors of the photo you create.
Secondly, for every stop of strength, an ND filter reduces the amount of light that hits your camera's sensor by a factor of two.
That means that if you use an ND filter that offers 1-stop of blocking power, it's an ND 2 filter (1x2 = ND 2). A 2-stop ND reduces light by a factor of four (2x2 = ND 4). You get the point...
ND filters on the low end of the scale like those mentioned above have a minimal effect on light blockage.
However, when you get into the upper end of the ND filter scale - like 10-stop, 13-stop, and 16-stop filters, you're talking about an incredible level of light blockage.
For example, a 10-stop ND filter reduces the light hitting your sensor by a factor of 1,024 times. That means to compensate, you have to use a shutter speed that's 1000 times slower that it would be if there was no filter being used.
With such incredibly slow shutter speeds, using super dark ND filters requires some finesse.
Take Control of Focus
When you use a 10-stop filter or darker, there is so little light entering your lens that the autofocus function will not work.
That means you have to take control of focusing the shot yourself.
But if you've never manually focused an image, it's not as scary as you might think.
All you do is frame up the shot and get your composition just how you like it - without the ND filter in place.
Then switch your lens to manual focus and acquire the focus point. Use Live View to zoom in on that point to ensure you've got the focus down pat.
Next, attach your ND filter, being careful not to move the camera or inadvertently hit the lens.
All that's left is to take the shot, which you can do without your camera's autofocus system trying (and likely failing) to acquire the focus point.
Watch Out for Hot Pixels
When you take a long exposure, noise can become a problem even if you shoot with a low ISO like 200 or 400.
Rather than typical noise being introduced, noise can show up as hot pixels.
The problem with hot pixels (other than not looking good) is that you often can't see them when you look at the image you've just taken on your camera's LCD.
That means that you might think you have a great shot on your hands, only to find upon inspection on your computer at home that there are hot pixels all over the place ruining your perfect shot.
Much like the autofocus issue above is easily corrected, so too is the hot pixel problem.
The best way to address hot pixels is to take your long exposure photo as normal, then take a second, identical photo with the exact same exposure settings, only this time with the lens cap on.
What this will do is give you an image that is nothing but black, apart from the hot pixels.
By bringing that all-black image into post-processing with your actual long exposure, you can simply subtract those hot pixels in post-processing. See how to do that in the video above by Tom Migot Photographie.
The Conditions Matter
Unlike traditional landscape photography where you can create a beautiful image without anything in the frame to indicate movement, the whole point of a long exposure is to have details in the shot that show the passage of time.
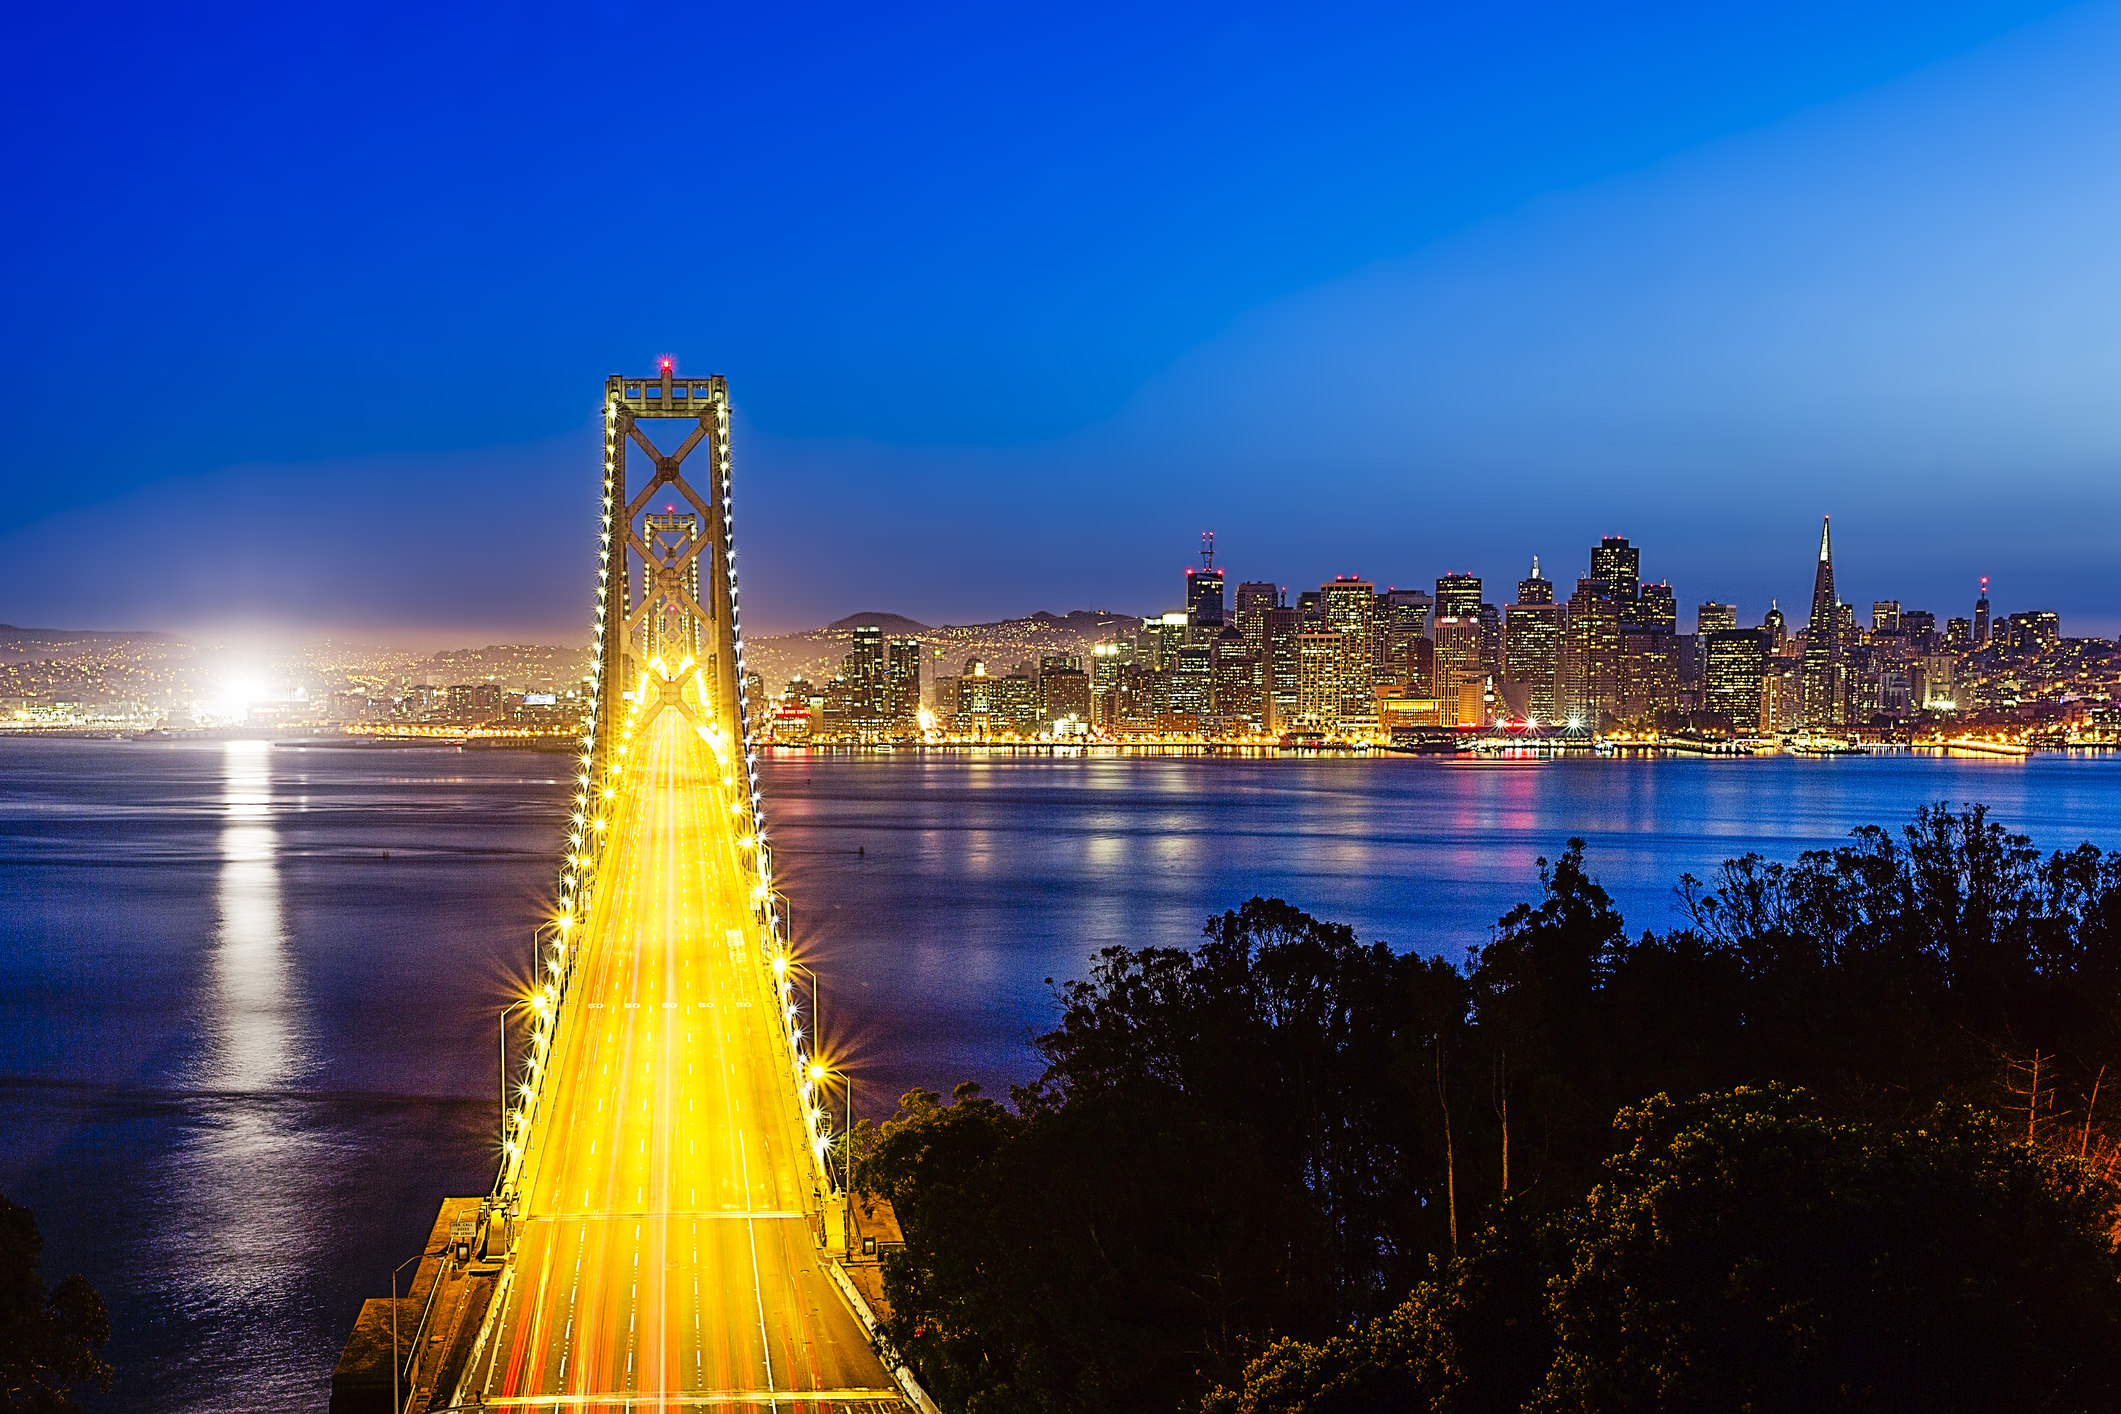
This can be a number of things, from clouds to a river to the headlights or taillights of a passing car.
For most of us, the easiest movement to incorporate into a long exposure photo is passing clouds.
Of course, if the clouds are moving, there might also be wind at ground level.
Wind is certainly your friend when it comes to helping add movement to the shot. But wind is your enemy when it comes to that shot being tack-sharp.
For that reason, when shooting long exposure landscape photos, you can't just mount your camera to a tripod and call it good.
What you need is a solid, sturdy tripod with options that allow you to improve its stability.
A center column hook allows you to hang something heavy - your camera bag, for example - to weigh it down.
Some tripods have heavy-duty rubber feet with retractable spikes that help plant it in the ground too.
Even small things like removing your camera strap and using Velcro or gaffer's tape to secure any cords will help minimize the effect that the wind has on your camera.
Your Filters Matter Too
As noted earlier, some ND filters leave a color cast on your images that requires some fixing in post-processing.
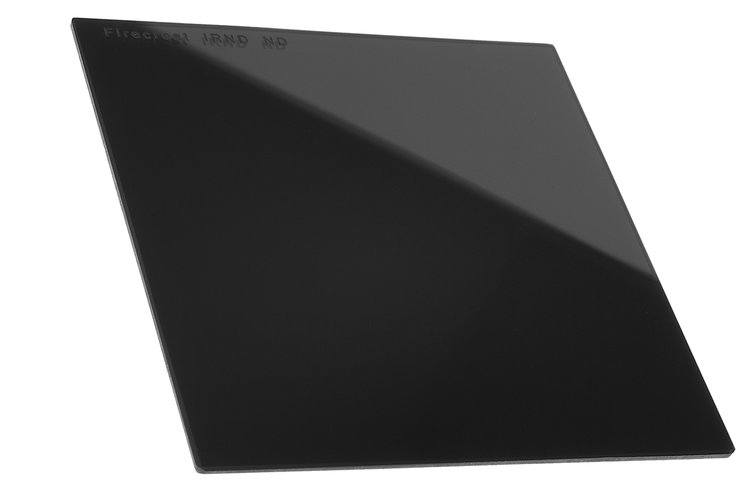
Others, like those included in the Long Exposure Filter Kit #2, Joel Tjintjelaar Signature Edition by Formatt-Hitech, are so precisely built that they produce ultra-neutral results that don't require any color cast correction.
In fact, each of the three Firecrest filters included in this kit - a 10-stop, a 13-stop, and a 16-stop - is manufactured using cutting-edge technology to ensure the highest-quality results.
The filters have a rare earth metallic coating that's applied to the glass using an electrolytic process. That means that Formatt-Hitech's scientists have unparalleled control over modifying the frequencies of light that pass through the filter.
These filters reduce all spectrums of light, including those in the visible spectrum, as well as ultraviolet, near-infrared, and infrared light.
So, what all that technical jargon means is that by using well-built filters, you give yourself a much better chance of getting the high-quality long exposure images you seek.
In that regard, the filters you use are a lot like the lenses you use - the better the lens, the better the image quality. By the same token, the better the filters, the better the results you get when creating long exposures.
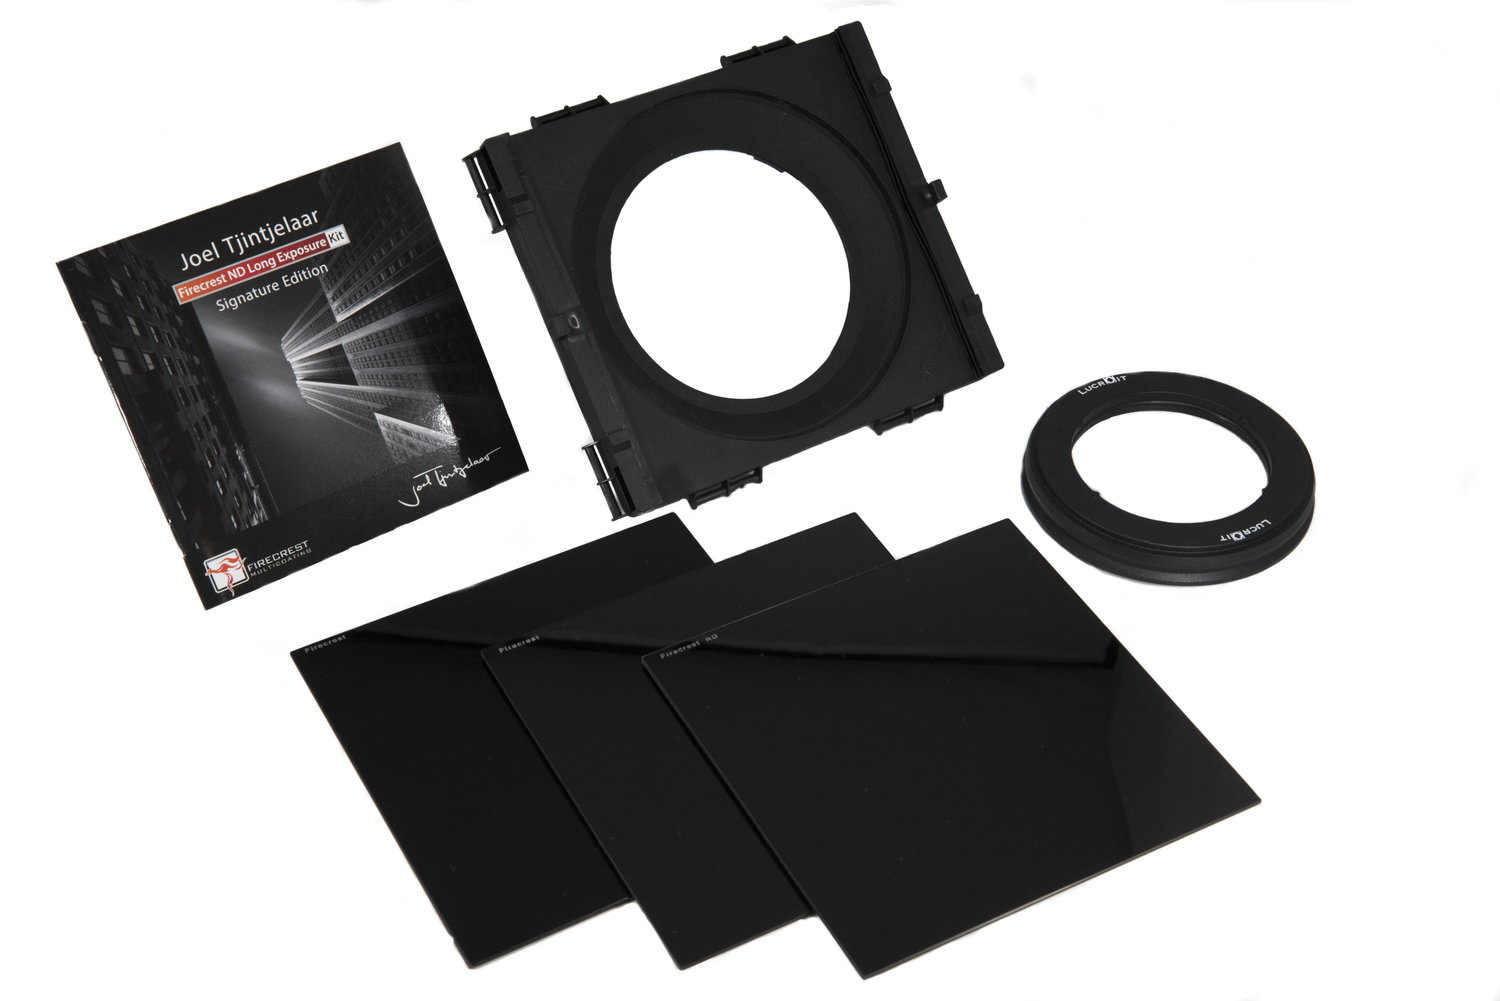
What's more, by getting an ND filter package like the Long Exposure Filter Kit #2, you get all sorts of helpful add-ons that make better photos more likely.
That includes a long exposure how-to booklet by Joel Tjintjelaar, a conversion chart to more easily calculate your exposure times, and three filters, each of which is suited to a different type of image.
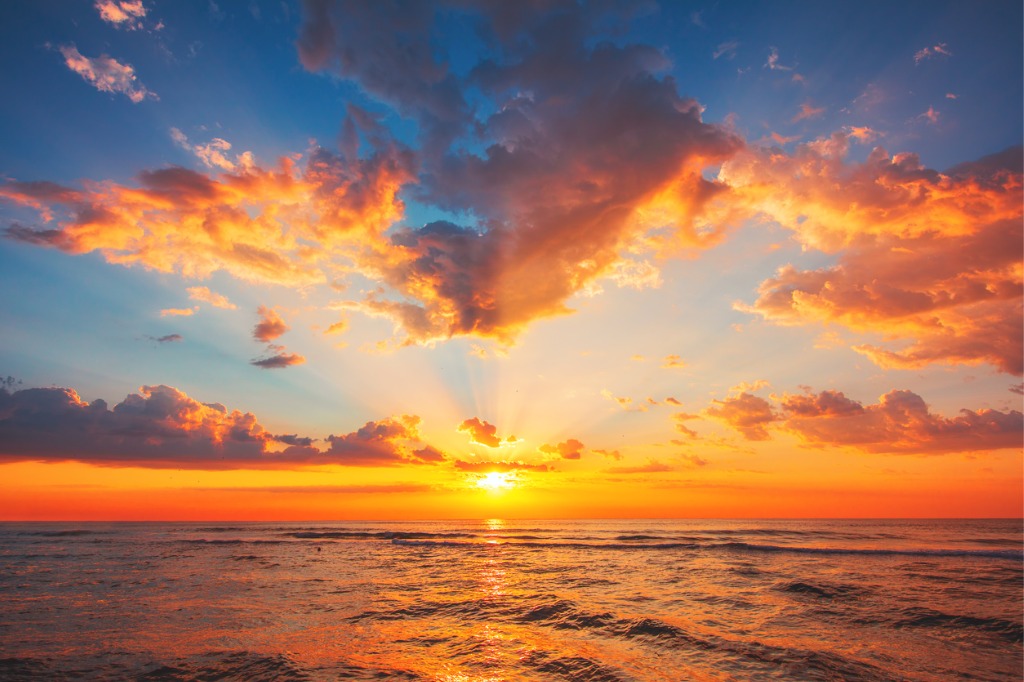
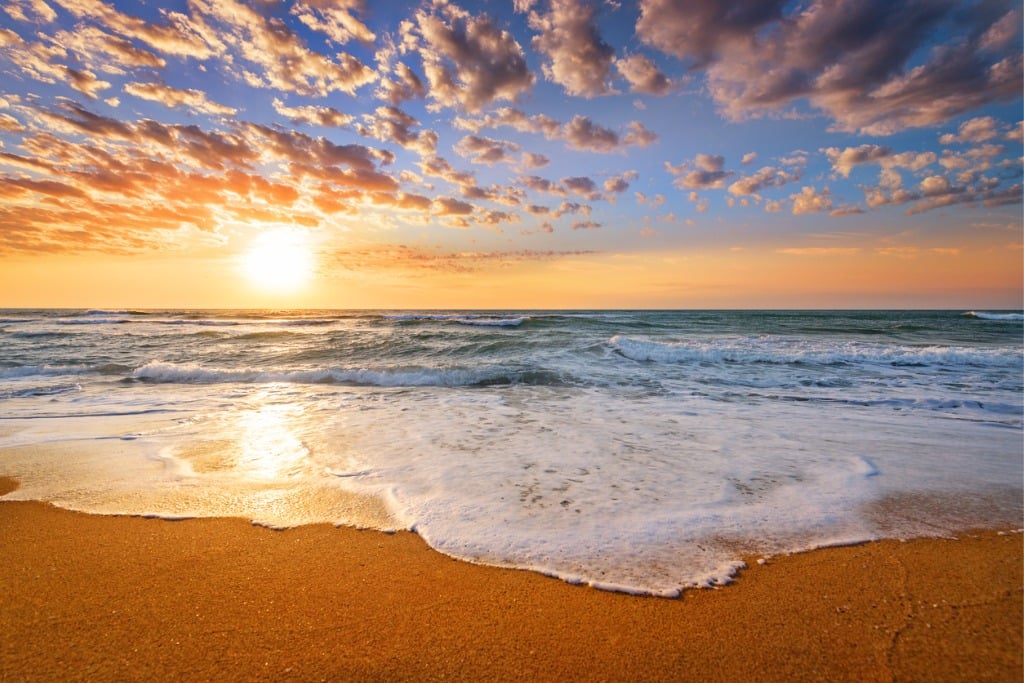
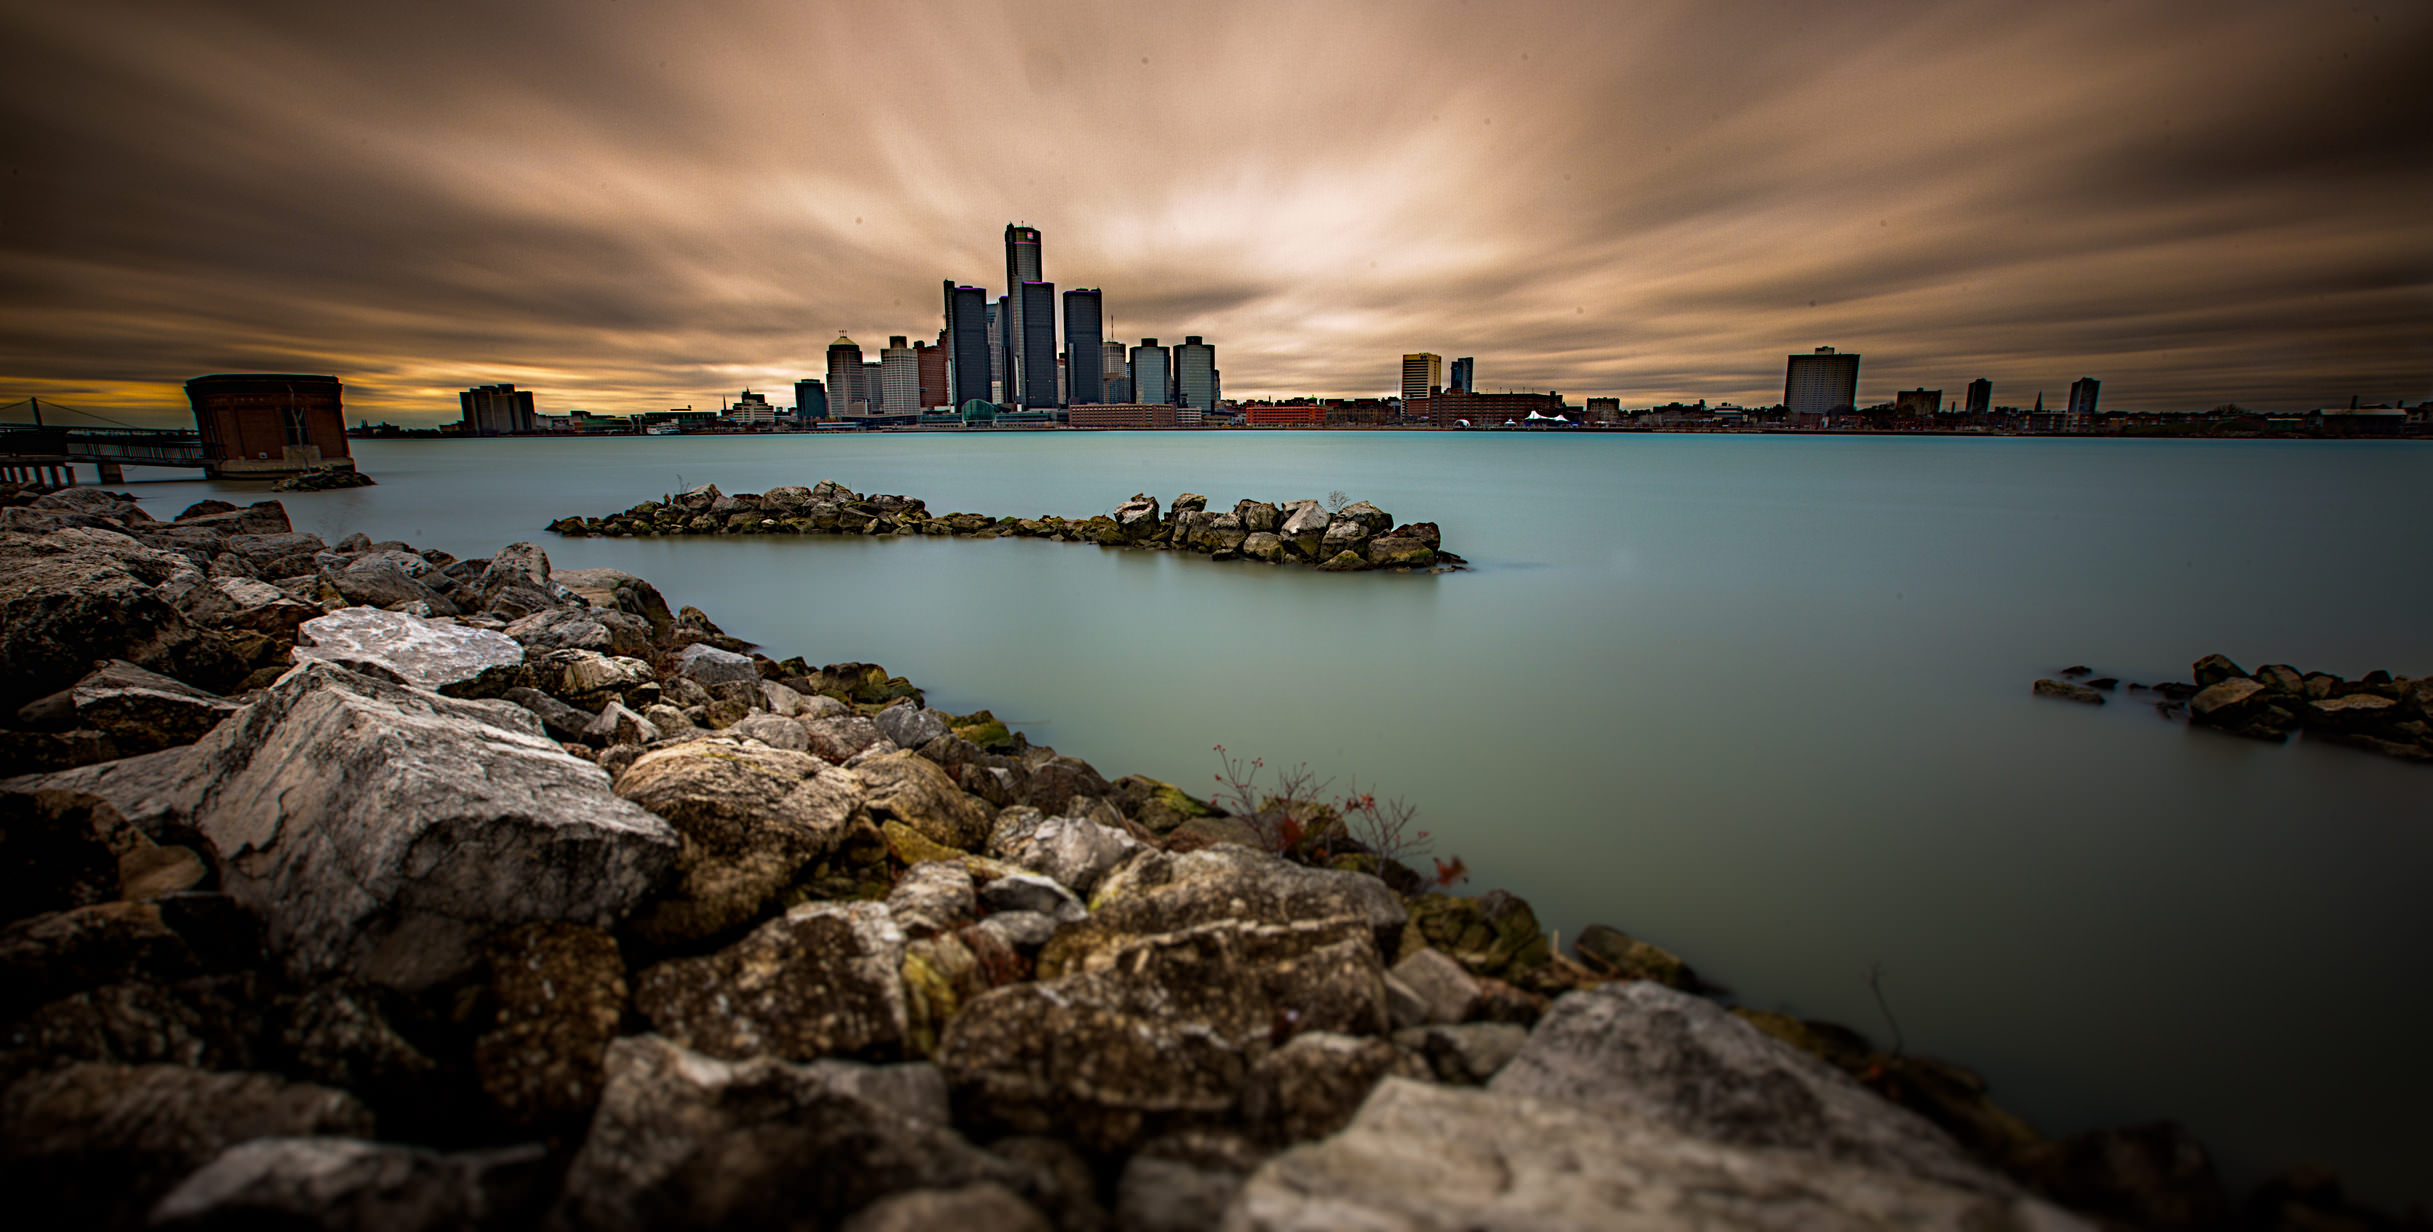
You can use a 10-stop filter for general purpose long exposure images and the 13-stop filter for exposures that last 2-3 minutes, which is perfect for scenes in which the movement of water or clouds is relatively fast.
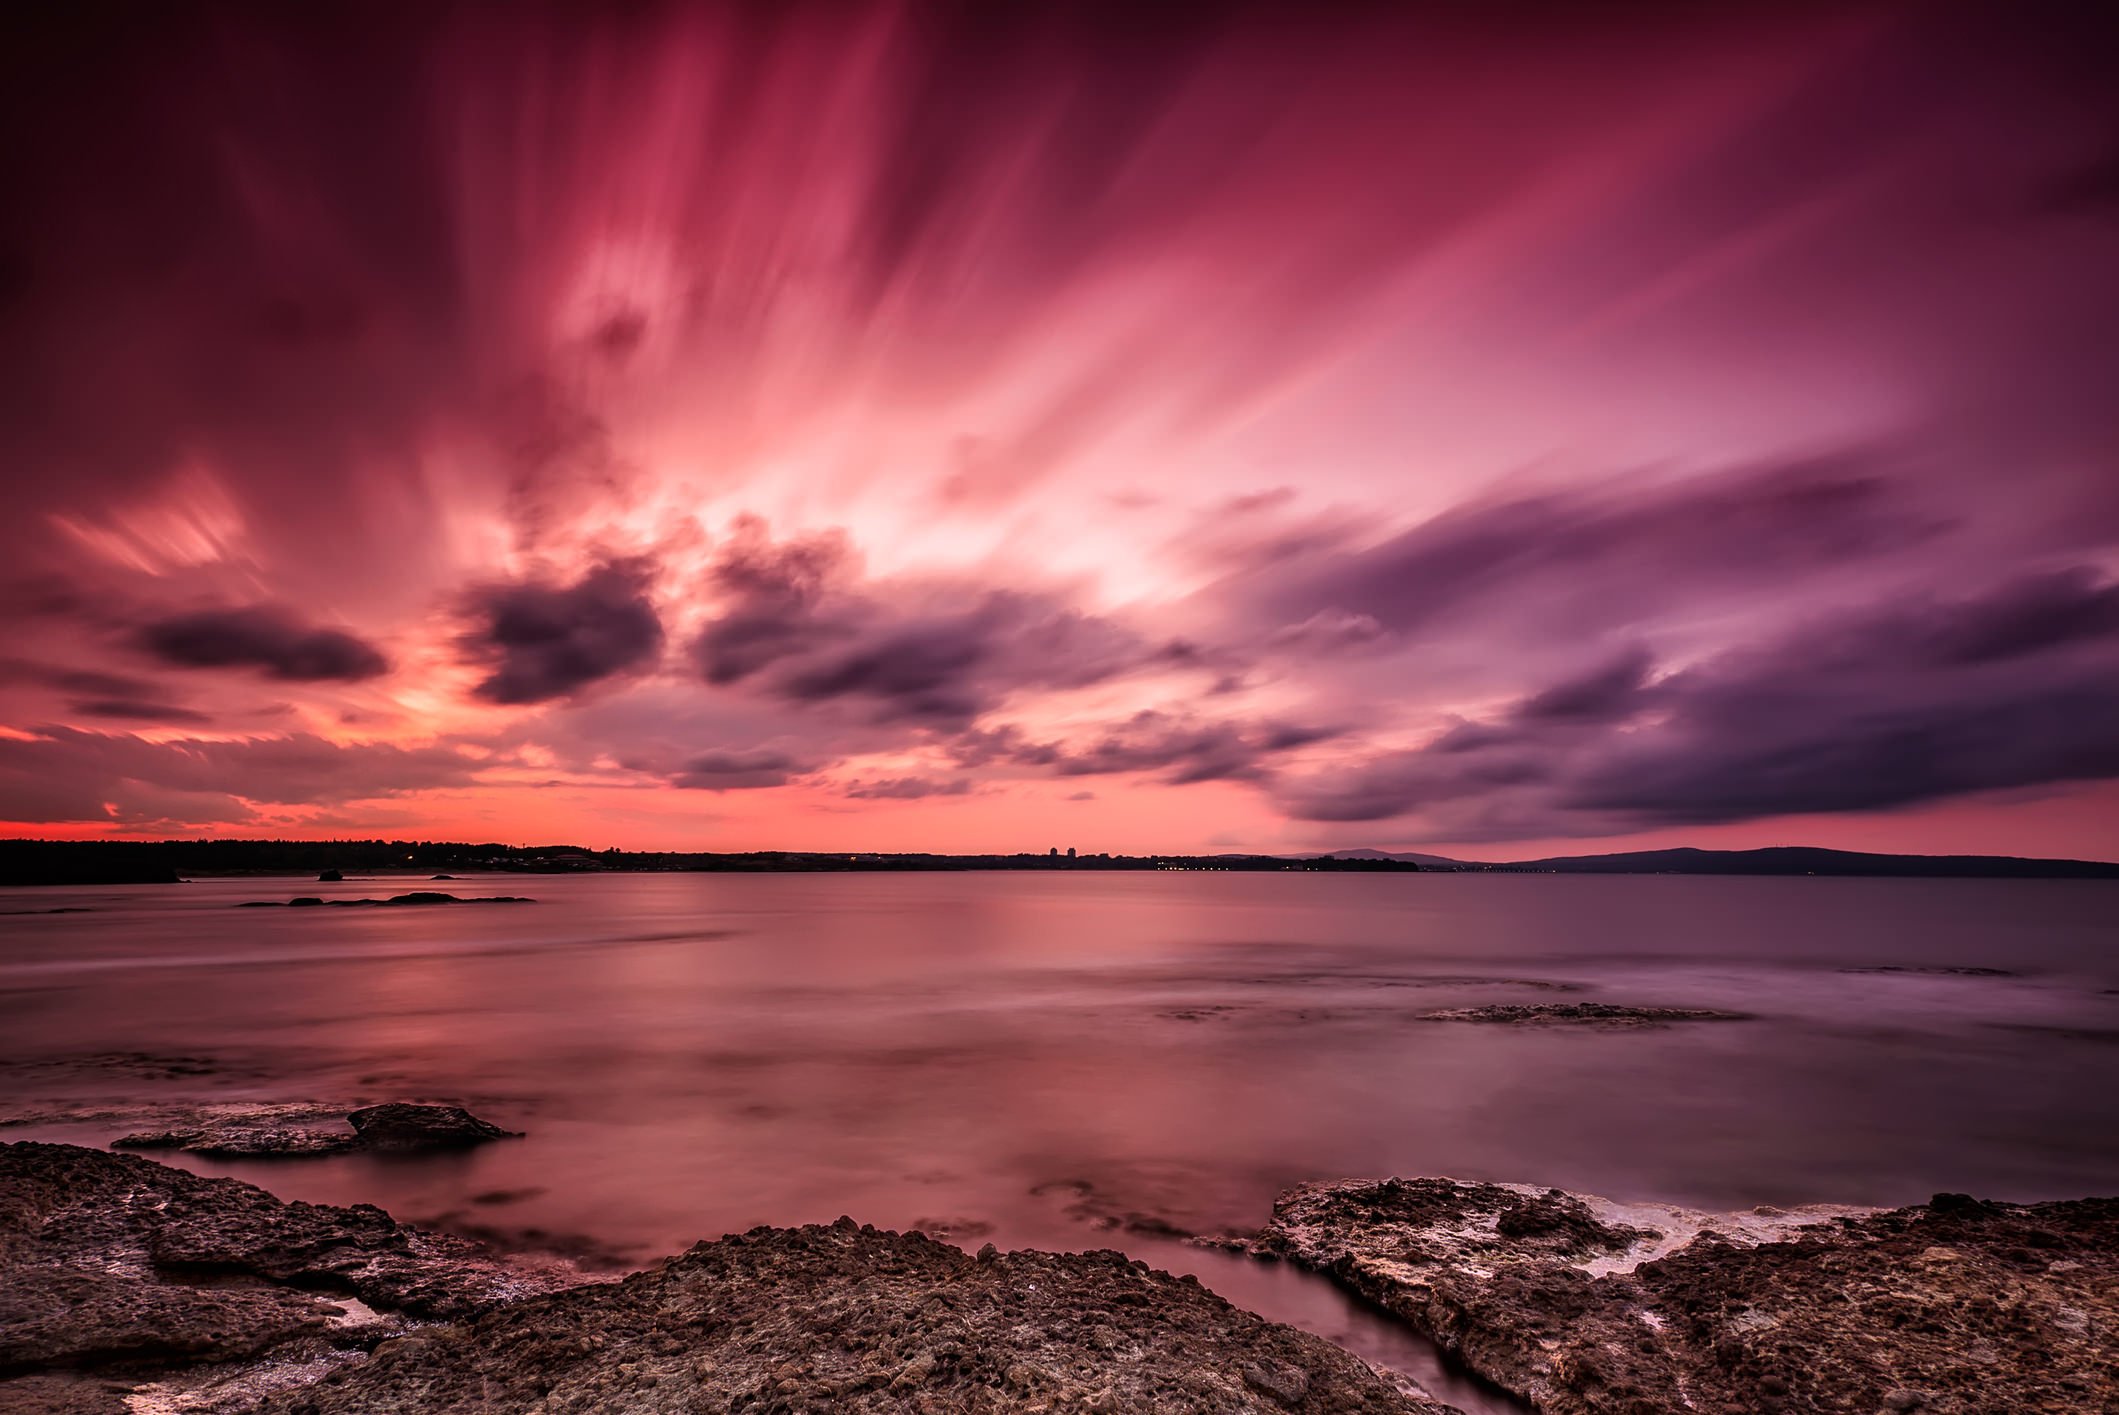
In situations in which you really need to slow things down, a 16-stop filter allows you to extend the exposure to well beyond 5 minutes for surreal, dreamy images like the one above.
Long exposure photography requires a lot of a photographer. You have to take control of focusing and watch out for hot pixels. You need the right conditions to get the best effect as well.
But you also need the right gear - a good tripod and filters that allow you to get the effects you want without the side effects that cheap filters often come with.
If you want to step up your long exposure game, follow these easy guidelines and pick up a set of ND filters from Format-Hitech. The results will be well worth it!