How to Take a Long Exposure
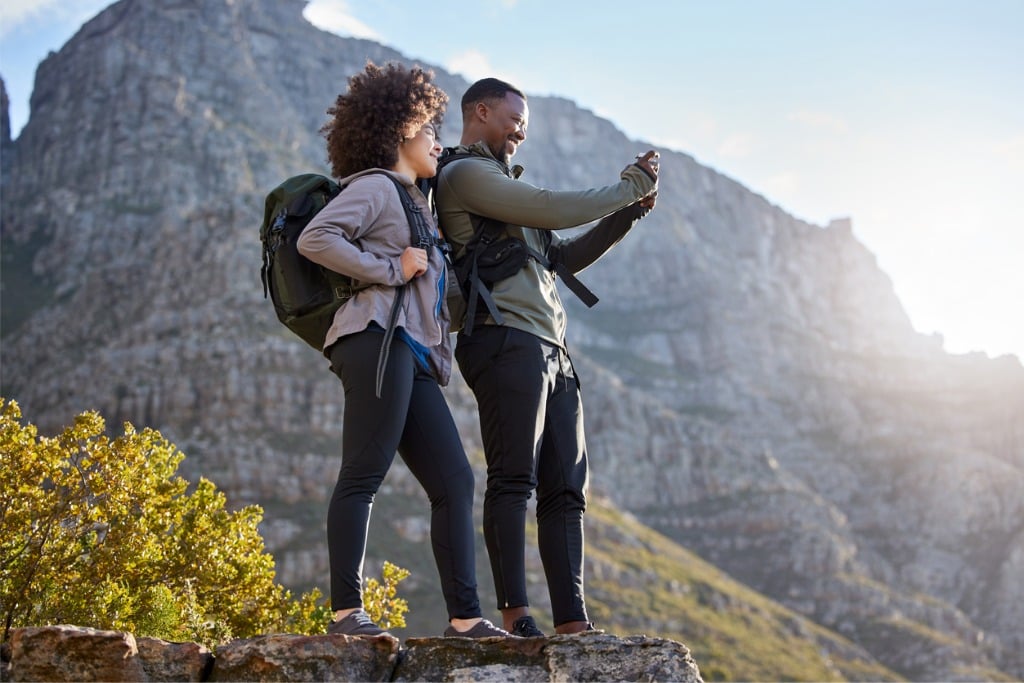
- Plan - Pick a shoot location that affords you a good view of your intended subject. Determine how to get there, how long it will take to get there, where to park, when the sun sets, and so forth. The more you plan, the more successful you will be.
- Set up your gear - Get your tripod on solid ground, remove your camera strap (so it doesn't flap in the wind), mount your camera, and plug in your remote.
- Determine the camera settings - The settings you use will depend on a host of factors, including the specific subject you're shooting, the intensity of the long exposure effect you want, and the available light. To start out, try an aperture of f/8 and an ISO of 100 or 200. The shutter speed you select will determine the level of long exposure effect - a short shutter speed will have little impact; a long shutter speed will extend the effect as seen in the star trails above. This will require a lot of trial and error to get a well-exposed image and get the long exposure effect you want.
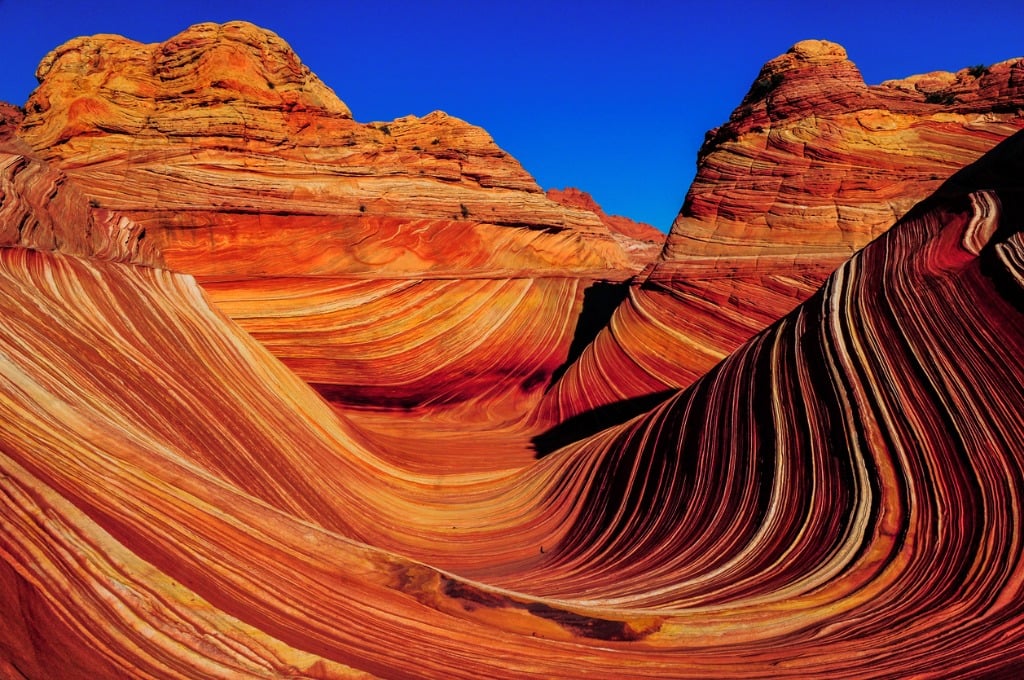
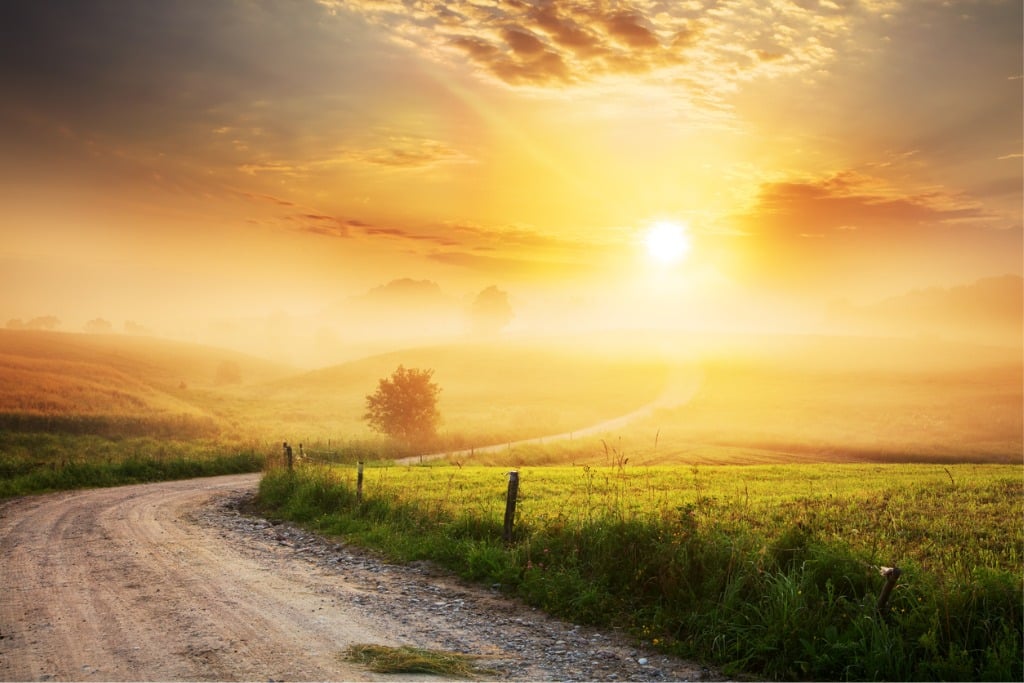
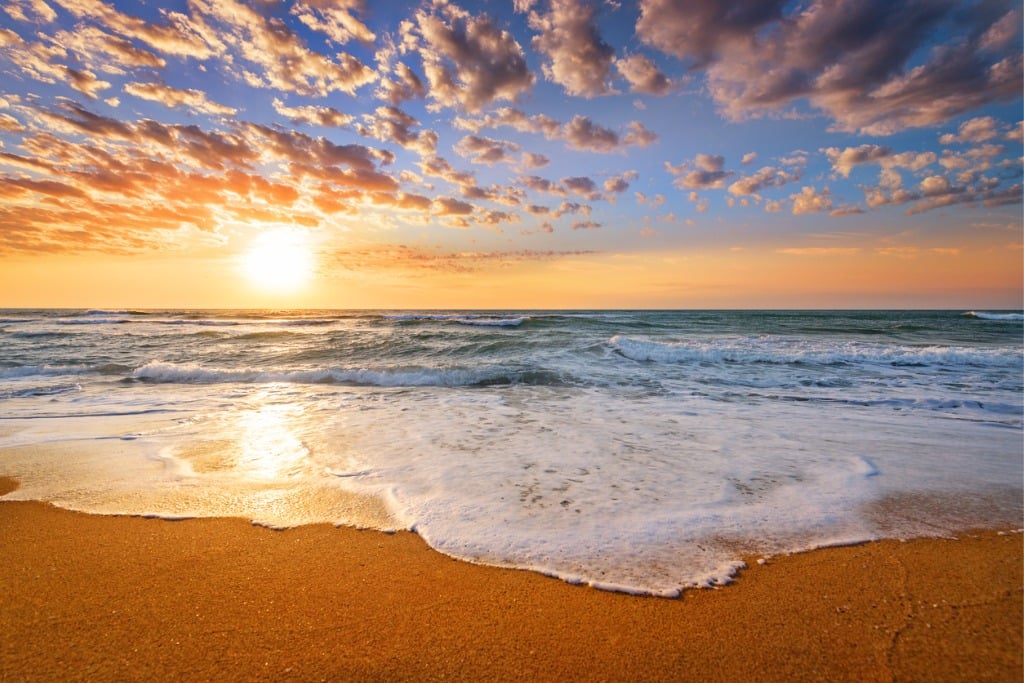
- Compose the shot - No matter if you're photographing a busy street at night or a sky full of stars, be sure to frame the shot such that it includes interesting foreground, midground, and background elements. For example, don't just take a photo of the sky - add in trees, a mountain peak, a tent in the foreground, and so forth. Having supporting elements like those makes for a more interesting shot.
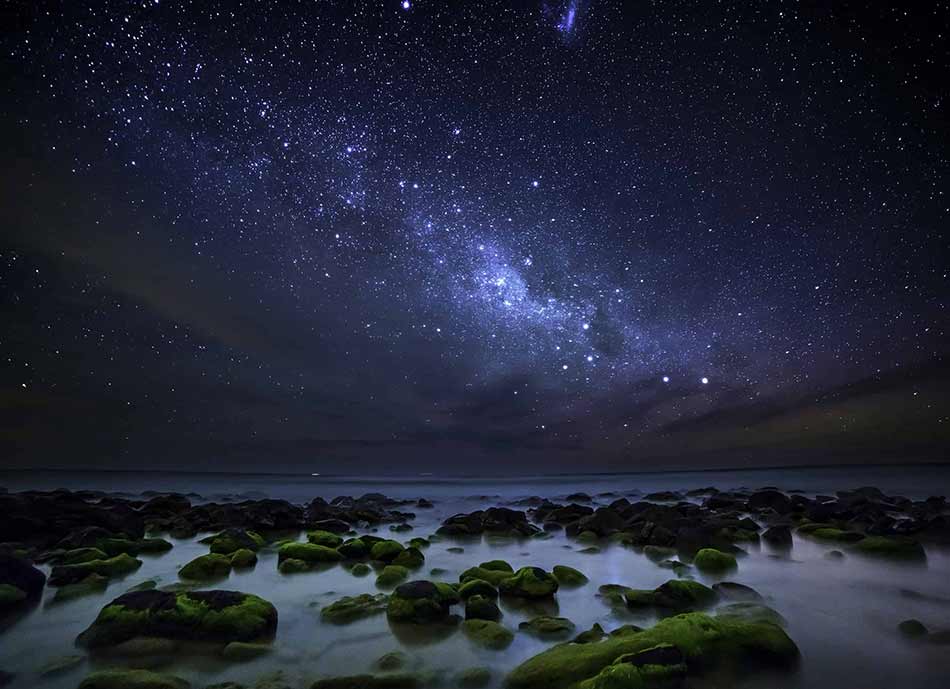
Long exposures are one of my favorite types of photos because they look so incredible (assuming you get everything right, of course) and because they look hard to do.
Now, I'm not saying that there isn't a decent level of work involved to get shots like the one above, but it's certainly not as complicated as you might think.
In fact, you can learn how to take a long exposure in just a few minutes' time.
Don't believe me? Read on and find out!
Gear List
First and foremost, you'll need some specific gear to get your long exposure photos:
Camera
Duh - you need a camera.
But you don't have to have a big, fancy camera!
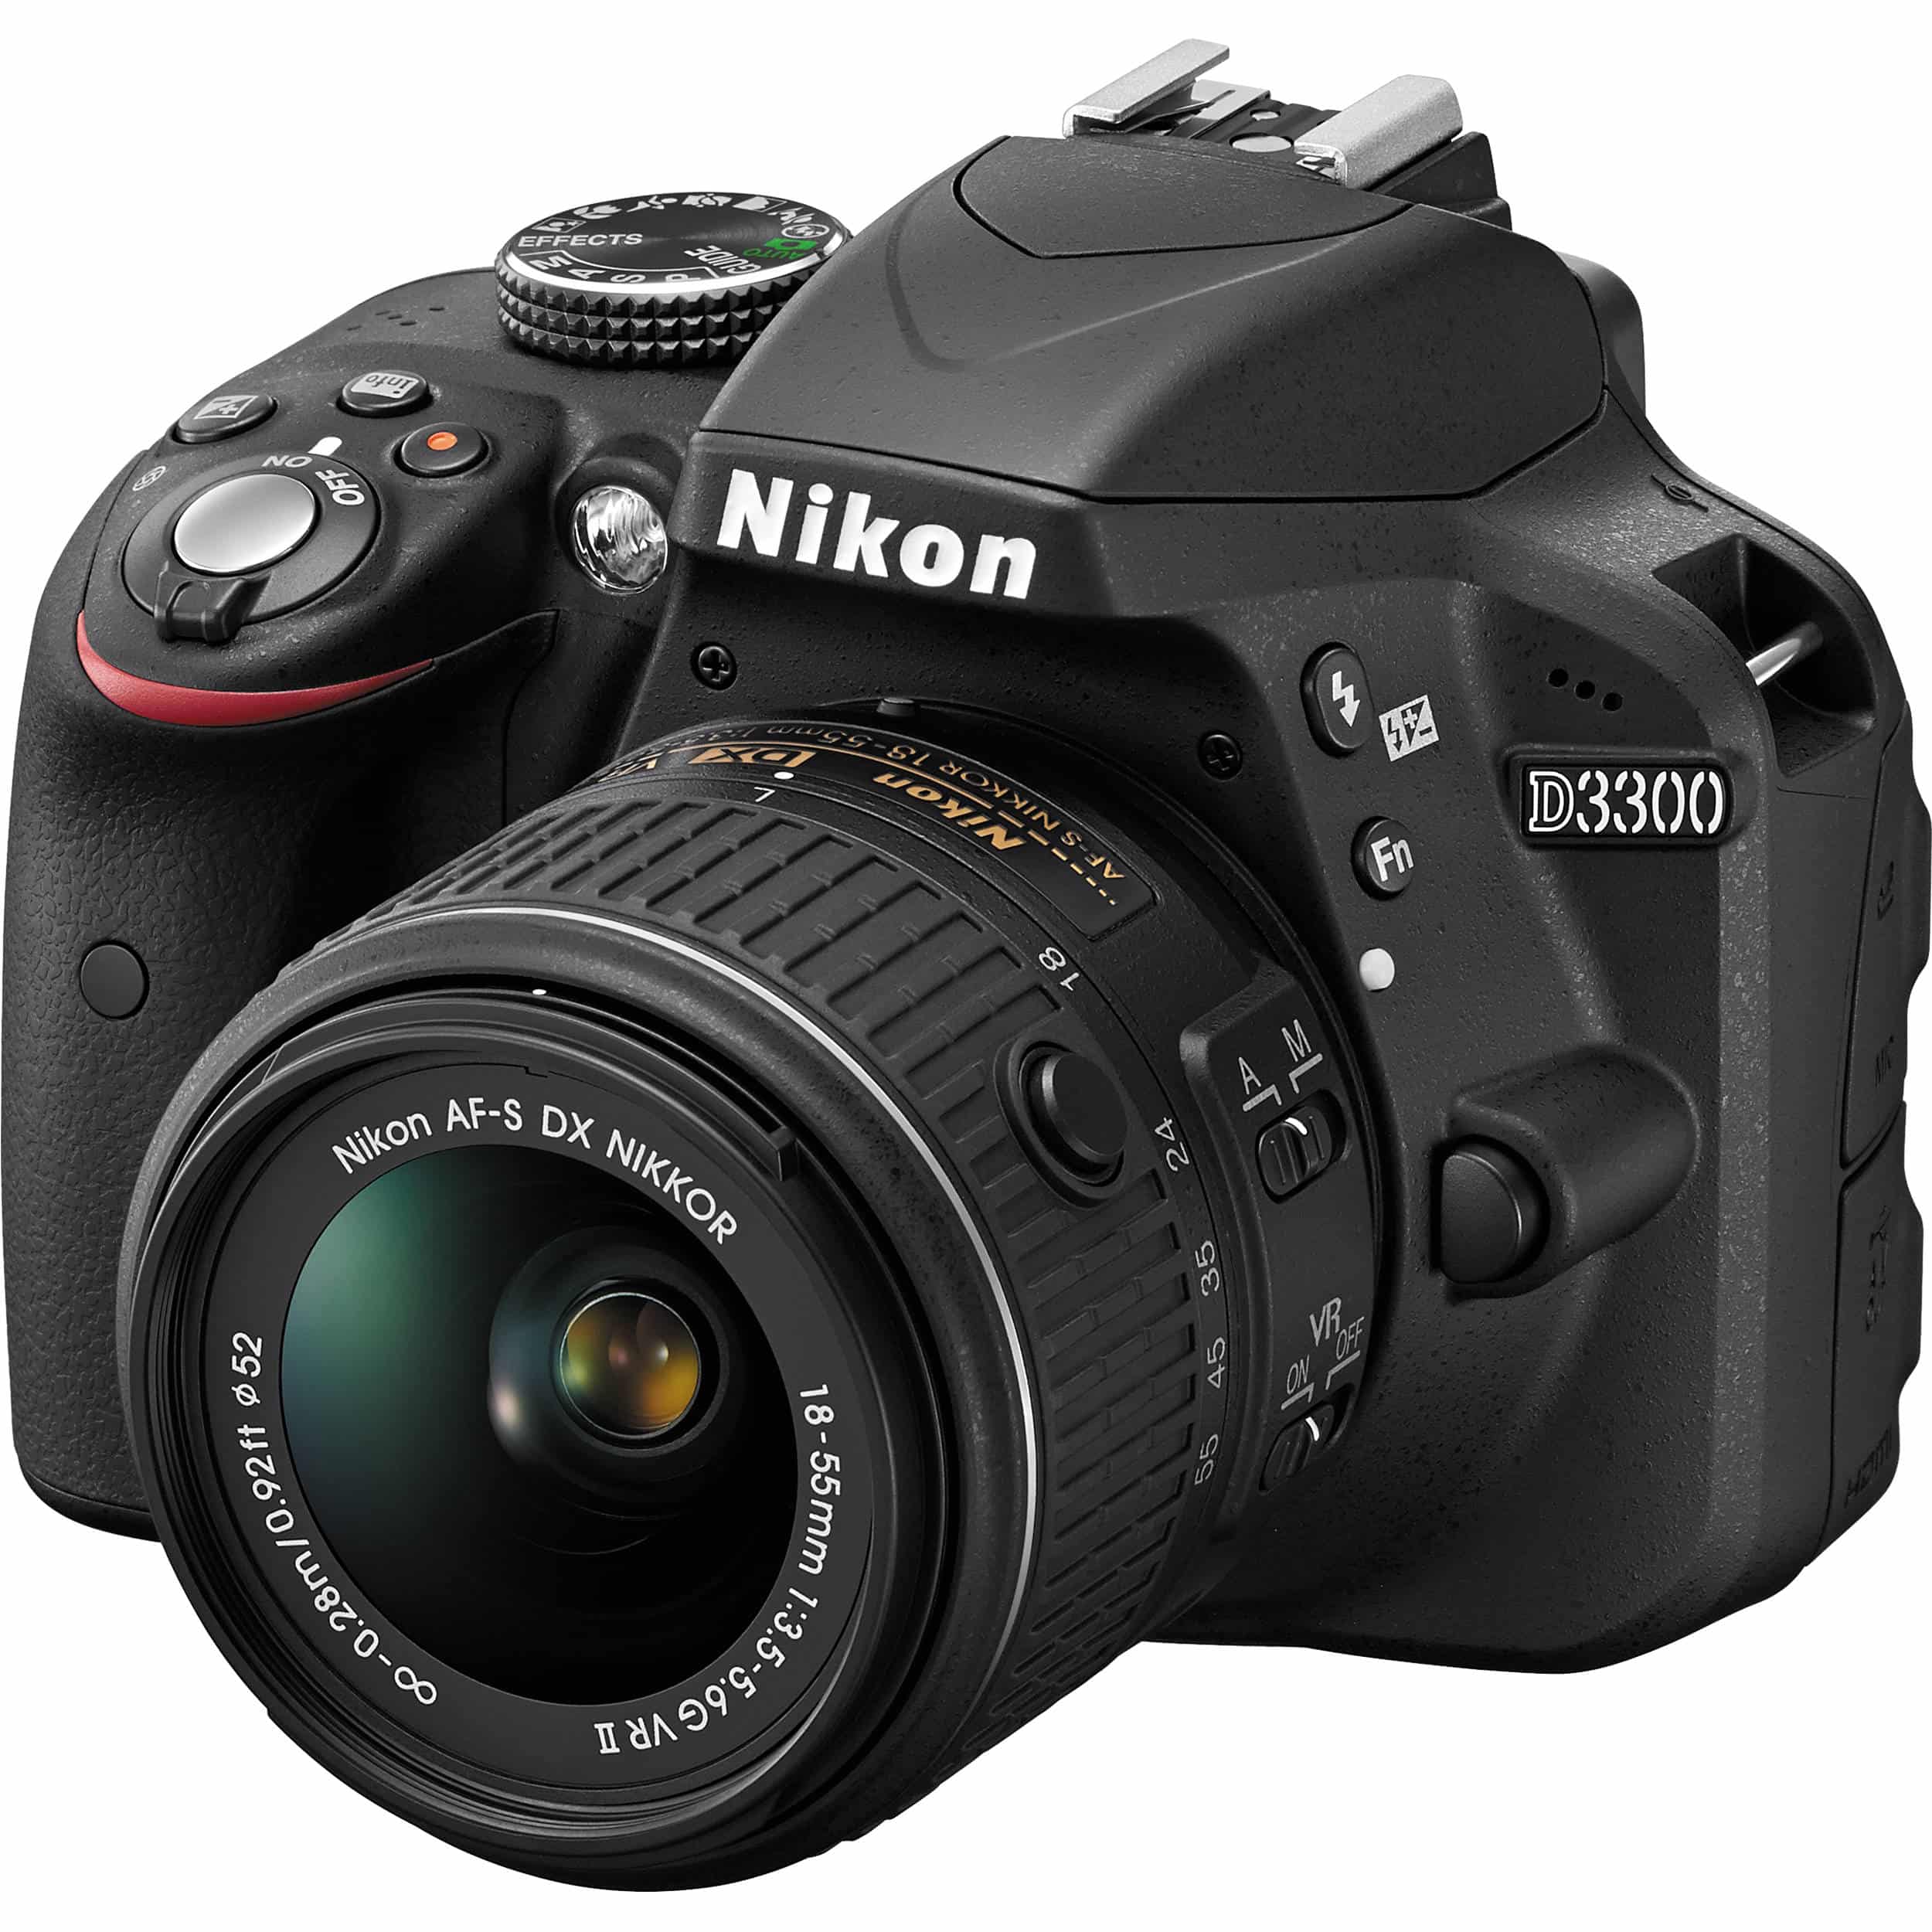
An interchangeable lens camera with a self-timer and bulb mode is ideal. And the nice thing is that many inexpensive, beginner-level DSLR and mirrorless cameras have those features.
That means you don't have to spend an arm and a leg on a camera if you don't already have one.
Take the Nikon D3300 shown above with an 18-55mm kit lens as a great example. Brand new, this thing is under $450 at the time of writing. That's not a bad deal!
Tripod

Since long exposure photographs deal with shutter speeds that are seconds, if not minutes long, you'll need to give your camera a solid, stable base such that the images you capture are as sharp as possible.
Again, you don't have to break the bank on a tripod in order to get something that will serve you well and has plenty of features for long exposures and other types of photos (and video, too!).
The Vanguard VEO 235AP is a great example of an inexpensive tripod (about $115 at the time of writing).
Vanguard tripods have an excellent reputation for build quality, so you know you're getting something you can depend on when you take long exposures.
It can hold nearly 8 pounds, so well within the realm of a crop sensor camera and a lens.
It has five leg sections to give you great variability in height, but it folds down to less than 15 inches for easy transport.
Rubber feet, metal spikes, and easy locking legs make it easy to set up too. It even comes with a PH-25 2-Way Pan/Tilt Head!
Remote
Even pressing the shutter button to start your long exposure can cause enough vibration to reduce the sharpness of your images.
That's why you need to minimize how much you touch your camera and work with a remote.
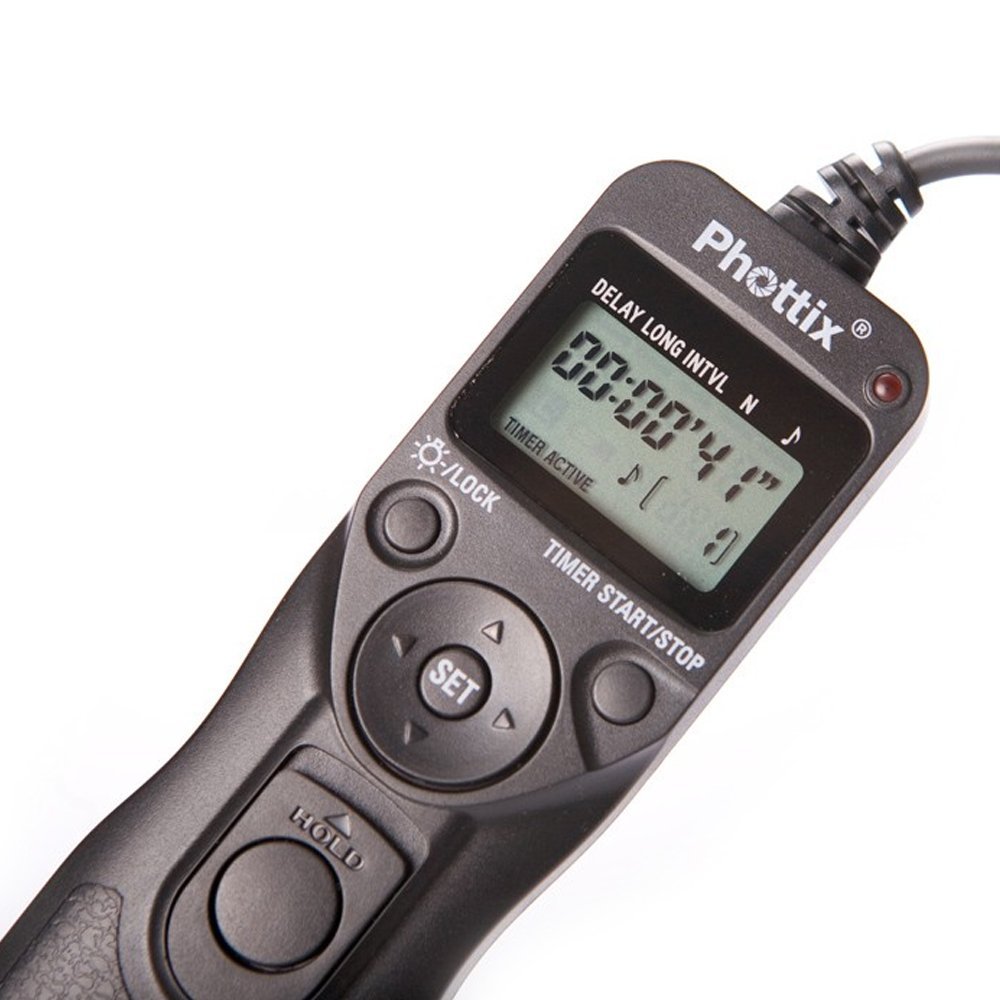
But you can't just use any remote - you need an intervalometer that allows you to control how long the shutter is open.
That means that instead of standing there with your finger on the shutter button for minutes on end (which would be impossible to do and get a sharp photo), you use the intervalometer to hold the shutter open.
Basic, wired intervalometers can be found for around $50 online, like this one that works with the Nikon D3300 I mentioned earlier.

For a few more bucks, you can get a much fancier remote that might just prove to be the most valuable piece of gear you have for taking long exposures.
Pulse by Alpine Labs is like a camera remote on steroids - this thing is packed with features that make your job much, much easier.
It's controlled via a smartphone app, so there's no wires to contend with. That means you have much greater range (up to 100 feet) to control your camera.
Just mount it to your camera's hot-shoe mount as seen above, plug it in, dial in the needed settings on your phone, and let Pulse do all the work!
Better still, you can use Pulse for all sorts of other goodies - still photos, real-time video, and time-lapse videos too.
Process

The process of taking a long exposure is pretty straightforward:
You Need Patience, Too
Creating long exposures isn't something you can necessarily do on a whim.
Depending on the conditions and the look you're going for, you might have exposures that are 20, 30, 40 minutes or longer.
And then once the exposure is complete, your camera will have to process all the data it's collected, which can take just as long to do as the exposure itself.
In other words, you might spend an hour (or well beyond that) just to get one shot.
When you consider all the planning that has to go into taking long exposures, the time needed to setup your gear, and so forth, you can see why patience is a crucial part of this undertaking!
Get some more insights into long exposure photography and get inspiration for tackling this kind of project in the video above by Peter McKinnon.