Why a Stable Tripod is Essential for Night Photography
- Night Photography and Other Long Exposures
- A Sturdy Tripod for Night Photography
- Mirror Lockup for Night Photography
- Sweet Spot Aperture and Night Photography
- Stabilizing Your Night Photography Tripod
- Remote Releases - Wired and Wireless
- Recommended Photography Gear
- Unique Photography Gadgets that Serve a Useful Purpose
- 6 Video Lighting Techniques (That Are Useful for Photography, Too)
- Tripod Tips for Beginner Photographers
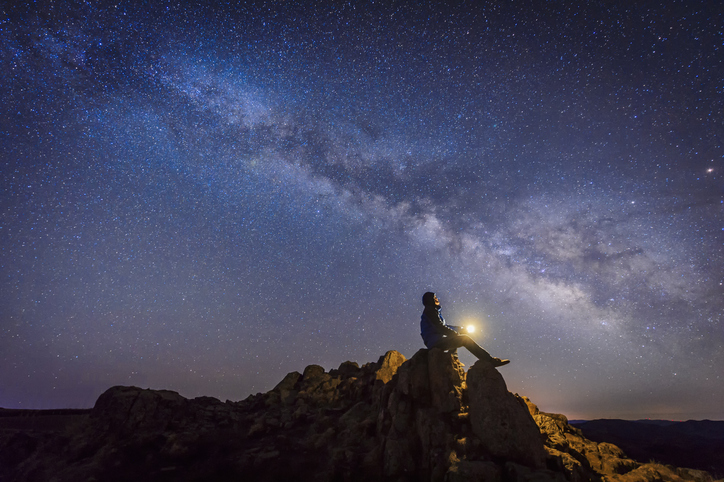
Photo by bjdlzx via iStock
Astrophotography! Light Painting! Blue Hour! HDR! Night Photography! Have you tried any of these long exposure night photography styles or techniques lately? If so, you know how important it is for your camera to remain motionless. Not simply steady, absolutely motionless.
How do you make sure your rig is as stable as can be? I’ll detail some important techniques and also point you to a few items of stabilization that will be helpful for night photography and night sky photography.
Table of Contents:
Night Photography and Other Long Exposures
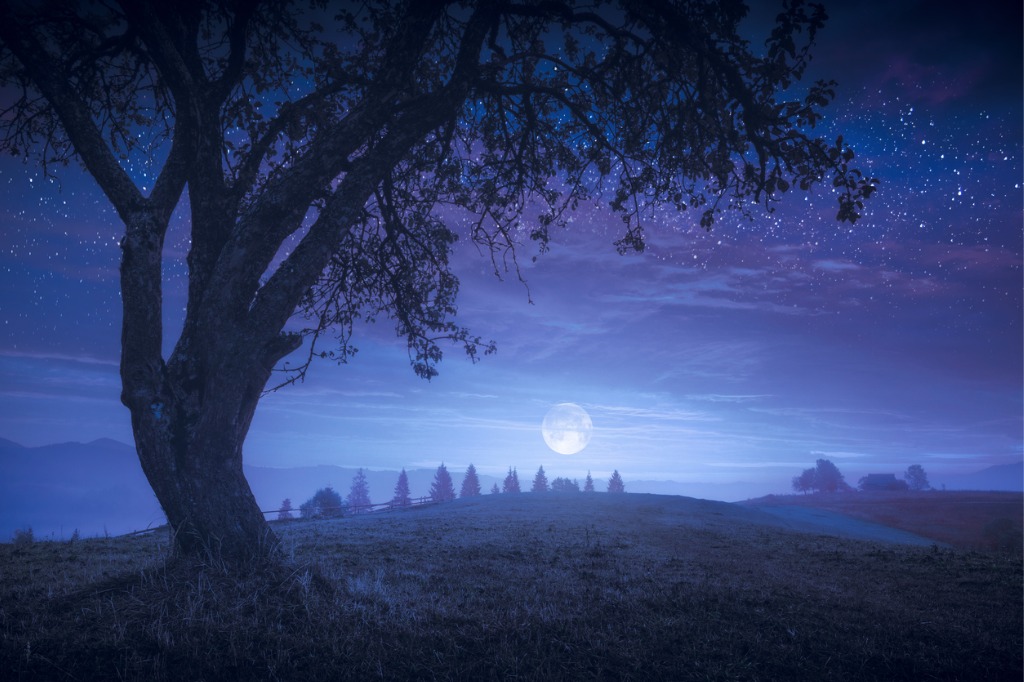
Photo by Vitalii Bashkatov via iStock
Night photography is a fun and rewarding aspect of photography that many photographers try out as they become more advanced and more comfortable with photography. In addition to night sky photography, there are other forms of ultra-long exposure time photography, such as Blue Hour photography, ND Filter use, light painting, and astrophotography.
I differentiate between night photography and night sky photography or astrophotography by looking at the subject. If the main subject is the sky and stuff in it, I call it astrophotography or night sky photography. If the primary subject is any other thing at night, such as a moonlit landscape, I call it night photography. Either type of subject may require exposure times measuring multiple minutes.
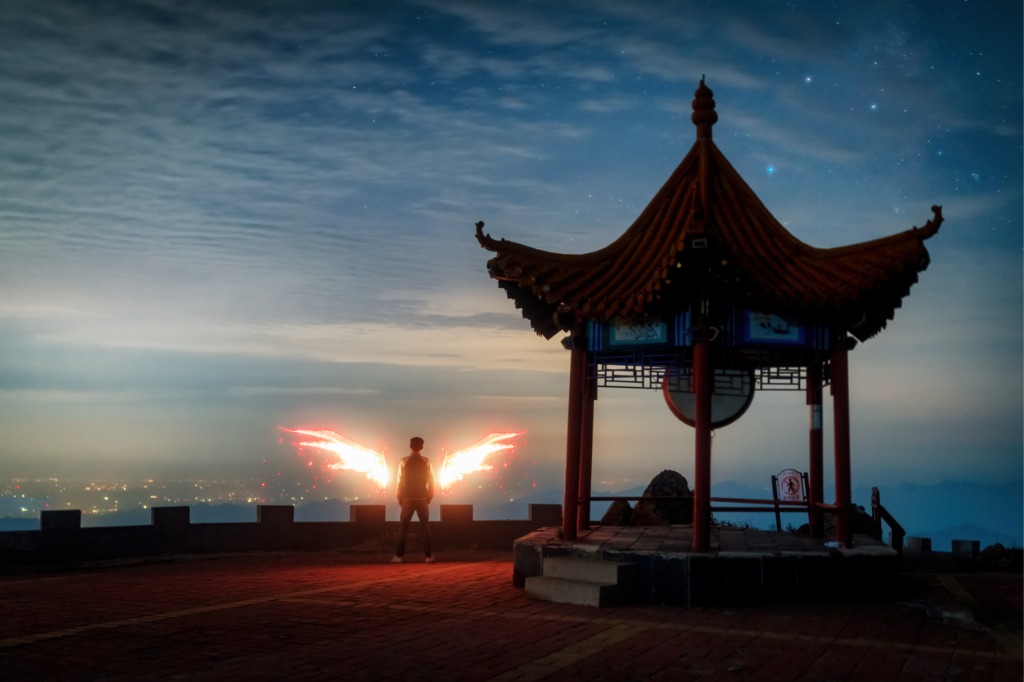
Photo by bjdlzx via iStock
Light painting night photography is made by keeping the camera shutter open for several seconds or minutes and using a portable light source to add in streaks of light. Some light painters get so good at it that they can write your name in the air or add fiery wings to a person. It’s a fun part of the night photography genre.
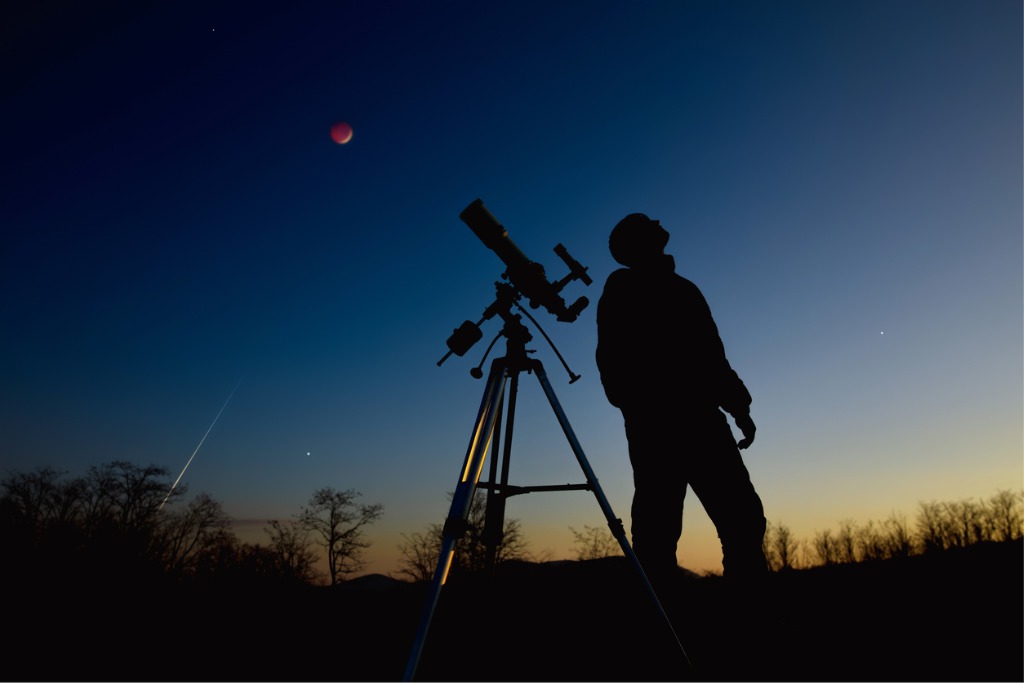
Photo by m-gucci via iStock
Blue Hour night photography is the time period between when the Sun is just below the horizon and the full dark of night. Shooting in the morning, it starts at astronomical twilight and continues to sunrise. In the evening, it starts as the Sun sinks below the horizon and keeps on until there is no more skyglow from our home star. Shutter speeds for this night photography can vary from a fraction of a second to a couple of minutes.
Using ND filters can allow you to create amazing moving water and cloud elements in your images by increasing the density of the light path, attenuating it to a greater or lesser degree. You can go from a Sunny 16 exposure with a shutter speed of fractions of a second to exposure times measuring several minutes.
A Sturdy Tripod for Night Photography
The one thing all of these styles of night photography have in common is very long exposure times. The shutter speeds can vary from a relatively long fraction of a second, such as ½ second, to several seconds, to exposure times measured in full minutes.
Stacking exposures for night sky photography or using HDR bracket and merge photography counts as log exposure times since the camera still needs to remain motionless for these techniques.
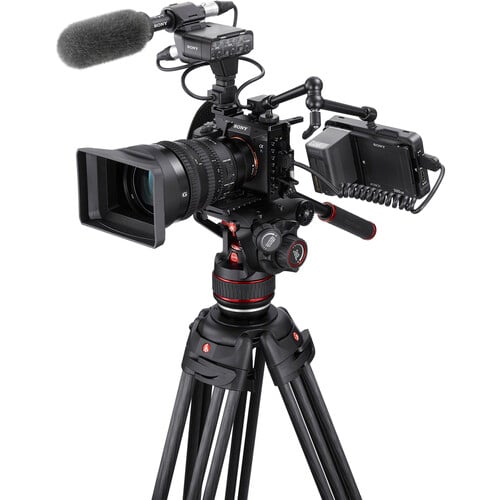
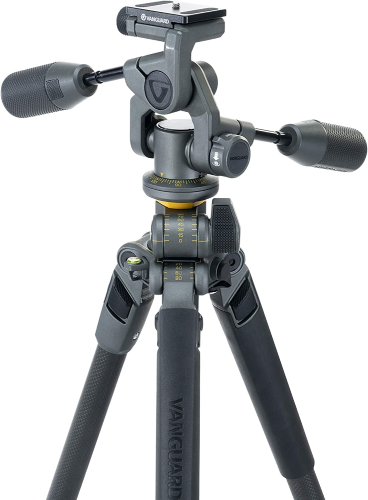
These long time periods with the camera shutter open create a need for extra stability. That means you need a sturdy tripod. Preferably one that is also well-dampened from vibration. A large aluminum or carbon fiber tripod works immensely for night photography.
The Vanguard Ultra Pro 2+ tripod with Alta PH-32 Pan Head is a versatile choice. It is tall and rugged, offering plenty of stability for most night photography. The carbon fiber legs are lightweight compared to similar size metal tripods and have excellent vibration dampening. It’s also a great general-purpose tripod with a multi-angle center column and three-way fluid pan head.
Mirror Lockup for Night Photography
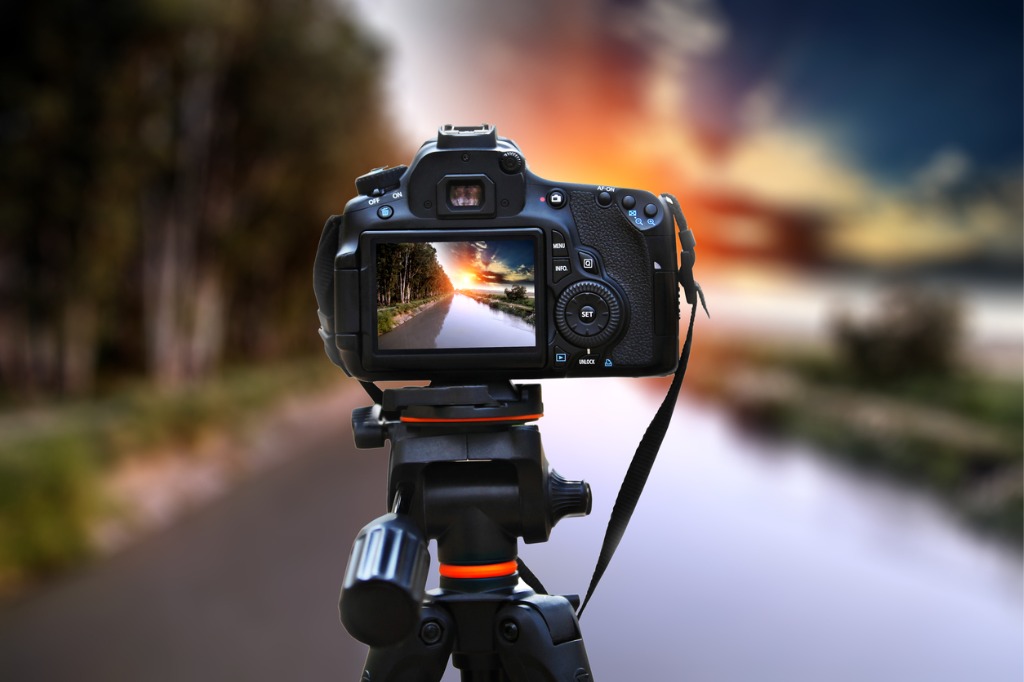
Photo by pixelfusion3d via iStock
DSLR users will want to check their instruction manuals for how to lock up the mirror prior to shutter release for more vibration reduction. If you have a mirrorless camera system, the issue of mirror slap vibration is non-existent.
Most DSLRs don’t have a huge issue with this, being well-dampened in general. Still, even a tiny bit of camera vibration can negatively affect the image for some night photography. Pro DSLRs usually have a specific control for mirror lockup, while intermediate and prosumer cameras may incorporate the feature with the self-timer.
Sweet Spot Aperture and Night Photography
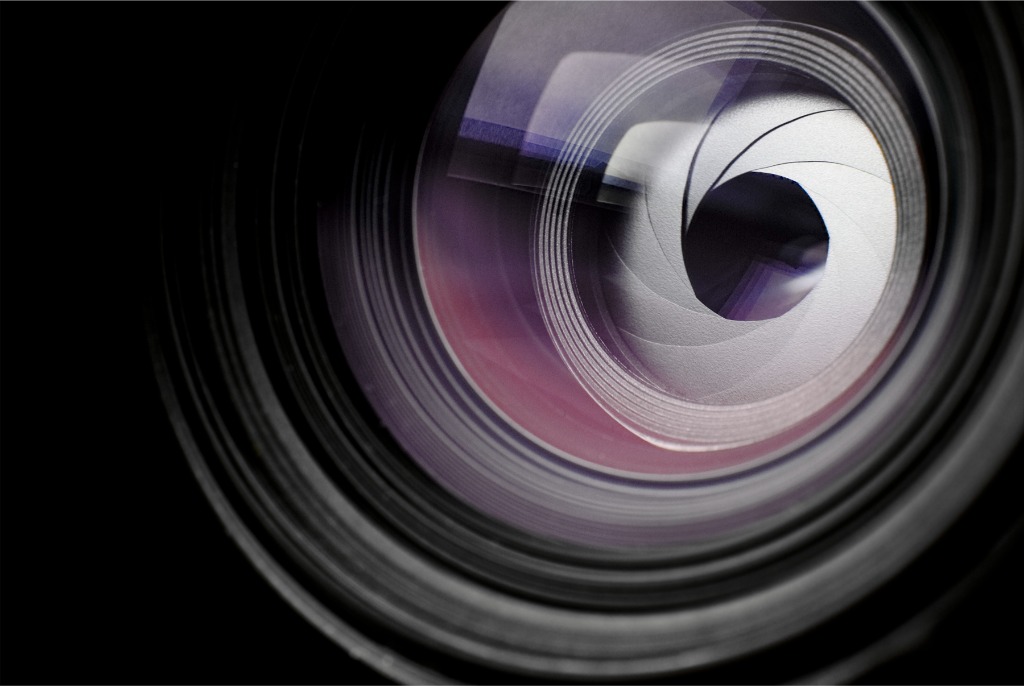
Photo by nicolas_ via iStock
Night photography and wide-open apertures aren’t always the best combination. That’s because even the finest lenses have some form of distortion or aberration when used wide open. There is no “perfect” lens in the real world.
The sweet spot is the aperture that first eliminates these problems as you stop down. The sweet spot is often found 2 to 3 stops down from fully open. For an f/1.4 lens, that means that f/2.8 or f/4.0 might be the sweet spot aperture for that lens. Many photographers consider it a range of f-stops, so an f/1.4 lens may have a range from f/2.8 to f/5.6 or f/8.0 that works well.
Since we’re using long exposure times in night photography, just about any aperture will work, at least regarding exposure times or shutter speeds, except for that other issue of night photography, diffraction.
Stop down a lens to the smaller apertures, and this optical phenomenon degrades point light sources. It’s caused by the property of light waves to bend when impinged by something solid, such as the aperture blades. It may not be a huge issue with general night photography, but it will definitely affect night sky photography, such as astrophotography.
Stabilizing Your Night Photography Tripod
Even the most stable and well-dampened tripod could use some help to keep it as perfectly still as possible. Also, you may need to consider the safety of your camera and tripod setup since you risk knocking it over while engaged in night photography. It’s dark at night!
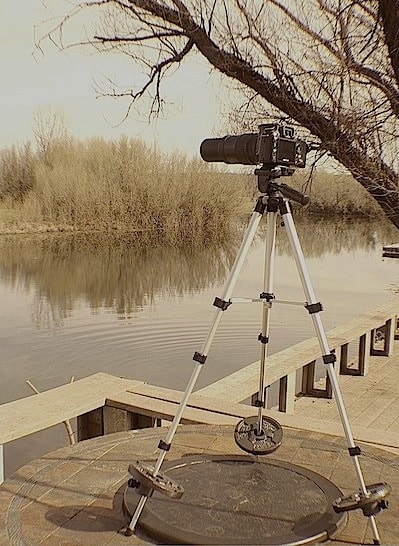
What I use for extra stability for top heavy light stands in the studio also works great in the field, steadying and counterbalancing my tripod for night photography. I use the StandDaddy tripod and stand stabilizer system.
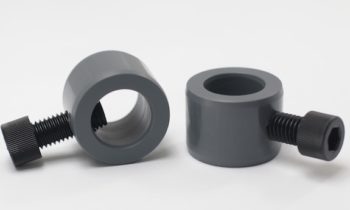
StandDaddy is a set of ring clamps that attach to the lower part of the tripod’s legs, allowing you to use portable and inexpensive barbell weights to steady the rig. The clamps slip right on and are hand tightened in whatever position you need. The large set screws do not mar any finish and are easy to loosen or tighten without tools.
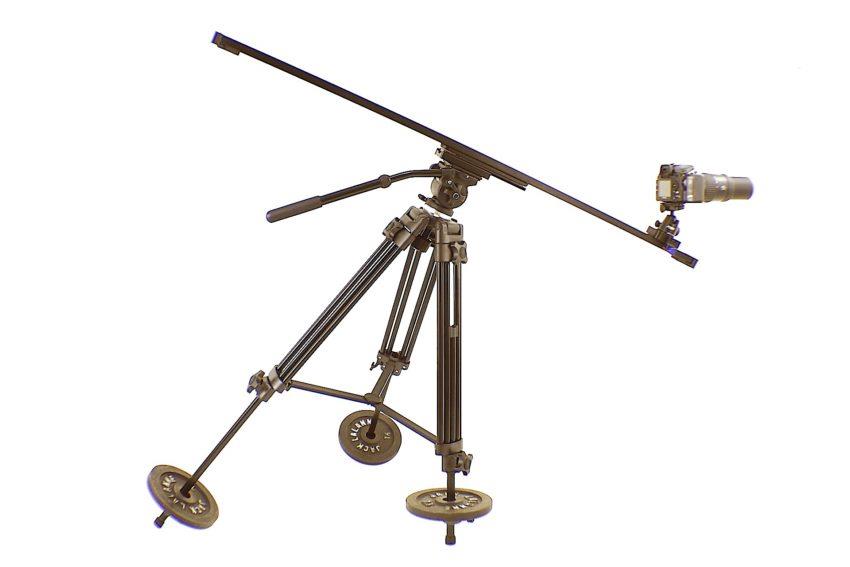
The barbell weights do not come with the StandDaddy clamps. Weights are easy to find, though. I found 2 ½ lb plastic barbell weights at WalMart for around $2.00 each. You may already have some lying around. Any type will work if they have a 1” center hole.
Have a look at why Joe Edelman likes using StandDaddy clamps for his work in the field in the YouTube video above.
This solution works for night photography because the extra weight helps stabilize and dampen the tripod from any movement you cause by adjusting settings or just moving around waiting on the exposure to end.
You also have less chance of accidentally knocking over your camera and lens since the center of gravity is much lower to the ground. This is especially beneficial for night photography in uneven terrain or under very dark sky.
Remote Releases - Wired and Wireless
![]()
You can keep from touching the camera at all when mounted on your tripod by using a remote release. These come in wired and wireless varieties such as the Pixel TW-283, for instance, and can also be found as a smartphone app for some camera models.
Not only can you use these releases or phone apps to trigger your camera's shutter from close by to reduce vibration, but it can also be used from quite a distance away - often over 200 feet. Some also have options for being used as an intervalometer and a long exposure timer, making possible unique and difficult shots outside of our night photography efforts.
Mix and match these night photography tips, techniques, and tools to maximize your adventure into the fun and rewarding field of night photography.