Basic Yosemite National Park Photography Tips
- Look for Foreground Interest
- Watch the Focus
- Learn the Exposure Triangle
- Invest in a Polarizing Filter
- Get Advice From a Pro
- Aperture is the size of the lens opening. It controls the amount of light that enters the lens. The larger the opening, the more light; the smaller the opening, the less light.
- Shutter speed controls how long the shutter is open. That means it controls the duration of light that's allowed to hit your camera's sensor. The longer the shutter speed, the more light that results. The shorter the shutter speed, the less light that hits the sensor.
- ISO controls the sensitivity of the camera's sensor. The lower the ISO, the less sensitive the sensor is to light. The higher the ISO, the more sensitive it is.
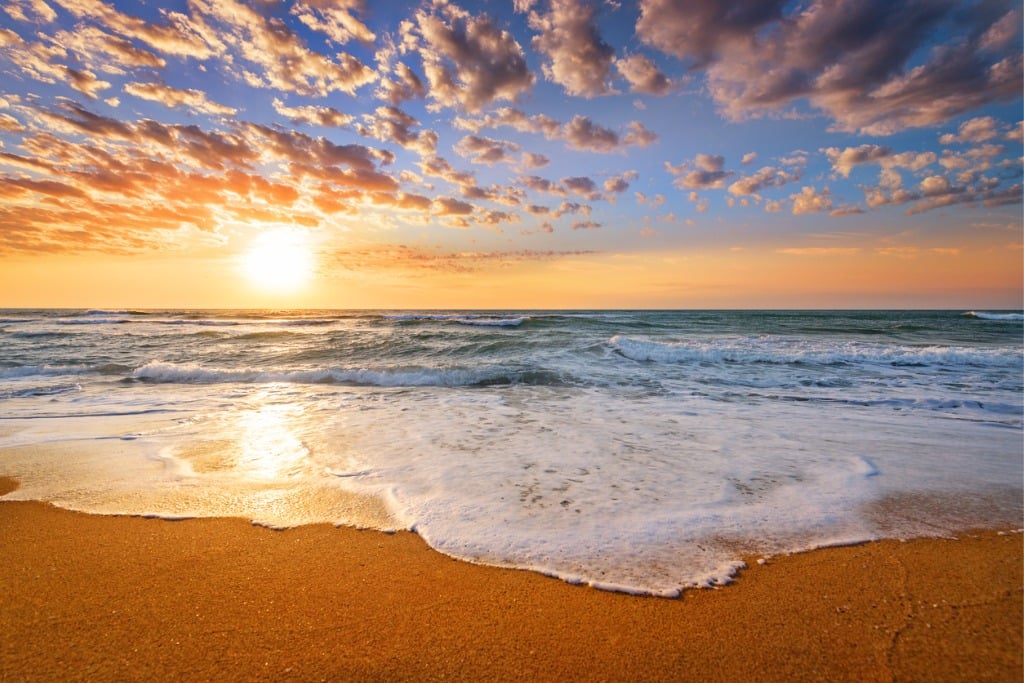
- To boost contrast in the shot
- To reduce glare on water and wet surfaces
- To minimize atmospheric haze
There is no doubt that Yosemite has some of the most beautiful landscapes in the world. If you're a beginner photographer, there's no better place than to start exploring the skills and techniques needed to capture breathtaking images!
Of course, as a beginner, you might not know where to begin. It can be overwhelming, but with the tips outlined below, you'll have a good starting point for beginning your exploration of landscape photography.
So, let's dive into some basic Yosemite National Park photography tips to get you headed in the right direction.
Editor's note: The images used in this article are by our good friend Jeff Sullivan, and are used with permission.
Table of Contents
Look for Foreground Interest
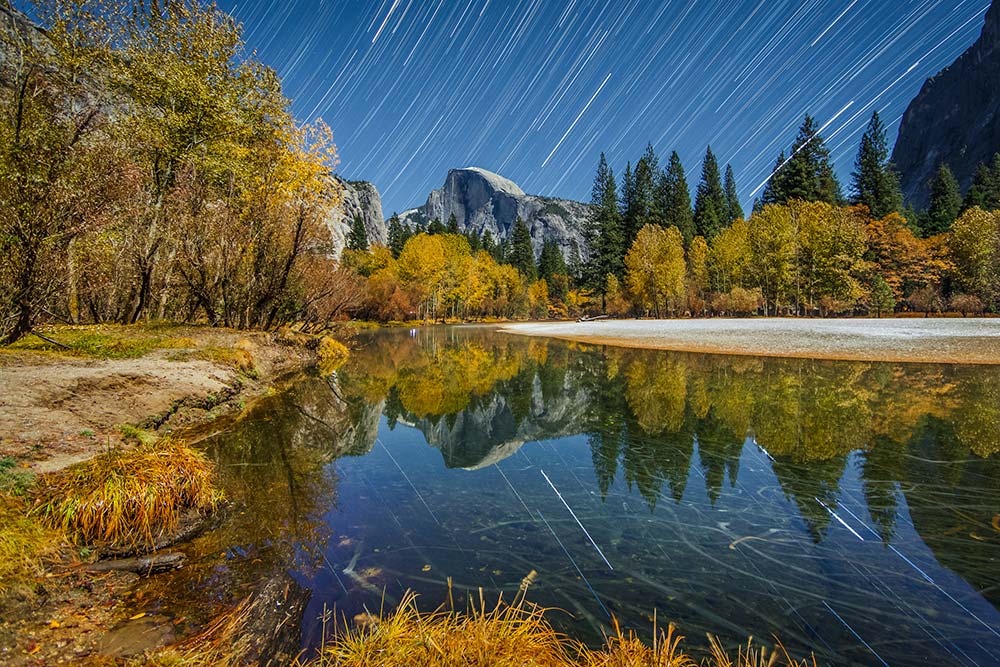
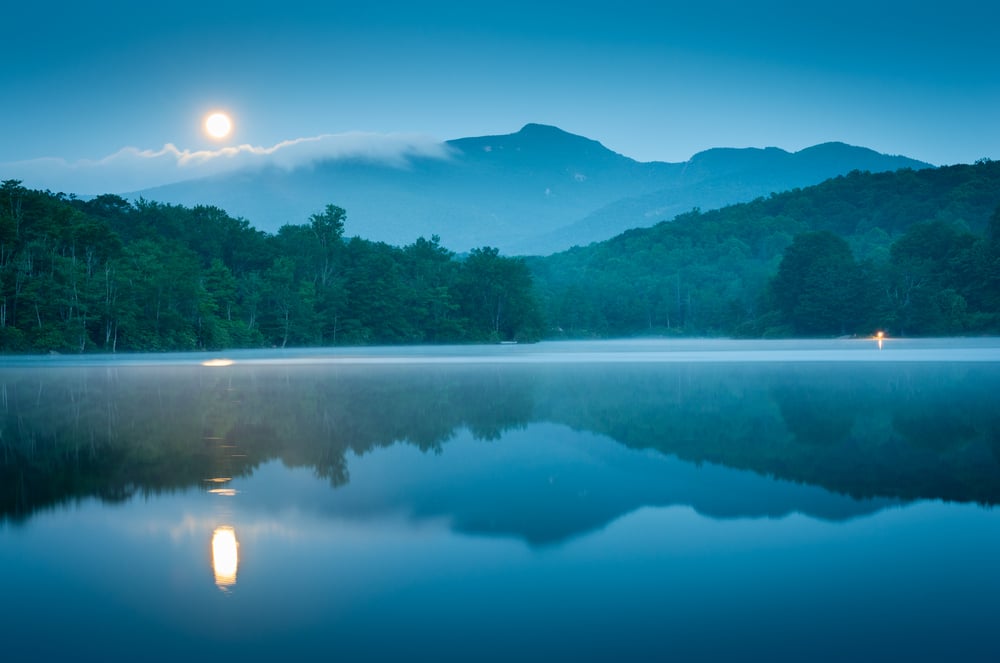
When composing a landscape photo, think of it like a story with a beginning, middle and an ending. The foreground of the shot can be the beginning of the story - the hook that draws people in (like the reflection of the star trails in the water in the image above).
Then, you continue the story in the mid-ground with some interesting landscape elements that capture the viewer's attention.
The story ends in the background, with yet more eye-catching details for viewers to explore.

By including foreground interest, you give viewers something that introduces them to the scene. This might be a colorful plant, a boulder in a stream, or a pathway that leads the eye from the foreground to the background.
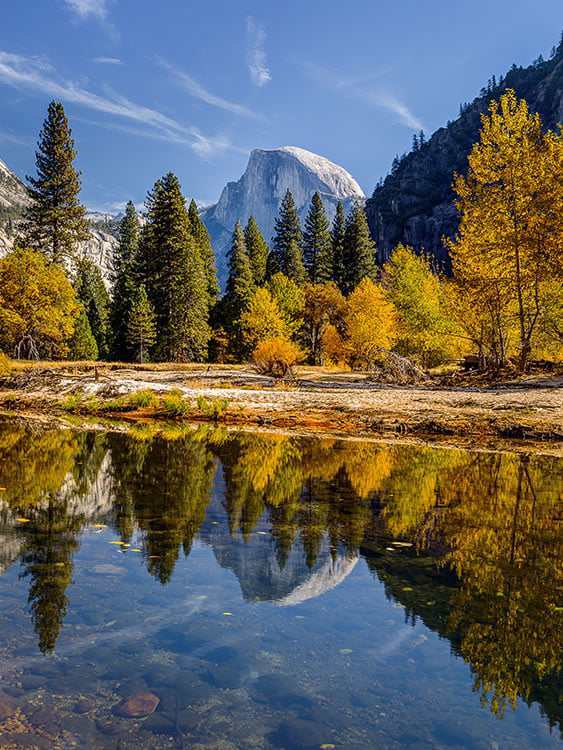
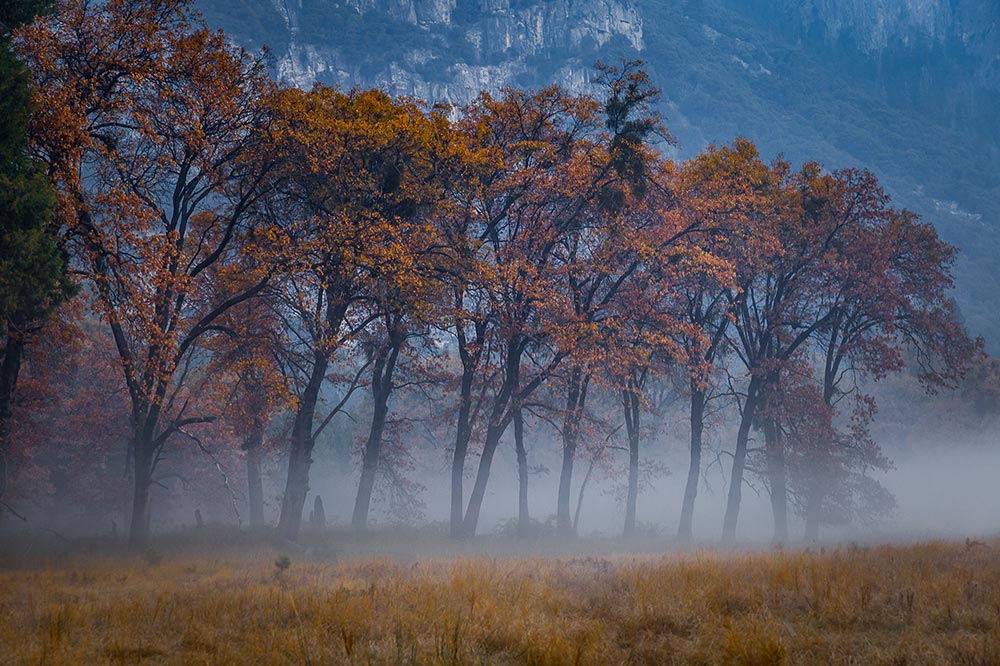
Foreground interest can take many other forms, too - a pop of color (like the leaves in the image above), an interesting texture, or even a pattern.
When you find an interesting feature to include in the foreground, vary your compositions to see what works best. For one type of foreground interest, getting low to the ground might make a nice composition. For other types, you might kneel or even stand. The key is to explore different methods to see what works.
Watch the Focus
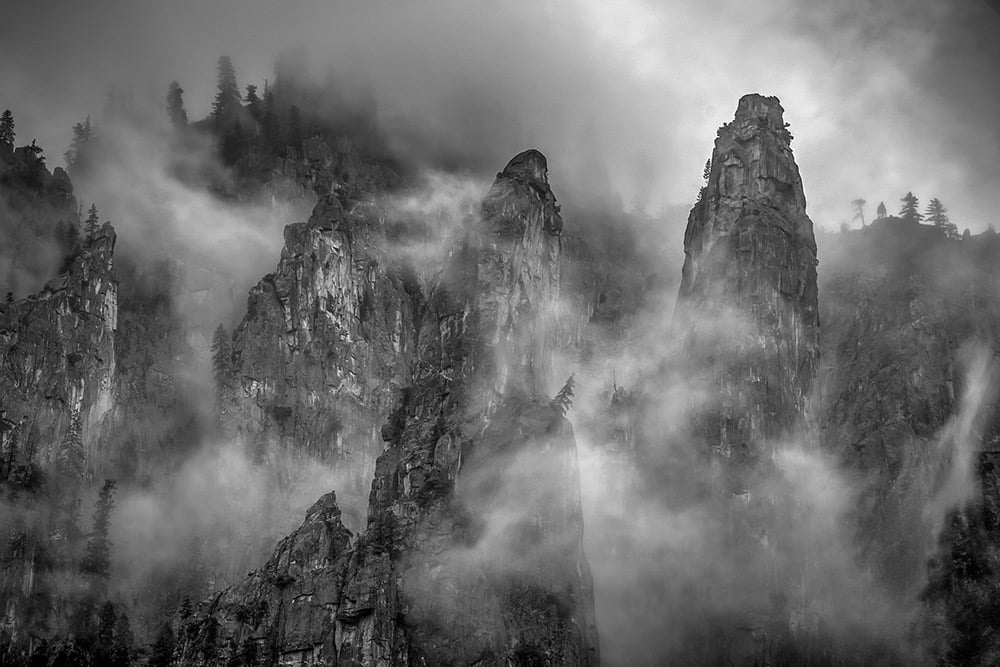
When you look at portraits, you'll notice that in most cases, the model is sharply in focus and the background is blurry. This is called shallow depth of field, and it's a technique that helps the model stand out from the background of the shot.
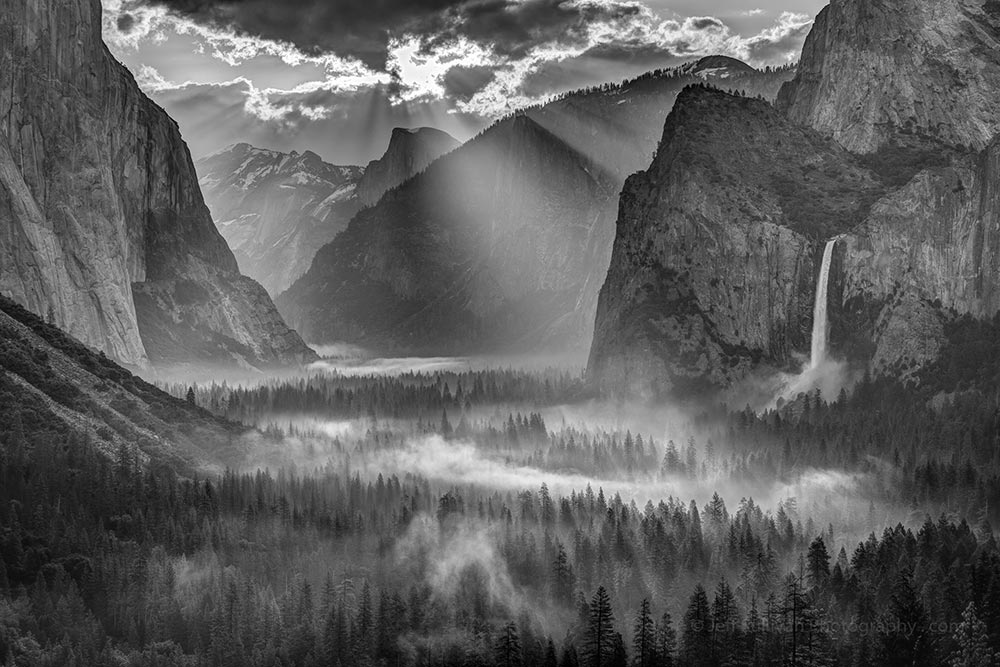
This can be used in landscape photography, as seen above. However, it's more common to have the entire image in sharp focus, that way the viewer can explore the entire scene in sharp detail. This is called a large depth of field.
One of the keys to having a large depth of field is to use a small aperture. Some camera lenses have apertures as large as f/1.2 (or larger) while most lenses have apertures as small as f/22.
Some beginner landscape photographers immediately close the aperture down to f/22 to maximize the depth of field. The problem with this approach is that no lens - not even high-end professional ones - is as sharp as it can be at f/22. So what aperture should you use?
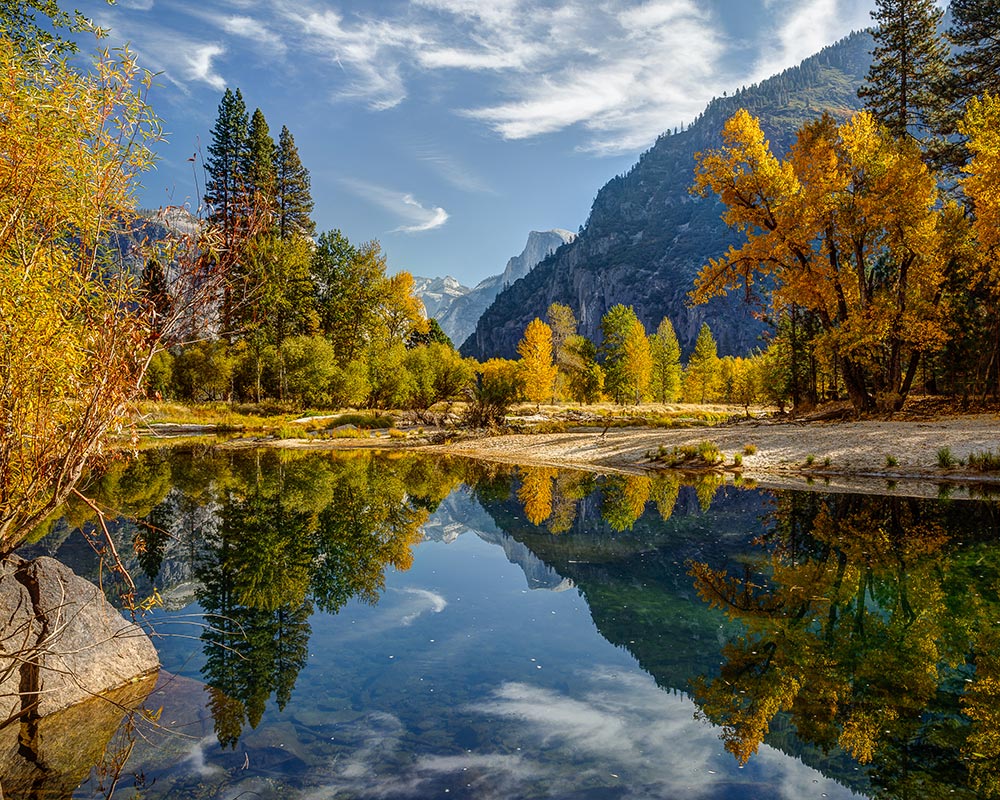
Every lens is different and has a different sweet spot, or the aperture at which it's the sharpest. But, a good rule of thumb is to keep the aperture around f/8-f/11. In most landscape situations, this will give you all the depth of field you need without the unnecessary softness or blurriness that comes with shooting at f/22. The image above is a good example of this - by using a mid-range aperture, the photographer, Jeff Sullivan, was able to keep the entire scene in sharp focus.
If you're not familiar with how to change the aperture of the lens, check out this guide.
Learn More:
Learn the Exposure Triangle
Aperture is one component of the exposure triangle. The other two factors are shutter speed and ISO.
Understanding the exposure triangle will help you move out of full auto mode on your camera and into manual manipulation of the camera settings.
Now, before you get intimidated, it's perfectly fine to continue using full auto mode if that's where your comfort level is at right now. But, challenge yourself to explore manual exposure settings because doing so will help you build the skills (and confidence!) needed to create improved images.

Essentially, the exposure triangle explains how aperture, shutter speed, and ISO relate to and work with one another. It also explains what each element controls in the image:
As you can see in the graphic above, the three exposure settings also impact the image in a creative manner - aperture influences depth of field, shutter speed influences motion blur, and ISO influences how much noise is in the image.
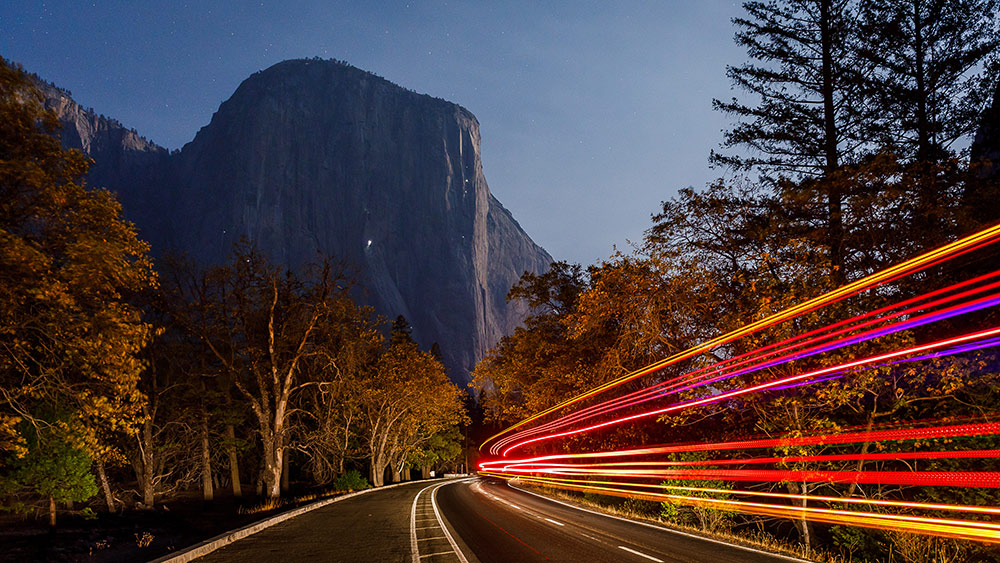
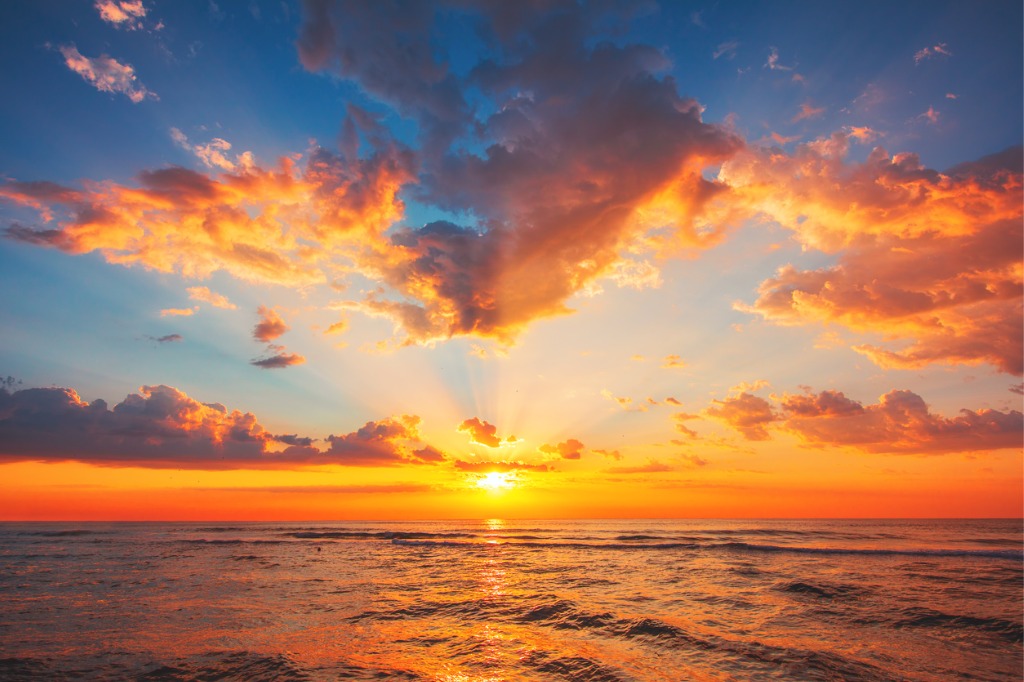
So, if you slow the shutter down, as was done in the image above, objects that are moving will be blurred. If you use a high ISO, the image will appear grainy. If you use a very large aperture, the background will be blurry.
This is just a basic introduction to help you understand the technical and creative possibilities that await you when you learn the exposure triangle. Check out our detailed guide on the subject for more details!
Invest in a Polarizing Filter

One of the best photography accessories you can have as a landscape photographer is a polarizing filter.
These filters screw onto the end of your camera lens and serve several functions:
In other words, a polarizing filter enhances the image in-camera, making clouds pop against a deeper blue sky, minimizing glare off of water, and reducing haze that makes distant features look less crisp.
Now, there are some tricks to using a polarizing filter...
For example, polarizers work best when the sun is at a 90-degree angle to the camera. This means you need to time your shots according to the position of the sun - something that can be difficult to do.
There are other techniques you can use to maximize the effectiveness of your polarizing filter. Check them out here.
Get Advice From a Pro
As noted in the introduction, the images in this article are by our friend Jeff Sullivan.
Jeff is an accomplished photographer that's been roaming around Yosemite for decades. Not only does Jeff possess incredible skill as a photographer, but all his years in the Yosemite area have given him a unique perspective on when and where to be to capture the best images.
Jeff and his wife Lori offer Yosemite photography workshops, which are a great way to build your skills behind the lens and get to know the park's many different moods and features. These workshops are several days of intensive learning and exploration that you won't soon forget!
Additionally, Jeff has a book entitled Photographing California, Volume 2 - South that's an incredible resource for Yosemite National Park photography (and many other places in Southern California. You'll find photography tips, hidden photography locations, directions to photography hot spots, and much more. If you're serious about becoming a better photographer and you want to use Yosemite as your subject, you can't beat it!