What is the Zone System in Photography?
- Best Camera Settings for Landscape Photography
- Beginner Landscape Photography Mistakes You Need to Avoid
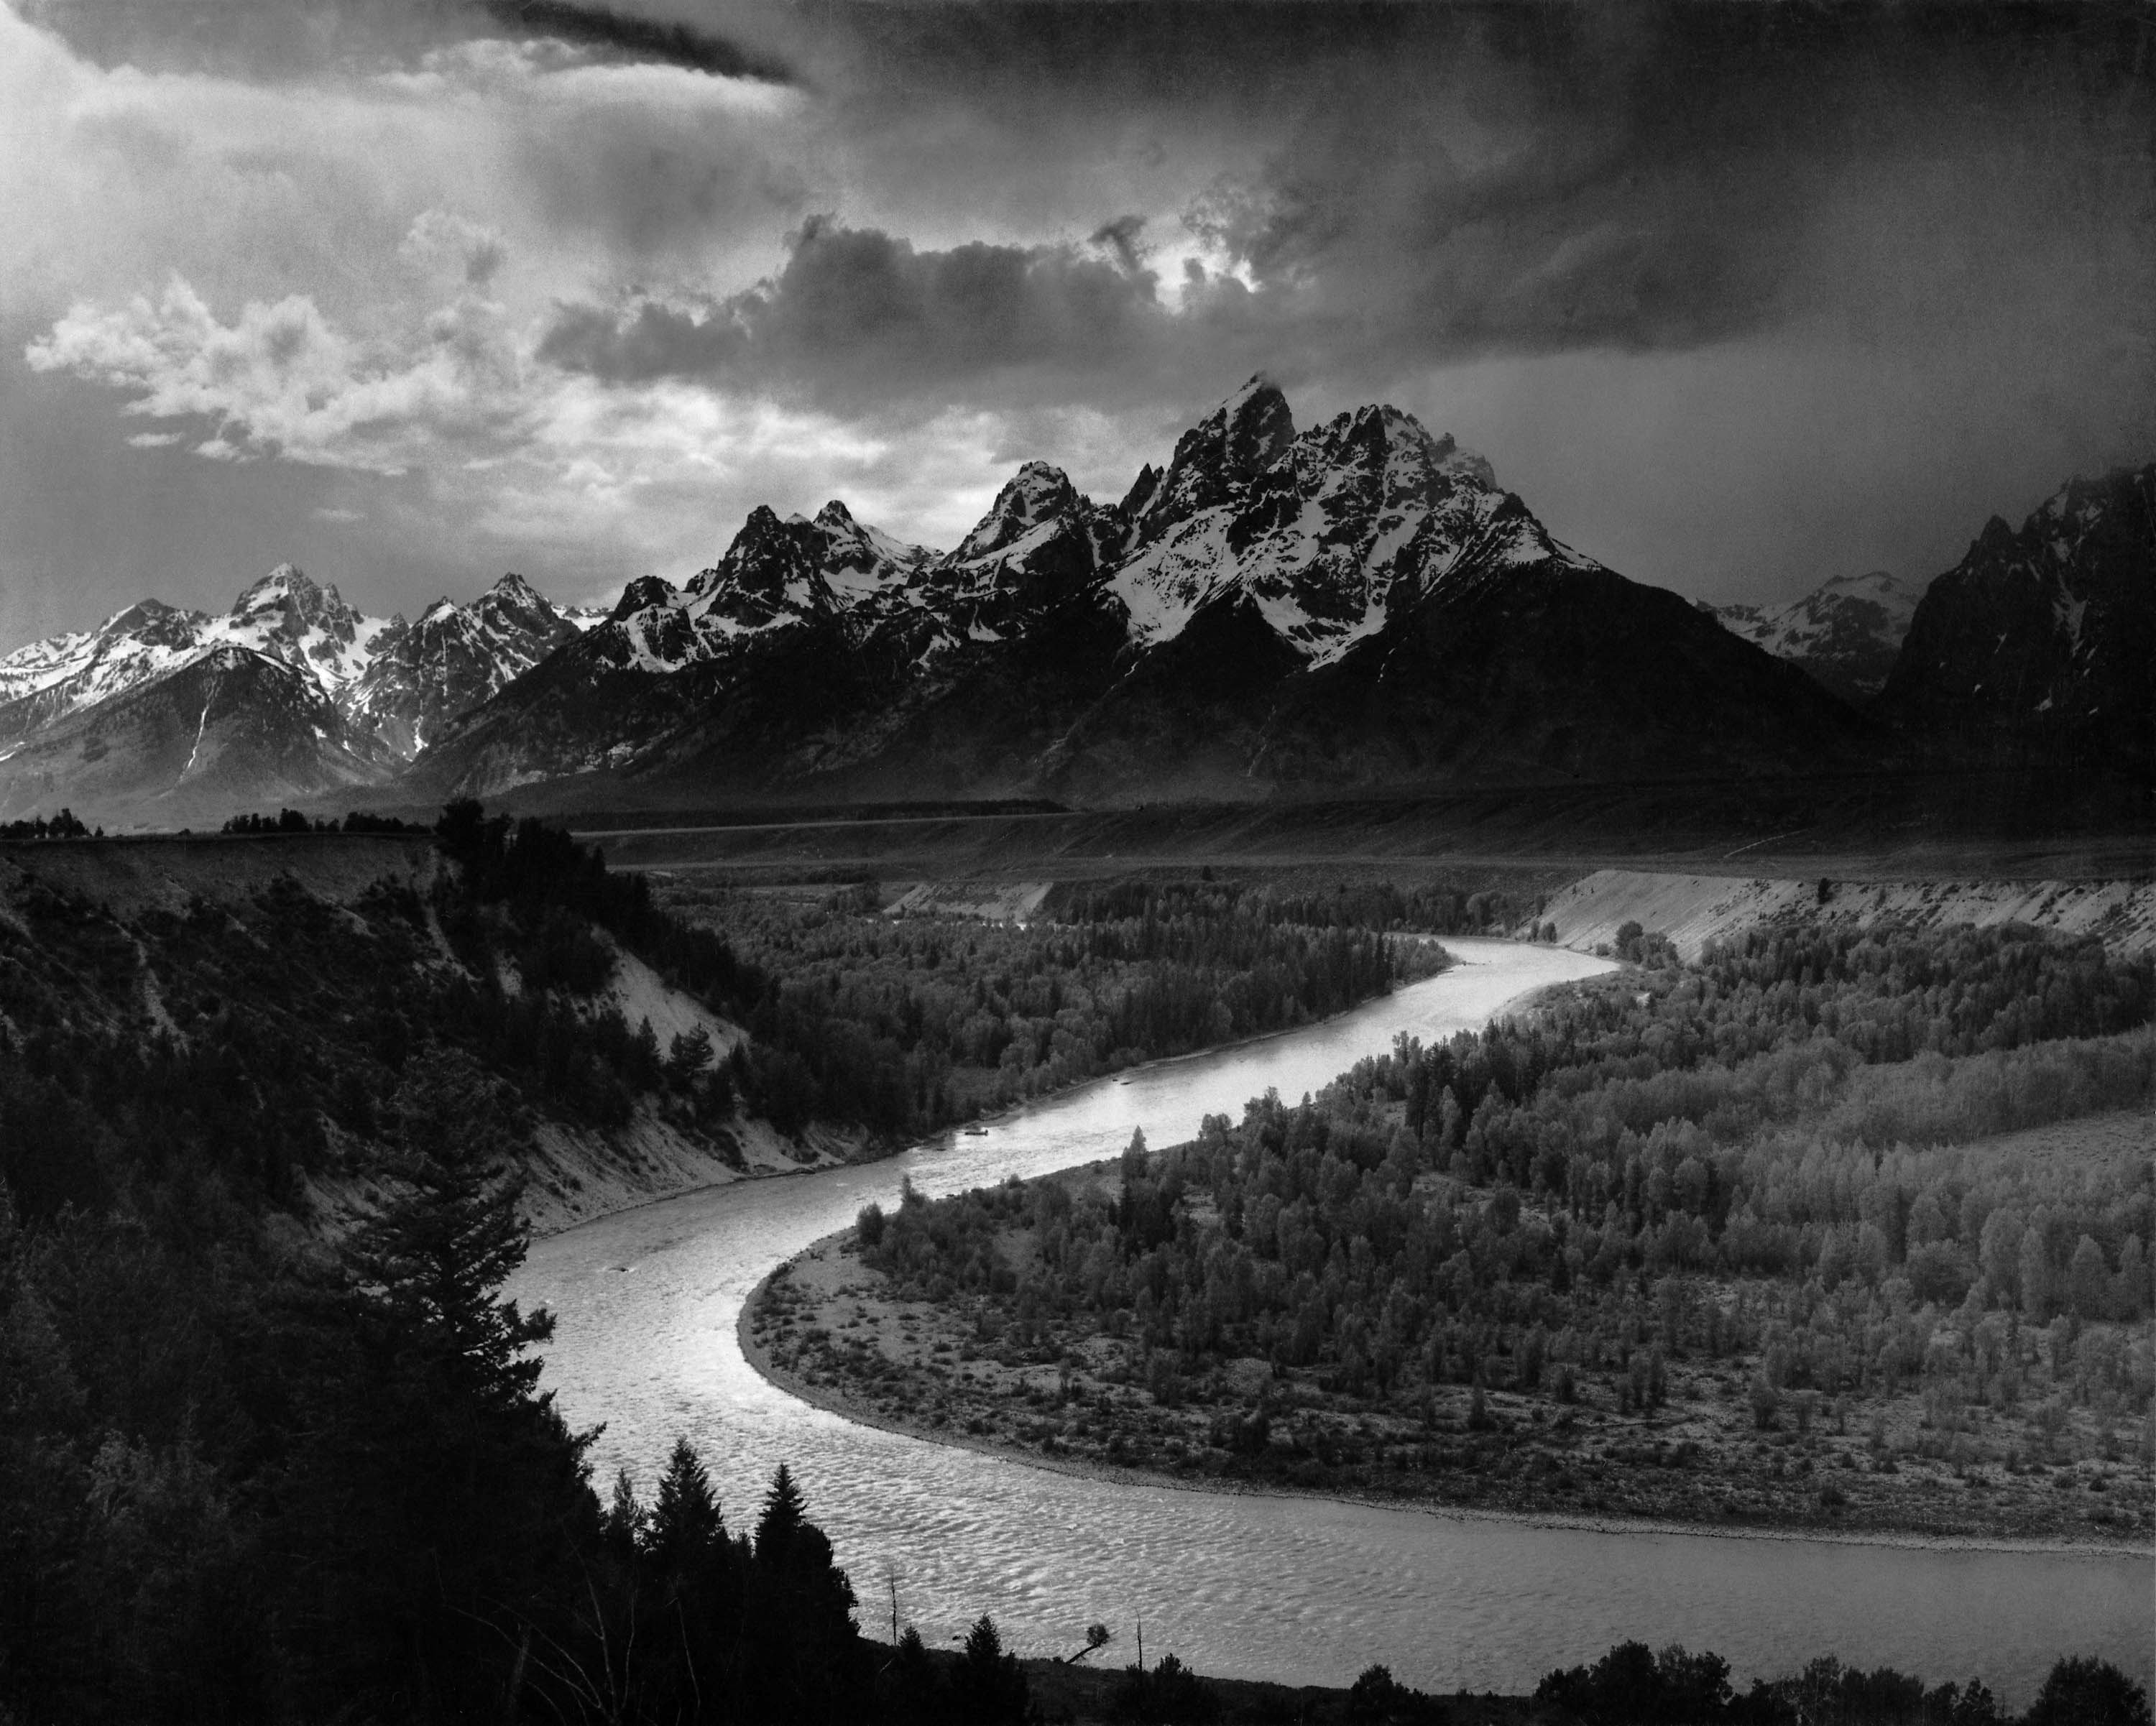
Ansel Adams, Public domain, via Wikimedia Commons
Ansel Adams’ Zone System in photography has been one of the most talked about methods in all of photography since it was introduced by Fred Archer and Ansel Adams in the early 1940s. When you hear the name Ansel Adams, you think of beautiful black and white images of natural landscape scenes. He made most of those images by using the Zone System.
In this modern age of digital photography and computer programs, many beginner photographers are unaware of the Zone System, and many of the more advanced photographers wonder how it may even apply in modern photography.
What Is the Zone System?

Telrúnya, CC BY-SA 3.0 via Wikimedia Commons
An understanding of exactly what is the Zone System in photography is essential to deciding how and when to use it ourselves. In simplest terms, the Zone System is a method of looking at a scene, deciding what the final image should look like, and then making decisions in shooting and processing to make it happen.
Previsualization is the term used for this method. For the specifics of a Zone System tutorial, we take zones of light to dark and assign them values from O to X (0-10), or 11 zones in total. Zone X is the brightest white while Zone O is the darkest black. Ansel Adams designed the Zone System around black and white photography but it also works for color imaging.
Why Use the Zone System?
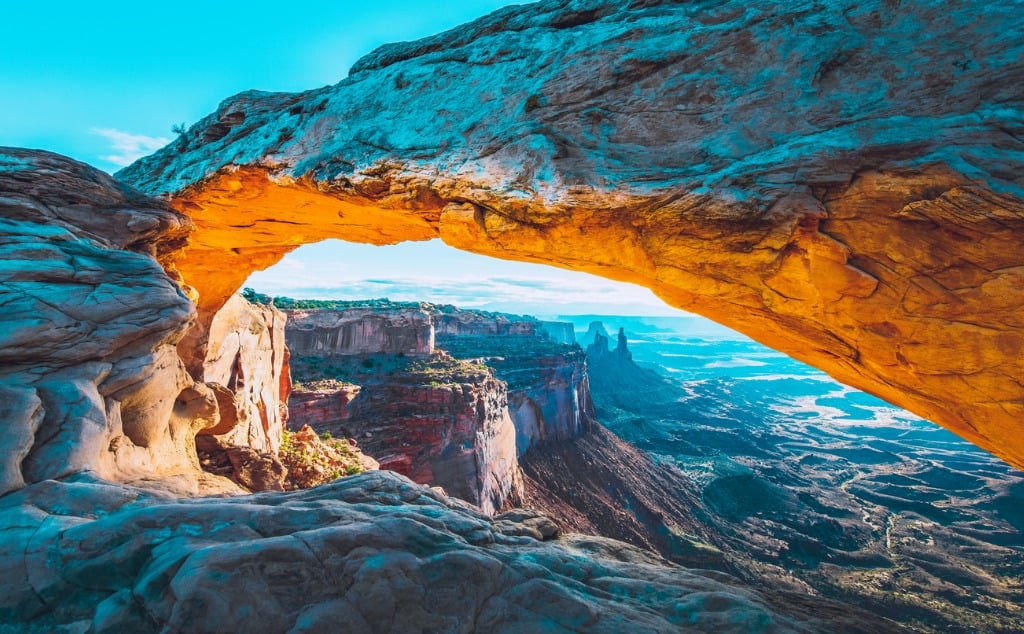
Photo by tobiasjo via iStock
The primary benefits of using the Zone System in photography is controlling all aspects of the image making process to match up to your creativity. It sounds like magic, but there are limits to how far one can go with it.
The true dynamic range of exposure values within the scene will determine what you can make of the final image, but the Zone System gives you a starting point and parameters to work with. Those zones of zero to ten refer to what Adams called image values. Closely related to exposure values but not exactly equivalent because of how we get them.
These image values of O to X in the final result are one stop apart from each other, with Zone V (5) being the equivalent of middle gray or 18 percent gray on a logarithmic scale. This 18 percent gray is what exposure meters are based on and is a basic concept of photographic understanding that enables us to move beyond beginner photography.
Learn More:
Benefits of Using the Zone System in Photography

Photo by rclassenlayouts via iStock
Digital photography Zone System applications correspond to film and processing in that the settings used for exposure are the same regardless of what type of imaging medium is used, whether an electronic sensor or celluloid film.
Visualizing the scene ahead of us with the Zone System will tell us what the dynamic range of exposure values are in the scene which may or may not be able to all be recorded properly without some adjustments.
So, one of the benefits of using the Zone System is knowing that you may need to handle things differently, perhaps HDR photography or using a graduated neutral density filter to ensure we can put the image values where we want them to be.
Challenges of Using the Zone System in Photography
Photo by corradobarattaphotos via iStock
One of the bigger challenges of using the Zone System for digital photography is controlling the image values in the final image through exposing and processing the captured exposure properly.
When shooting B&W film and printing onto photographic paper, we could adjust contrast levels by changing the developer. We could tame dynamic range issues by dodging and burning during the printing stage. Shooting in color slide film or chromes, it was even more of a challenge since it usually has less exposure latitude than color or B&W negative films.
Photo by Dennis Swanson - Studio 101 West Photography via iStock
Shooting digitally in JPEG format will be more like color chromes while shooting camera RAW feels more like color or B&W negative films. This is due to how much exposure information is recorded in an uncompressed RAW file compared to a compressed file like JPEG.
But the biggest challenge is visualizing ahead of time what we make as a final image and then knowing how to expose and use our post-processing program in order to get us to that result. But how will that actually work? It’s fun to talk about visualizing and image value results, but it’s a lot more fun to actually do it.
How To Use the Zone System In Photography
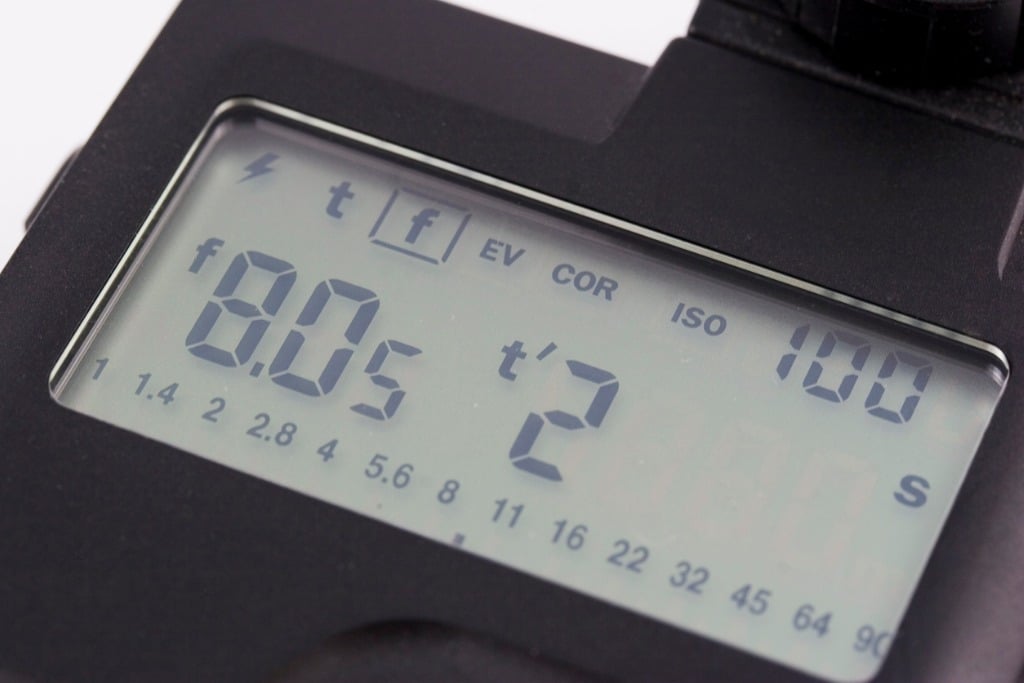
Photo by mikerogal via iStock
We’ll assume we’re using a modern digital camera in manual mode or one of the semi automatic exposure modes, shooting in RAW format, and using a full featured post-processing program.
The exposure meter in our camera is a vital tool for using the Zone System for digital photography since we need to find the middle gray value in our scene’s dynamic range. The spot metering feature is excellent for this. We could also use an 18 percent gray card to help us determine middle gray.
What you do is place the meter measuring spot on the part of our scene which we want to end up as middle gray (exposure value, remember that middle gray works for color or B&W) or that might already naturally be middle gray. Our histogram can be an aid here as we can set it to show luminance readings separated by colors.
Photo by Eagle_373 via iStock
The other way to obtain this basic exposure value is to hold up an 18 percent gray card in the same light as our scene and meter from it to know the settings for capturing middle gray which will be Zone V (5). In landscape photography, you can’t always do this with distant subject matter which is why spot metering is a feature we should know how to use on our digital camera.
Normal or Natural-Look Processing
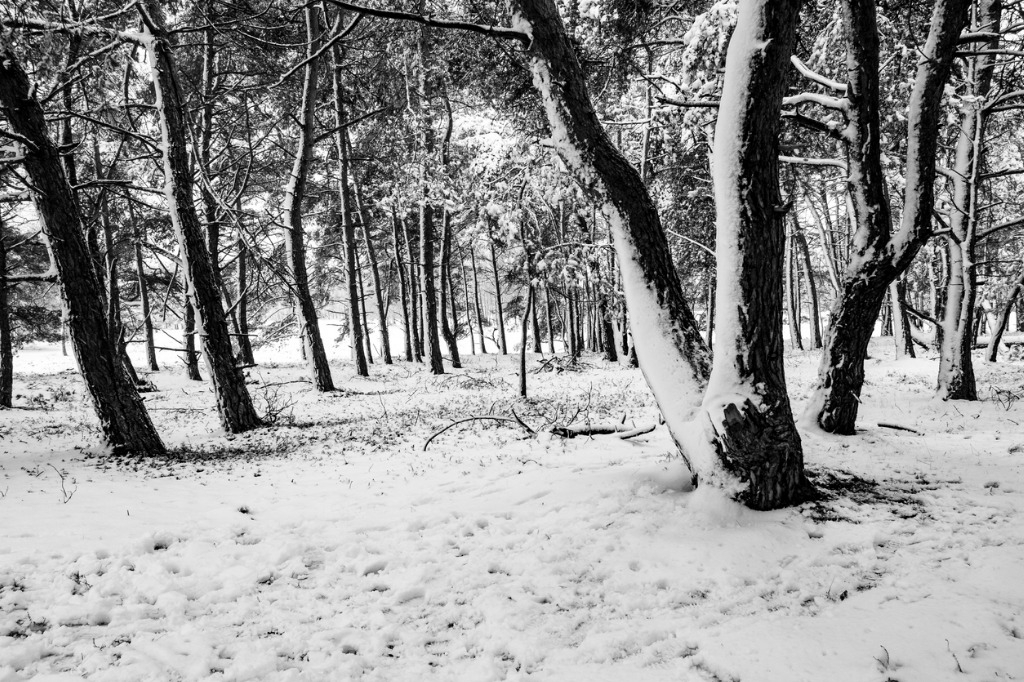
Photo by Sjo via iStock
Once we have found what exposure will render middle gray in the scene as middle gray in our final image, then we can meter other parts of the scene and see how far they are from middle gray or Zone V.
Since Zone System image values are one stop or step removed from each neighboring value, then knowing how much difference in exposure value a part of the scene is will tell us where that part will be in the Zones if exposed as is.
For example, if the medium tone rock in a landscape scene is middle gray or Zone V, then the bright snow or white sand metering 3 full stops higher in exposure value will be 3 zones higher if we do nothing else to it, Zone VIII (8). Perhaps the shade under a tree in the scene meters 3 full stops darker than the middle gray, then that falls to Zone II in our exposed image.
Meaning the scene has 7 stops of dynamic range of exposure value. This tells us a lot. It tells us that if we want more detail in a lower zone and adjust our exposure to capture that, then we will move the brighter value up a zone or two.

Photo by Helin Loik-Tomson via iStock
If we open up by 2 stops of exposure to put the shadow at only 1 stop underexposure from middle gray, then that natural middle gray is now 2 stops overexposed or at Zone VII. Which would put the previous Zone VIII item at Zone X which equals completely blocked out highlights with no detail. We’ve put what was Zone II now at Zone IV, moving everything else up 2 full zones.
A ha! NOW we see how to use the Zone System for digital photography! Knowing what the dynamic range is in the scene helps us to know if we should adjust anything in exposure or otherwise to compensate for a wide or narrow range of exposure values.
Taking the shadow detail we opened up above, if we want to keep any detail in the highlights which are now blocked, we will have to lower the Zone of those highlights somehow. A 3 stop GND filter will do the trick, bringing the highlights back down to Zone VII while preserving our exposing the shadow as our new middle gray.
It really helps to have a small notepad and pencil to keep track of these things when first starting out with the Zone System for digital photography. Mounting our camera on a tripod is a good idea, too, which we do as a matter of course when using ND or GND filters.
Zone System for Dramatic Results
Photo by borchee via iStock
Pretty soon, all of this figuring and adjusting zones from middle gray become as second nature to us as other previously complicated ideas such as the Exposure Triangle or depth of field manipulation now does.
Keeping in mind that there are a couple of absolutes involved in Ansel Adams’ Zone System, namely that a true Zone O is deepest dark with no detail and Zone X is brightest light with no detail, then we now have the freedom to do whatever we want in our images.
High Key and Low Key photography is simply putting the exposure values in the Zone we want them to be. We can enhance these by adjusting contrast or exposure values up or down in our exposure, lighting, or post-processing.
In fact, many of the slider controls and curves or Gamma readouts in popular programs such as Photoshop, ACDSee, or Affinity correspond rather effectively to the methodology of the Zone System. These post-processing programs even have tools named after tools and techniques used originally in printing from black and white negatives such as dodge, burn, or color channels which correspond to lens or darkroom filters.
Modern Zone System Use

Photo by SeventyFour via iStock
Besides our still photography, we can also use these Zone System ideas in our videography, especially in regards to setting contrast levels through light placement and power. After all, modern videography is simply an electronic recording of cinematography.
A major motion picture cinematographer works with lighting more so than cameras. They are deciding where and what gets light or shadow, changing zones as they see fit to achieve the intended result.
Sometimes when I’m processing digital files with my ultra wide curved screen monitors and a full featured program, I wonder how Weston, Edwards, Adams, or Lange would have used these amazing modern technologies of photography.
Actually, I think I know. They would use them to the full when it suited their purposes for an image, or adjust as little as they wanted to achieve the desired results. One thing I think I know for sure, they would enjoy this every bit as much as I do.