


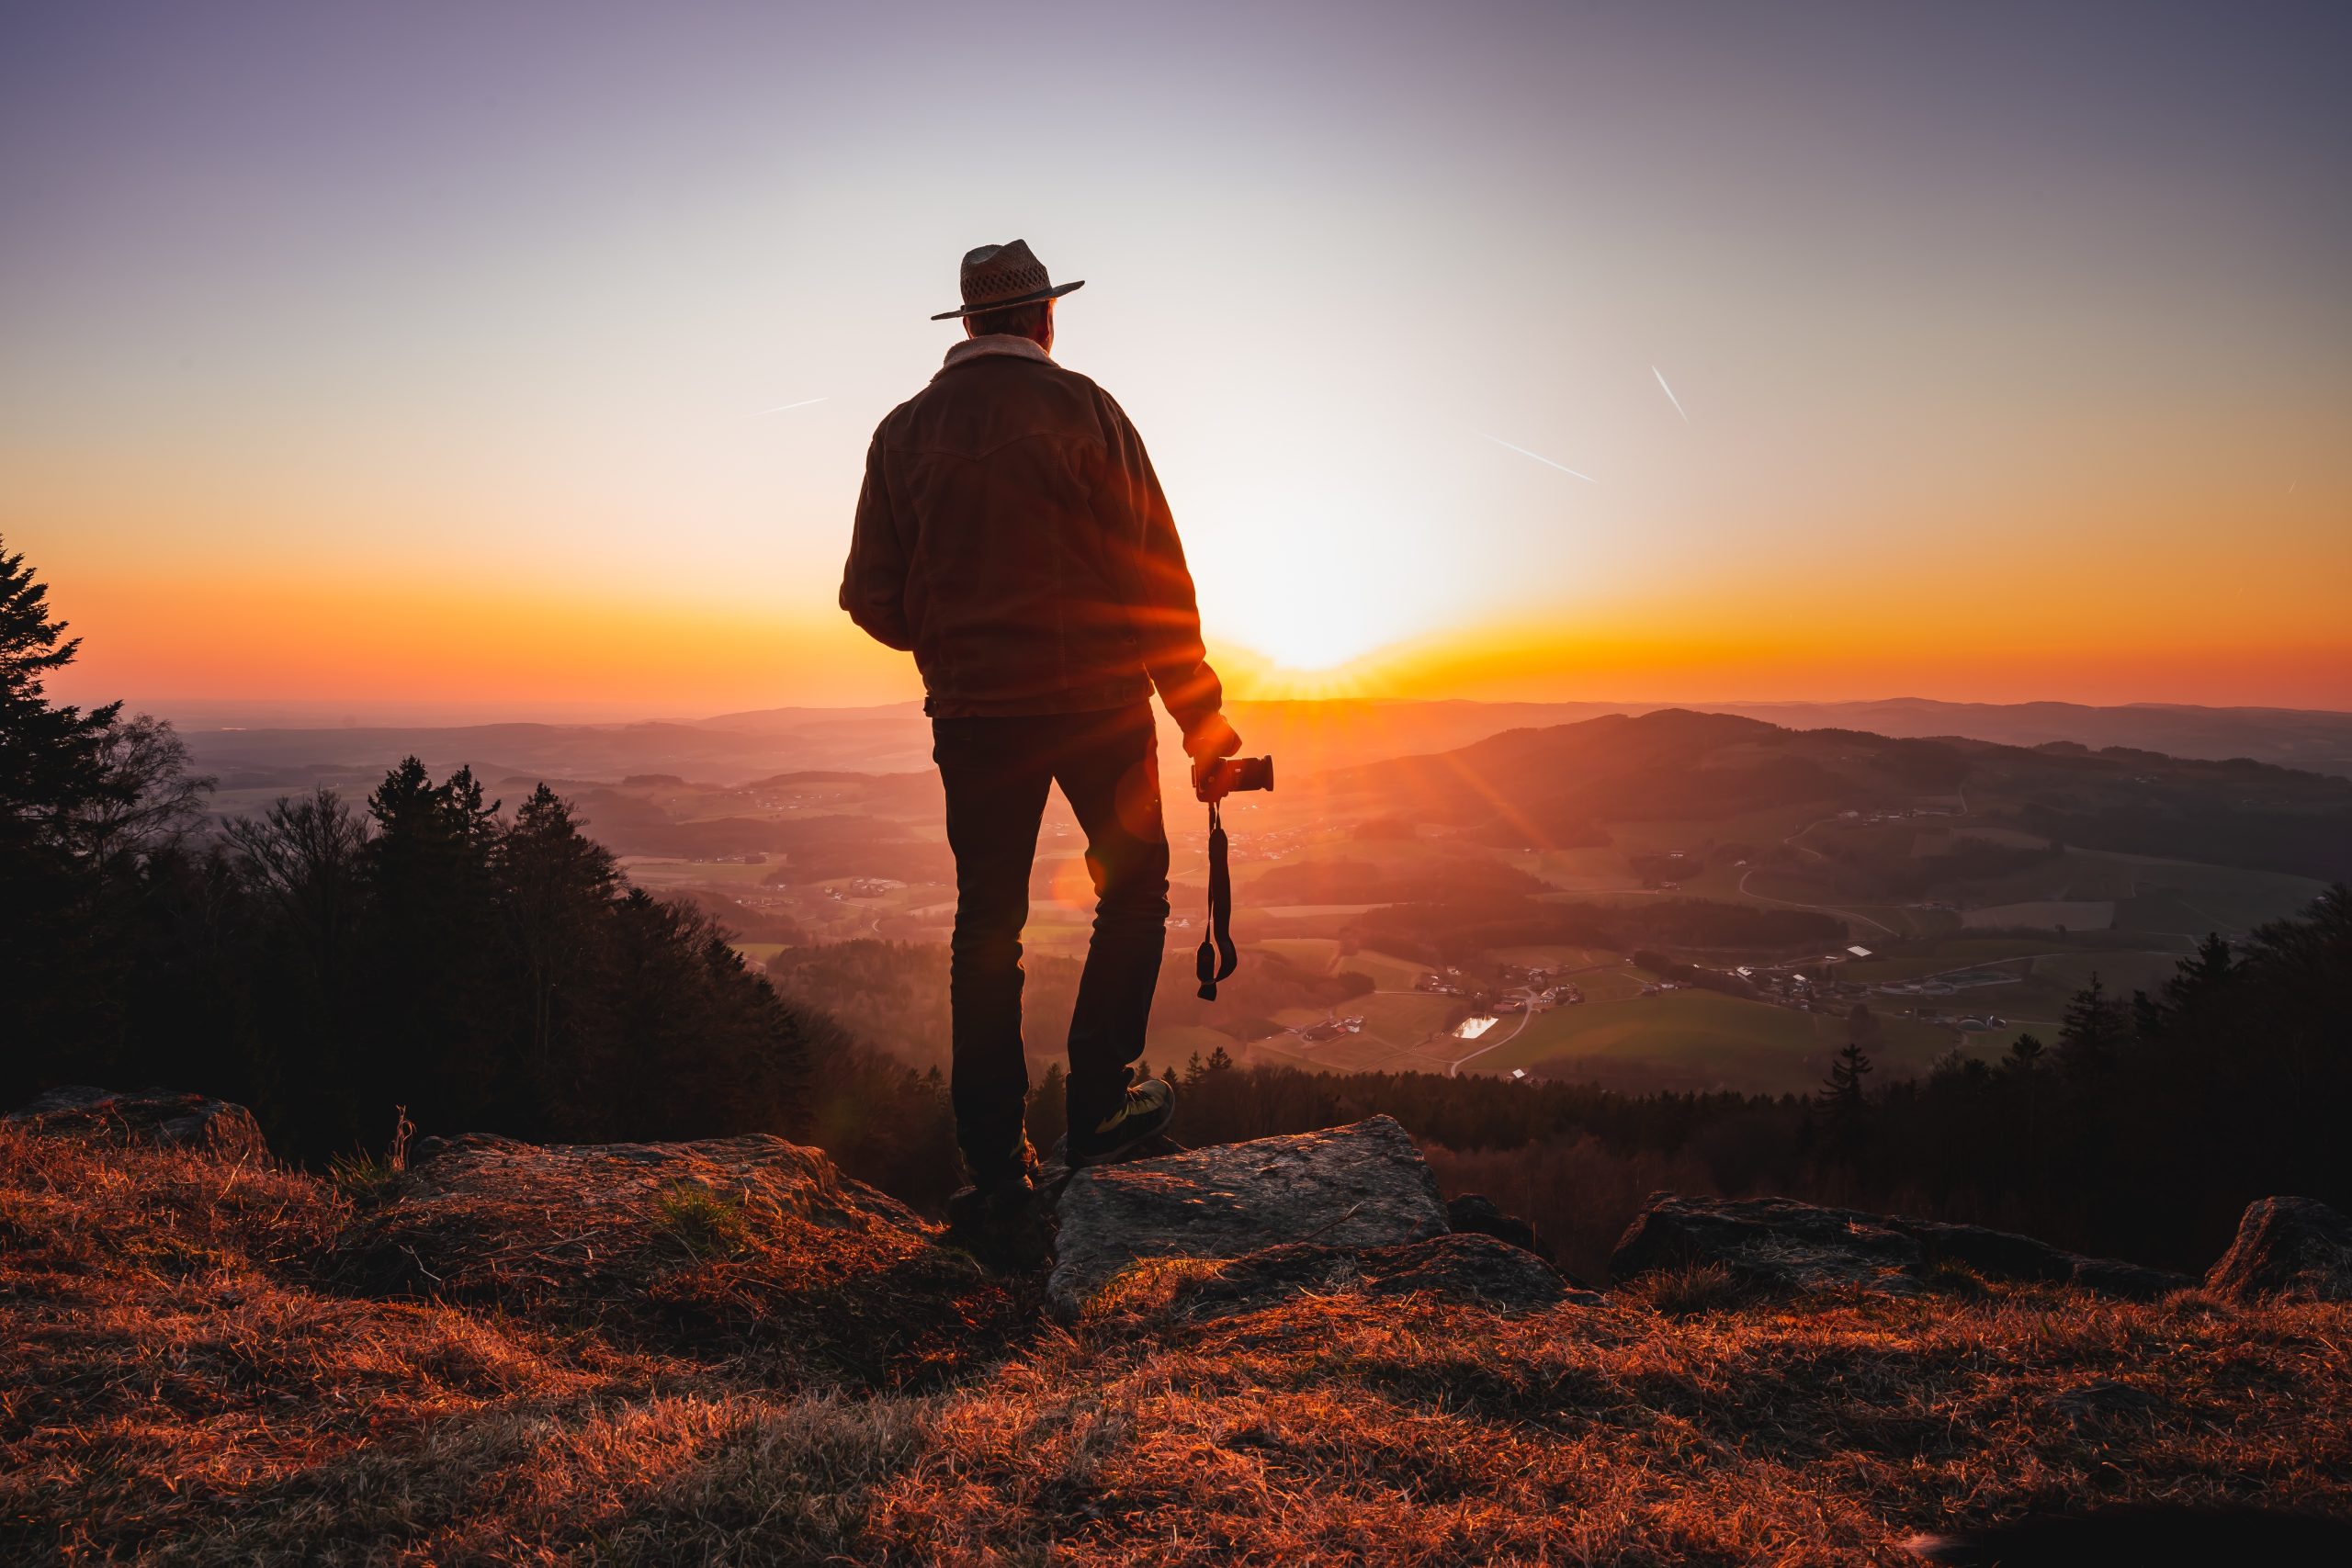
I’ve spent three decades behind a camera, and most of it went toward photographing nature across the United States. From the redwood coast to the desert Southwest, from Rocky Mountain ridgelines to the wetlands of the Gulf Coast, nature has been my main subject. It has also been my best teacher. The habits in this guide are not theory. They are the small adjustments which moved my own photography from average to sellable, one season at a time.
Nature photography rewards patience more than gear. A photographer with a modest camera and a good eye for light will consistently outshoot someone with an expensive body and no plan. This guide walks through the simple, repeatable habits which improve your nature photography fastest. These are reading light, composing with intent, choosing the right gear for the subject, and protecting the work once it leaves the field. Each section below builds on real experience shooting nature in dozens of environments over thirty years.
Quick Facts:
- Topic: Improving nature photography
- Skill level: Beginner to intermediate
- Best light: Golden hour and overcast conditions
- Key composition tool: Rule of thirds and leading lines
- Essential gear: Tripod, polarizing filter, and a zoom or macro lens
- Biggest beginner mistake: Shooting at midday in harsh, flat light
- Best print medium for outdoor color: Glossy or semi-gloss metal
9 min read
In This Guide
- Improving Your Nature Photography Overview
- Simple Habits at a Glance
- Shoot in the Right Light
- Compose With Intent
- Match Your Gear to the Subject
- Slow Down and Study the Subject
- Protect the Work: Printing Nature Photography
- Golden Hour vs. Overcast Light: Which Suits Your Subject?
- Pros and Cons of Keeping Nature Photography Simple
- Final Verdict
- Frequently Asked Questions
Improving Your Nature Photography Overview

Nature photography covers landscapes, wildlife, plants, and the small details most people walk past. The genre rewards photographers who improve a handful of core skills instead of chasing new gear. Light, composition, timing, and patience matter more than sensor size or lens price. Beginners often assume a better camera fixes weak photos. In practice, a stronger eye for light fixes far more.
The good news is these skills build quickly with practice. A photographer who commits to shooting during golden hour for one month improves faster than one who upgrades their camera body every year. The same holds true for composition. Once you train your eye to look for leading lines and clean backgrounds, you start seeing them everywhere, not only on planned shoots.
This guide breaks the improvement process into five habits: light, composition, gear, fieldcraft, and printing. Each habit stacks on the last. Strong light with weak composition still produces a forgettable photo. Strong composition in flat light falls short too. Master all five together, and nature photography starts producing images worth printing and hanging on a wall.
Simple Habits at a Glance
| Habit | Why It Matters |
|---|---|
| Shoot golden hour or overcast light | Soft, directional light flatters nearly every nature subject |
| Use the rule of thirds | Off-center subjects create a stronger, more natural composition |
| Match your lens to the subject | Wide lenses suit landscapes, telephoto suits wildlife, macro suits detail |
| Study the subject before shooting | Knowing behavior and habitat puts you in the right place at the right time |
| Print your strongest shots | A finished print reveals detail and color a screen never shows |
See Your Best Shots in Gallery Quality
Print the Nature Photos You Worked to Capture
Vivid Metal Prints holds the color and detail outdoor light gives you.
Shoot in the Right Light
Light shapes nature photography more than any other factor. Golden hour, the hour after sunrise and before sunset, produces warm, low-angle light which flatters landscapes, wildlife, and plants alike. Shadows stretch long and soft instead of falling straight down, adding depth to nearly any scene. Midday sun does the opposite. It flattens color and creates harsh, unflattering shadows under trees and animals.
Overcast days deserve more credit than most beginners give them. Cloud cover acts as a giant natural softbox, spreading light evenly across a scene. This makes overcast days ideal for macro shots of flowers, insects, and forest details, where harsh shadows would otherwise ruin fine texture. Plan your shoots around the weather forecast instead of fighting it, and your results improve almost immediately.
Compose With Intent

The rule of thirds remains the fastest composition fix for beginners. Place your subject along one of the imaginary lines dividing the frame into thirds, rather than dead center. This single change adds visual tension and interest to landscapes, wildlife portraits, and plant close-ups alike. Most camera viewfinders and phone screens offer a grid overlay to make this easier while shooting.
Leading lines and clean backgrounds matter as much. A river, a fallen log, or a trail pulls the viewer’s eye straight into the frame. Cluttered backgrounds do the opposite, competing with your subject for attention. Before pressing the shutter, scan the edges of the frame for distracting branches, bright spots, or stray elements, and reposition if needed.
Match Your Gear to the Subject
Nature photography spans several sub-genres, and each rewards different gear. Landscapes benefit from a wide-angle lens, a sturdy tripod, and a polarizing filter to cut glare and deepen sky color. Wildlife photography demands reach. A telephoto lens in the 200mm to 400mm range lets you photograph animals without disturbing them. Macro photography of flowers, insects, and textures needs a dedicated macro lens capable of close, sharp focus.
A tripod also earns its place in nearly every nature genre. It steadies long exposures for waterfalls and low-light forest scenes, and it forces slower, more deliberate composition. Beginners often skip the tripod to save weight, then wonder why their landscape shots look soft. Carry one whenever the hike allows it, and reserve handheld shooting for fast-moving wildlife.
Slow Down and Study the Subject
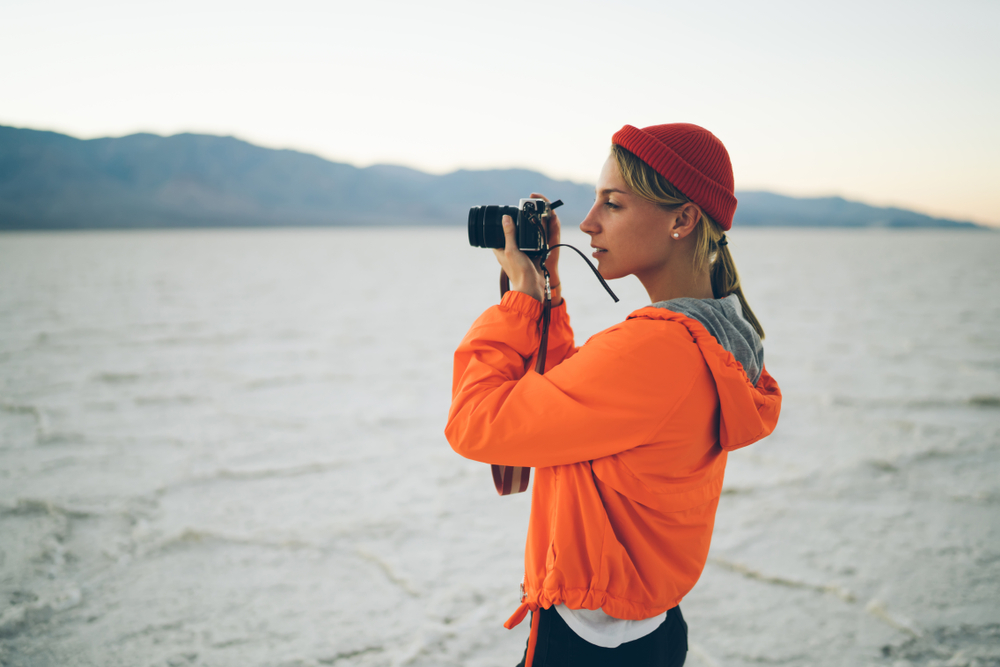
Patience separates strong nature photographers from frustrated ones. Wildlife photography rewards research done before the trip. Knowing an animal’s feeding times, habitat, and typical behavior puts you in the right spot at the right hour. Arriving without a plan often means arriving too late or in the wrong location entirely instead.
Returning to the same location across seasons builds a deeper photographic relationship with a place than a single visit ever will. A meadow photographed in spring, summer, and fall yields three completely different images from the same few square feet. This habit also builds the local knowledge leading to better timing on future visits, since you start noticing patterns in light, wildlife movement, and weather.
Protect the Work: Printing Nature Photography
A strong nature photo deserves more than a place on a hard drive. Printing your best shots reveals color depth and fine detail a screen compresses away. This matters most in wide dynamic range scenes like a sunset over a mountain ridge or morning fog over a lake. The right print medium protects this detail instead of flattening it.
Metal handles outdoor color especially well, since the image sits inside a coated surface rather than soaking into paper fibers. Greens, blues, and warm golden hour tones stay vivid instead of muting the way they sometimes do on matte paper. I followed one print from start to packaging in this behind-the-scenes look at the process. It covers exactly what happens between an order and a finished piece.
Finish choice changes the final look. A glossy or semi-gloss surface pushes color and contrast further, suiting a bold sunset or a high-contrast wildlife shot. Softer scenes call for something else: a satin finish softens glare and contrast instead, suiting a misty forest scene or a gentle wildflower field.
Save on Your Next Print
Turn Your Best Nature Shots Into Wall Art
Five finishes built to hold outdoor color, from bold sunsets to soft, misty mornings.
Golden Hour vs. Overcast Light: Which Suits Your Subject?

Golden hour and overcast light solve different problems, so the right choice depends on the subject in front of you. Landscapes with strong foreground and background elements benefit most from golden hour. The low, warm light adds depth and separates layers in the scene. A mountain range, a coastline, or a wide-open prairie all come alive under this light.
Macro and detail work favors overcast conditions instead. Flowers, insects, mushrooms, and forest textures often look their best under the soft, even light clouds provide. Harsh shadows would otherwise hide fine detail. Wildlife photography sits between the two. Golden hour adds warmth and mood, but overcast days extend the usable shooting window well past sunrise and sunset.
Plan your outings around the subject rather than a fixed rule. Check the forecast the night before, and choose a landscape location for a clear golden hour morning or a macro session for an overcast afternoon.
Pros and Cons of Keeping Nature Photography Simple
Pros
- Builds core skills which transfer across every nature sub-genre
- Costs little to nothing, since light and timing are free
- Improves results faster than upgrading gear alone ever does
- Works with any camera, from a phone to a full-frame body
- Creates a repeatable process you rely on in new locations
Cons
- Requires early mornings and late evenings for the best light
- Demands patience which tests beginners on their first few trips
- Weather and wildlife rarely cooperate with a fixed schedule
- A tripod and extra lenses add weight on longer hikes
Final Verdict
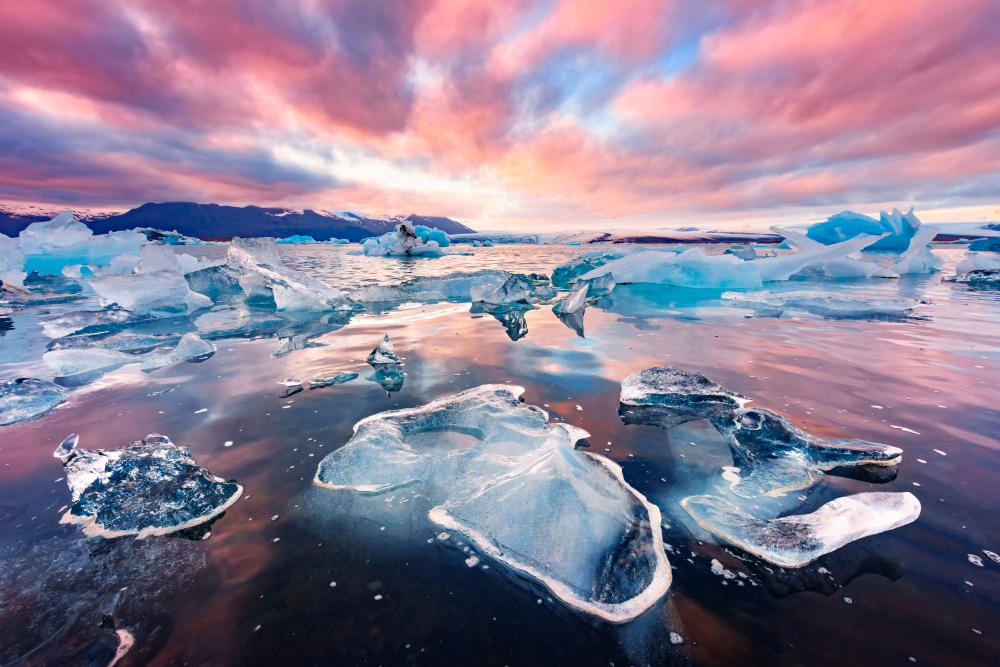
Improving nature photography rarely comes down to buying better gear. Light, composition, and patience produce more improvement in a single season than a new camera body ever will. Beginners who commit to shooting golden hour and overcast light see faster gains. The same holds true for framing with the rule of thirds and studying their subjects before a shoot.
Gear still matters at the margins. Landscape photographers benefit from a wide lens and a tripod. Wildlife photographers need reach, while macro photographers need a dedicated close-focusing lens. Add gear once the fundamentals feel automatic, instead of before.
The final step deserves the same attention as the shot itself. A nature photo worth keeping is worth printing, and the print medium decides how much of the color and detail survives. Bold, high-contrast shots like a sunset or a wildlife portrait hold up especially well on a glossy or semi-gloss metal surface. A softer satin finish suits misty or muted scenes instead.
Start with one habit this month rather than all five at once. Shoot every outing during golden hour or overcast light for a few weeks, and the improvement in your nature photography will show up in the results before the season ends.
Ready to Buy?
Check Out Vivid Metal Prints Today
Order a proof, pick a finish, and see your nature shots the way you captured them.
Frequently Asked Questions
What is the easiest way to improve nature photography?
Shooting during golden hour or on overcast days makes the biggest difference for the least effort. Both conditions produce soft, flattering light which suits landscapes, wildlife, and plant photography alike, without requiring new gear or advanced technique. This single habit is the fastest way to improve your nature photography.
What camera settings work best for nature photography?
A low ISO paired with a narrow aperture, such as f/8 to f/11, keeps landscape shots sharp from foreground to background. Wildlife photography benefits from a faster shutter speed instead, often 1/1000th of a second or quicker, to freeze motion. Shooting in RAW preserves the most detail for editing afterward.
Do I need an expensive lens for nature photography?
No. A standard 50mm or 35mm lens handles most landscape work well, and many beginners start wildlife photography with an affordable telephoto zoom rather than a premium prime lens. Skill with light and composition improves results more than lens price alone.
How do I photograph wildlife without disturbing it?
Use a telephoto lens to keep your distance, move slowly, and avoid sudden noise or motion. Research the animal’s behavior and habitat before the trip, and stay concealed when possible rather than approaching directly.
Should I print my nature photography?
Yes. A print reveals color depth and fine detail a screen often compresses away, especially in high dynamic range scenes like sunsets or foggy mornings. Metal’s coated, reflective surface preserves this detail better than absorbent paper does, which matters for prints meant to truly improve your nature photography portfolio.
What is the biggest mistake beginners make in nature photography?
Shooting at midday in harsh, direct sunlight is the most common mistake. The flat, high-contrast light this produces washes out color and creates unflattering shadows. Planning shoots around golden hour or overcast conditions fixes this quickly.
Our articles might have affiliate links and the occasional sponsored content, but don’t sweat it – if you buy something, we get a little kickback at no extra cost to you, and we only hype products we truly believe in!

