


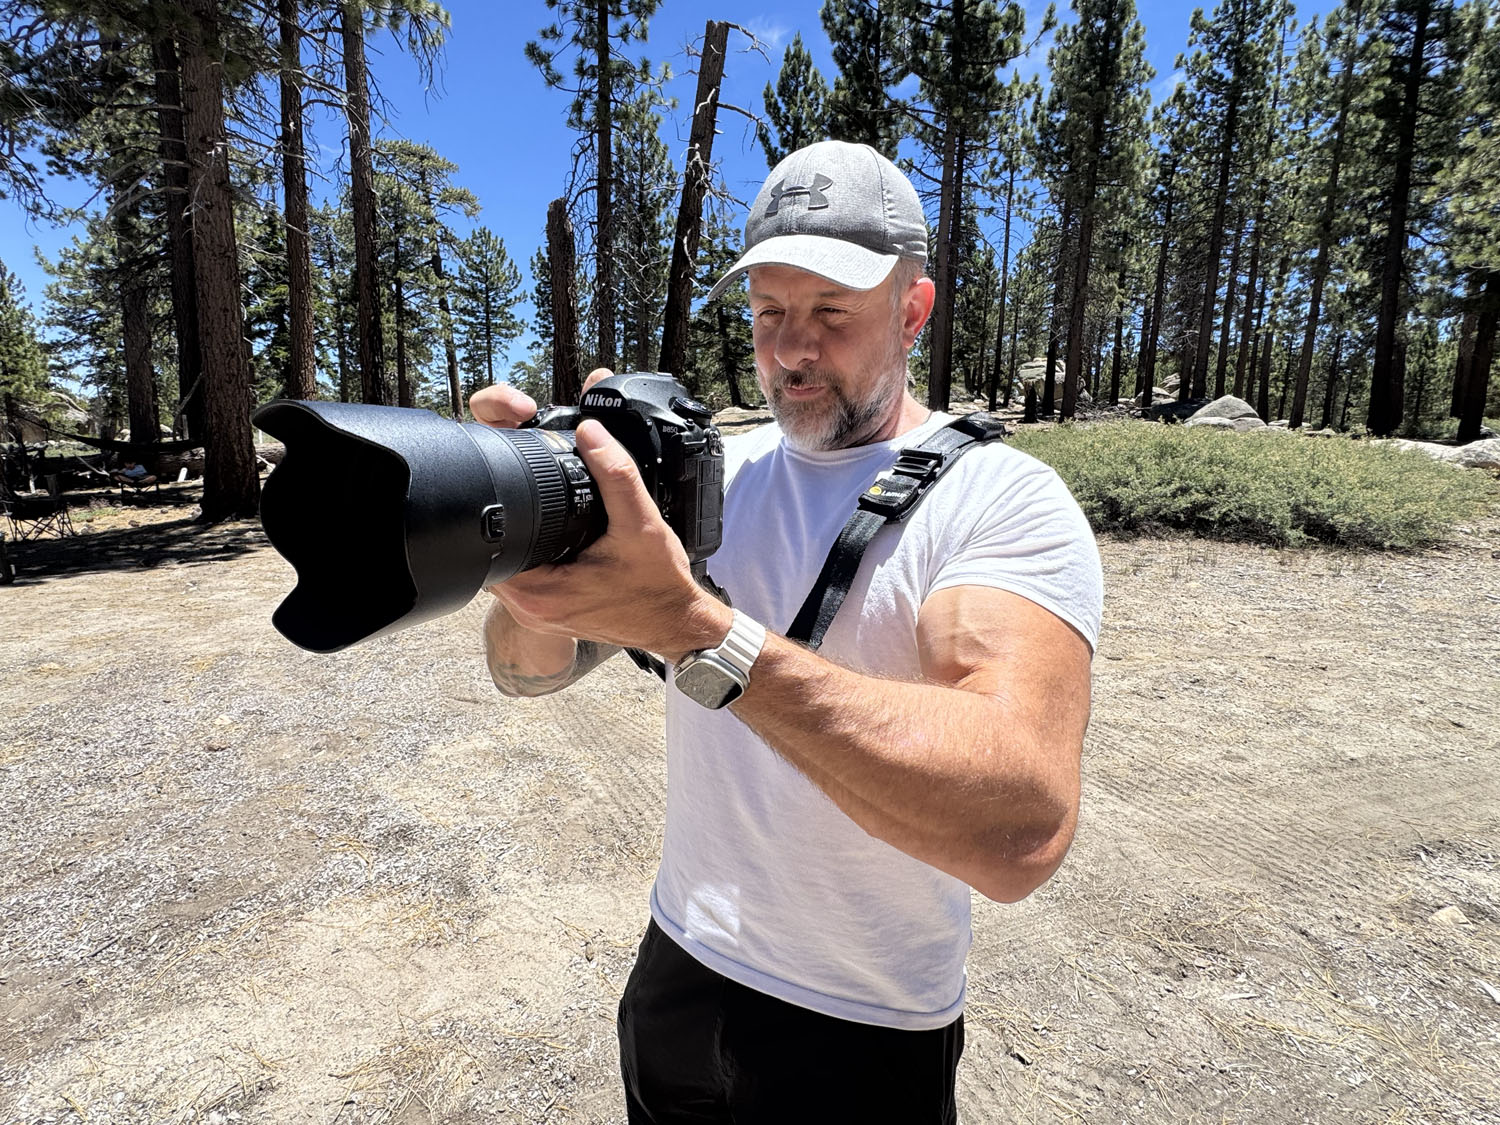
I’ve spent decades hiking with a camera: short day hikes in the Sierras, multi-day backcountry trips across the American West, and points between. Along the way, I made the same carry mistakes I made early on. A neck strap that swings the camera into every boulder. Bags that require a full stop and a partner to access. Setups so uncomfortable by mile three that the camera gets buried in the pack and stays there. When the camera goes in the pack, the shots go with it.
Hiking with camera gear is a specific problem that deserves specific solutions. The trail introduces variables that studio and street photography don’t. Uneven terrain, sudden scrambles, unexpected wildlife, and hours of sustained physical effort before reaching the shot you came for. Knowing how to carry camera while hiking properly determines whether you arrive ready to shoot. I’ve tested a lot of systems across a lot of miles. Here’s what works for how to carry camera while hiking without sacrificing shots or shoulder health.
Quick Facts:
- Topic: How to carry a camera while hiking without fatigue or missed shots
- Skill level: All levels
- Terrain covered: Day hikes, backcountry, scrambles, river crossings
- Key carry variables: Strap design, camera access speed, stability during movement, physical load over miles
- Featured carry system: LemurStrap with camlock and ARCA-Swiss baseplate
- LemurStrap price: $119.95 (full kit)
- Best for: Trail and outdoor photographers who want the camera ready without carrying it by hand
9 min read
In This Article
- Why Hiking with Camera Gear Requires a Different Carry Strategy
- The Most Common Trail Carry Mistakes
- Trail Photography Gear: What to Bring and How to Pack It
- Camera Strap for Hiking: What the Trail Demands
- How the LemurStrap Solves Trail Carry Problems
- Adjusting Your Carry for Different Terrain
- Physical Endurance and Late-Trail Image Quality
- Hiking with Camera: LemurStrap vs. Neck Strap on the Trail
- Pros and Cons
- Final Verdict
- Frequently Asked Questions
Why Hiking with Camera Gear Requires a Different Carry Strategy
Most hiking with camera guides jump straight to gear lists. Bring a wide lens. Shoot golden hour. Use a polarizer near water. All true, but none of it matters if your carry system fails you on the trail. The hiking-specific carry problem has three parts. First, the camera needs to be stable during movement so it doesn’t bang against you or get damaged. Second, it needs to be accessible quickly, because trail moments don’t hold. Third, the whole system needs to be comfortable enough to carry for four to eight hours without wrecking your shoulders before you reach the destination.
Those three requirements pull in different directions. A camera in the bag is safe and balanced but slow to access. A neck strap is fast to access but swings on descents, digs into your neck on climbs, and fatigues you before the trailhead. Holding it in your hand keeps it ready but leaves you without a free hand for poles, scrambles, or balance on technical terrain. The right hiking carry system resolves these competing demands rather than accepting one failure as the cost of another success.
The Most Common Trail Carry Mistakes
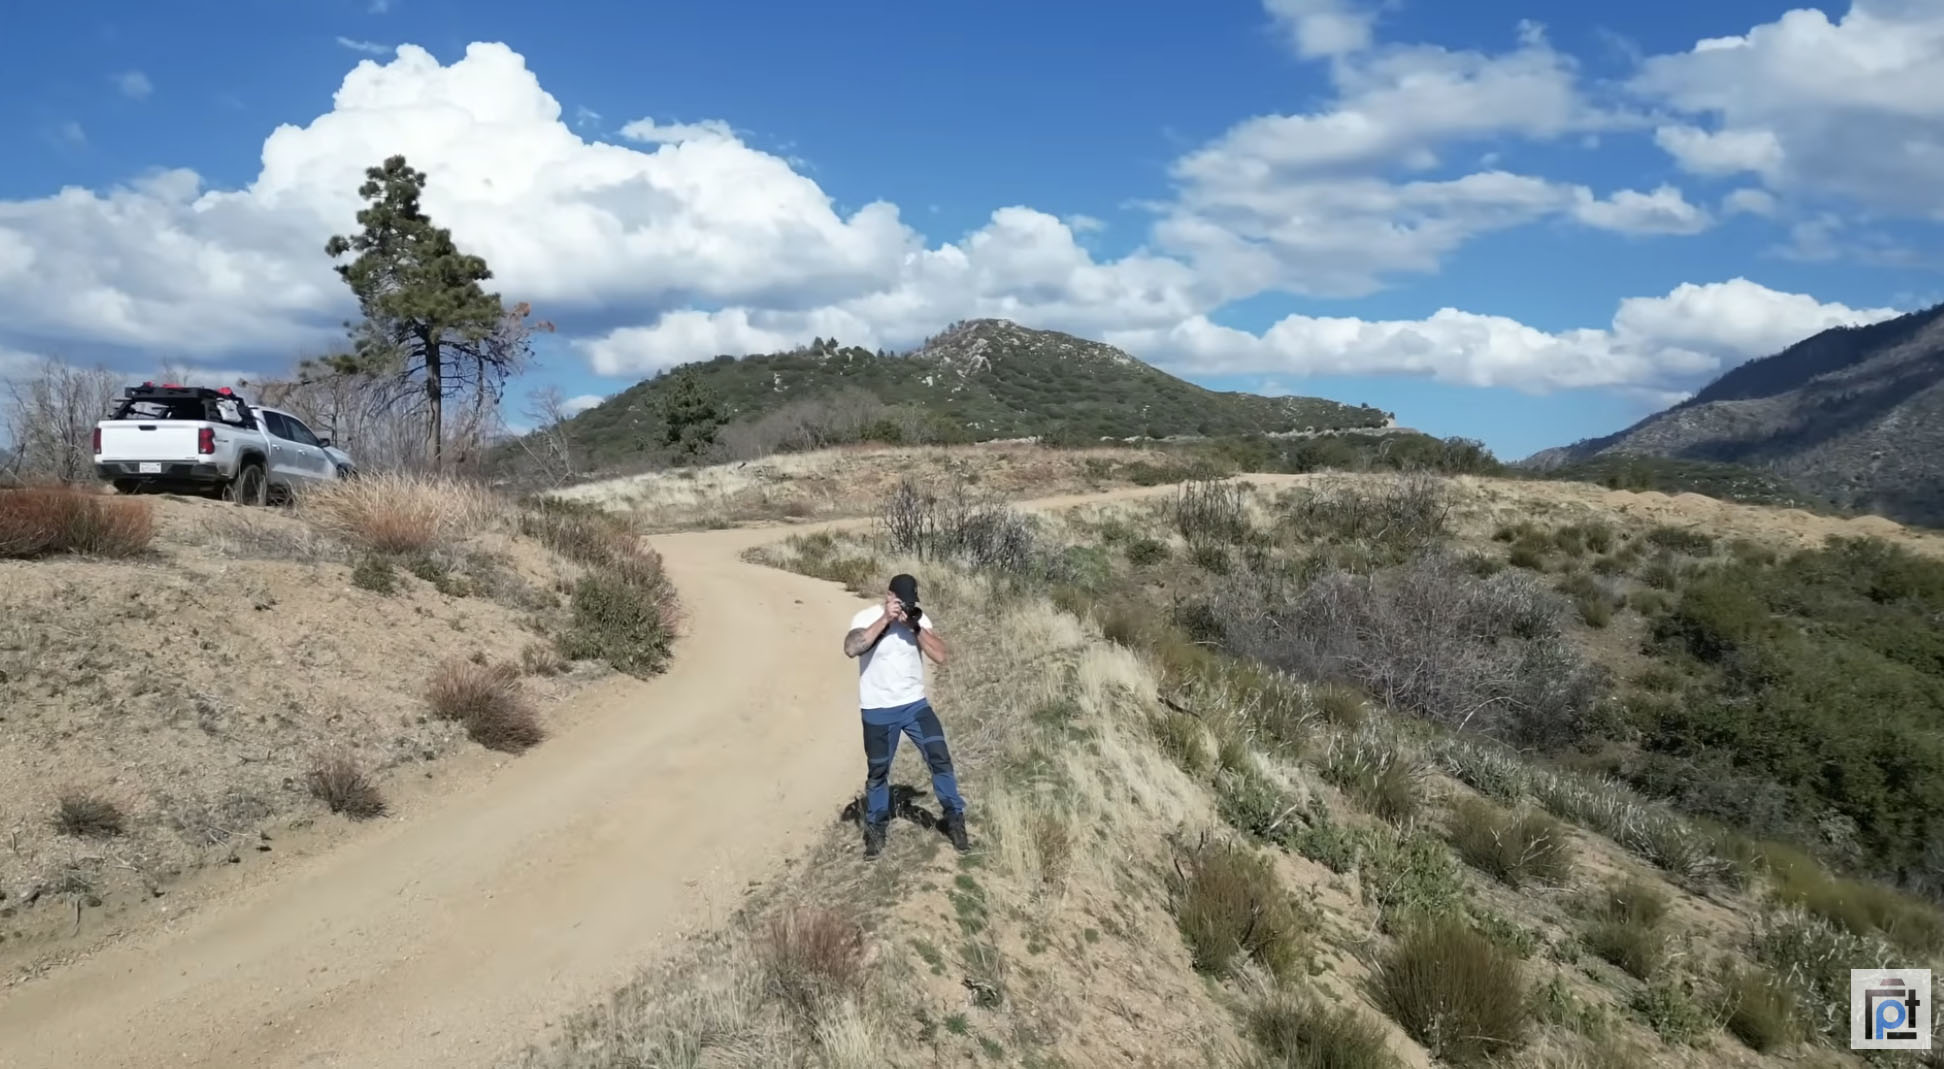
The neck strap problem shows up on almost every group hike I’ve done. Someone puts a heavy mirrorless body on a basic neck strap. By mile two, the strap is tightening against the back of their neck on the switchback descent. The camera swings forward and back with every step, and one hand reaches out instinctively to stabilize it. That hand should be on a trekking pole or steadying them on a boulder. By mile five the camera is in the pack, and it stays there through the best light of the day.
The second mistake is packing the camera in a bag with no external access. A backpack requiring you to set it down and dig through a rear panel gets used at the trailhead and summit only. Everything in between gets missed. Trail photography lives in the between: the deer at the tree line, the light breaking through a storm cell, the waterfall you didn’t plan for. These moments require a camera that’s on your body and accessible in seconds, not minutes.
Overloading the Kit
A third mistake that costs photographers shots and shoulder health is carrying too much glass. A 70-200mm f/2.8 is a magnificent lens. It’s also 2+ kg before you add a body. On a trail, extra weight compounds over miles in ways it doesn’t in a studio or a parking lot. Every additional pound you carry is a pound your shoulders and legs are managing for the full duration of the hike. For most trail photography, a versatile zoom like a 24-70mm f/2.8 or a compact prime covers the majority of situations. Leave the heavy telephoto for access-road trips where the hiking is short.
Trail Photography Gear: What to Bring and How to Pack It
Trail photography gear selection follows one principle I’ve applied across decades of outdoor shooting: bring what you’ll use, not what you might use. For most day hikes, that means one body, one or two lenses, extra batteries and cards, a compact tripod or mini-ball head, and the carry system. A polarizing filter and a few ND stops round out the kit for water and skies. Everything goes in a daypack or a modular chest-and-sling system, with the camera on your body rather than inside the bag.
Camera body choice matters more on the trail than most photographers acknowledge. A mirrorless body with weather sealing saves real anxiety on exposed ridges and unexpected rain. Dust and weather resistance doesn’t mean waterproof, but it means you don’t have to make the decision to stop shooting the moment clouds roll in.
Camera Strap for Hiking: What the Trail Demands
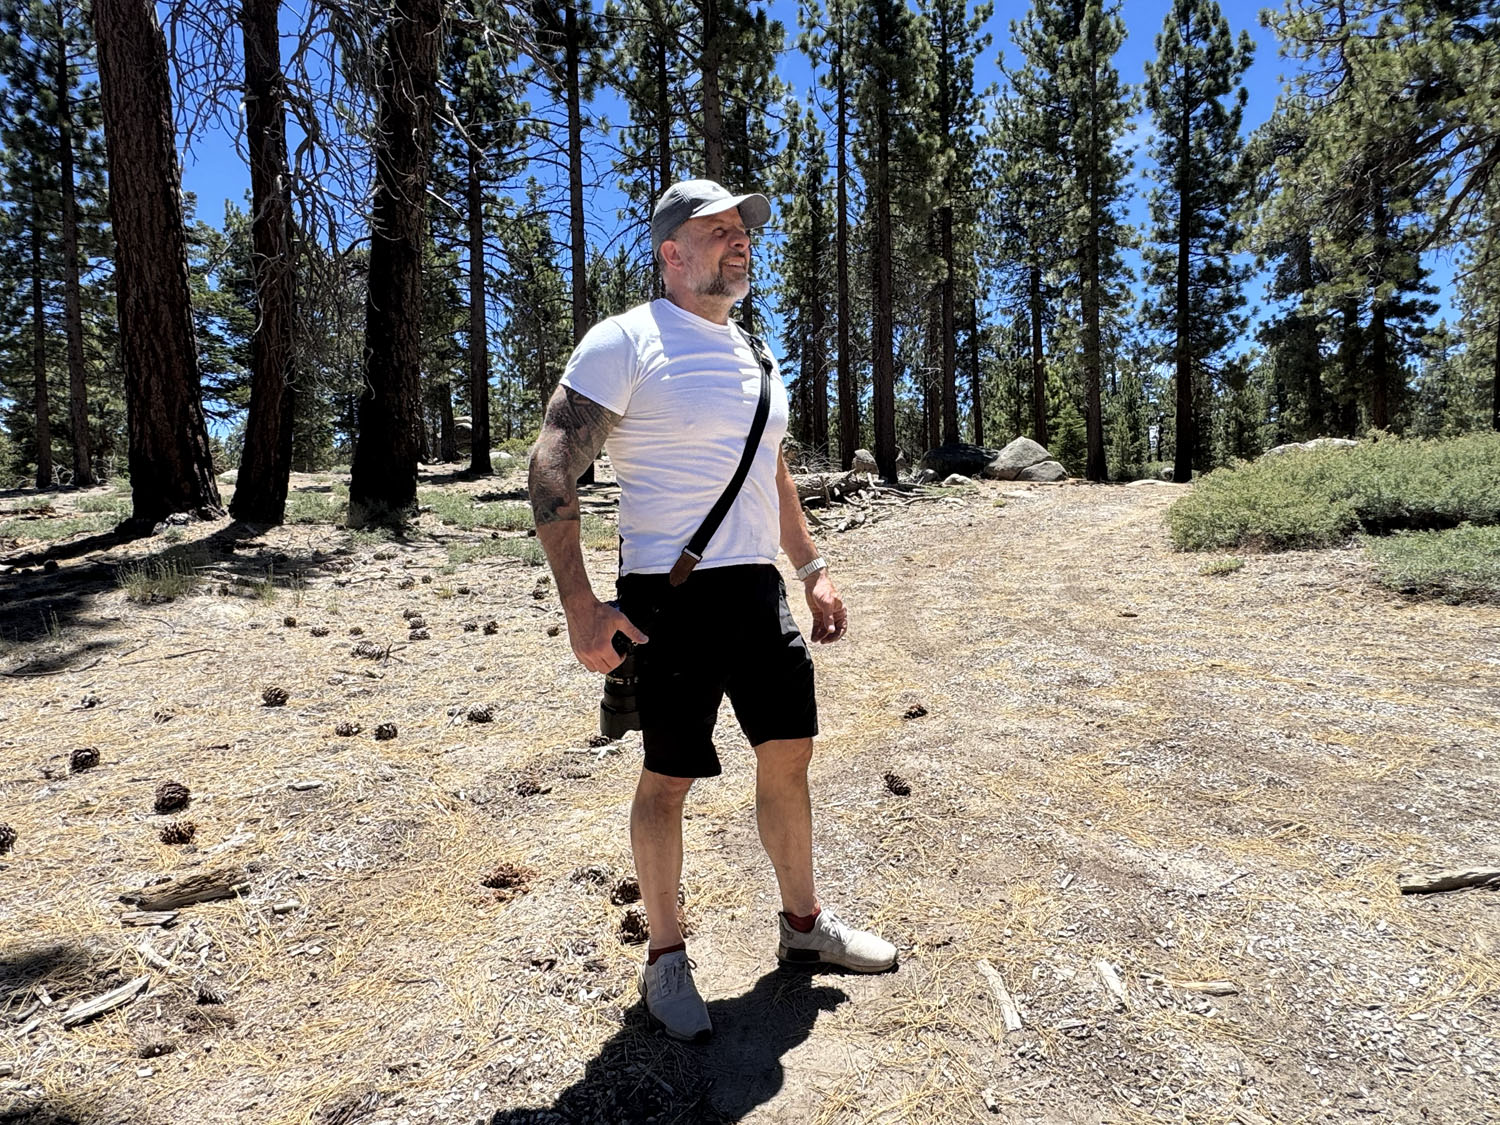
A camera strap for hiking needs to do things a standard neck strap doesn’t. On flat pavement, a neck strap works reasonably well. The camera hangs in front of you, swinging a bit but manageable. On a trail with uneven footing, a swinging camera is a hazard. It bumps against your body on every step change and demands one hand to stabilize it on technical terrain. These aren’t annoyances. They’re real physical and safety costs.
The hiking-specific strap requirements break down to four things. The camera must not swing freely during movement. It must be accessible without removing a bag. It must distribute weight across the torso rather than concentrating it on the neck. And it must accommodate one-handed retrieval so the other hand stays on a pole or a rock. Standard neck straps fail on the first and third requirements. Chest mount systems solve the swing problem but make access awkward when wearing a pack. Side-carry sling systems with a locking mechanism address all four when designed well. The best camera straps of 2026 roundup on PhotographyTalk named the LemurStrap the top pick after testing on trail hikes.
Buy Direct From LemurStrap
Built for Photographers Who Move
Camlock stability on the trail. Fast draw when the moment appears. ARCA-Swiss integration for tripod work. No swing, no bounce, no buried camera.
How the LemurStrap Solves Trail Carry Problems
The LemurStrap’s core design, a side-carry sling with a patented camlock mechanism, addresses the hiking carry problem directly. The camera rides at your right side, lens pointing down, locked in place by the camlock during movement. It doesn’t swing. It doesn’t bounce. To shoot, you release the camlock, raise the camera, fire, and let it drop back to your side, all with one hand. The other hand stays on your pole or your pack strap or the rock face you’re negotiating.
The ARCA-Swiss-compatible baseplate turns trail use into a seamless system. At the summit or a stream long exposure, the baseplate connects directly to most major tripod heads without a separate plate swap. You arrive, connect, shoot, disconnect, and move. A built-in T-25 wrench lives inside the baseplate housing so you’re not hunting for tools in the field. Read the full Lemur Strap review for a month of use across multiple shooting contexts.
The strap adjusts between 45 and 55 inches in the regular size, and between 45 and 62 inches in the long version. It’s load-tested to 50 pounds and ships with a 30-day money-back guarantee. In black and bronze finishes, it’s low-profile enough for trail use without the tactical or tactical-adjacent look of some competing carry systems.
Adjusting Your Carry for Different Terrain

How to carry a camera while hiking changes based on what the trail demands. On flat, maintained trails where footing is predictable, the camera rides at your side with the camlock engaged. You’re moving steadily, the camera is stable, and a moment at the tree line gets you from locked carry to shooting position in under a second. This is the default mode: camera on body, hands free, moving efficiently.
On technical terrain, tighten the strap so the camera rides higher and closer to your body. This reduces its range of motion during balance adjustments and keeps it from pulling your center of gravity sideways on narrow sections. Some photographers clip the camera to a chest strap D-ring on exposed terrain, which adds security without requiring the camera to go inside the pack. The LemurStrap’s side-carry geometry works with a standard hiking pack without the camera and strap fighting for space on your torso.
Wildlife and Surprise Moments
Wildlife photography on the trail is almost entirely a retrieval speed problem. You don’t set up for a marmot. You don’t anticipate the hawk lift-off from the pine thirty feet ahead. These moments appear without warning, and the photographer who captures them is the one with the camera on their body in a retrievable position. A locked side-carry with a fast-release camlock gives you a better chance at these moments than any other trail carry configuration. The camera is already at the correct height, already oriented correctly, and one smooth motion brings it to the eye.
Physical Endurance and Late-Trail Image Quality
The shots you came for are almost never at the trailhead. They’re at the overlook after eight miles or the lake basin after a 2,000-foot gain. Getting there with enough physical and creative energy to work the scene is as much a carry system problem as a fitness problem. A carry setup that’s ground on your neck for four hours arrives at the destination with you depleted, tight, and less interested in exploring compositions.
Side-carry systems like the LemurStrap distribute the camera’s weight across the torso rather than concentrating it on the cervical spine. Over eight miles, that difference is felt. Neck and shoulder muscles that steady a handheld shot stay fresher when they haven’t been managing a pendulum for hours. Our guide on shooting all day without body pain covers the fatigue-to-quality connection in detail. That principle applies on the trail as directly as it does in any other long shooting context.
Hiking with Camera: LemurStrap vs. Neck Strap on the Trail
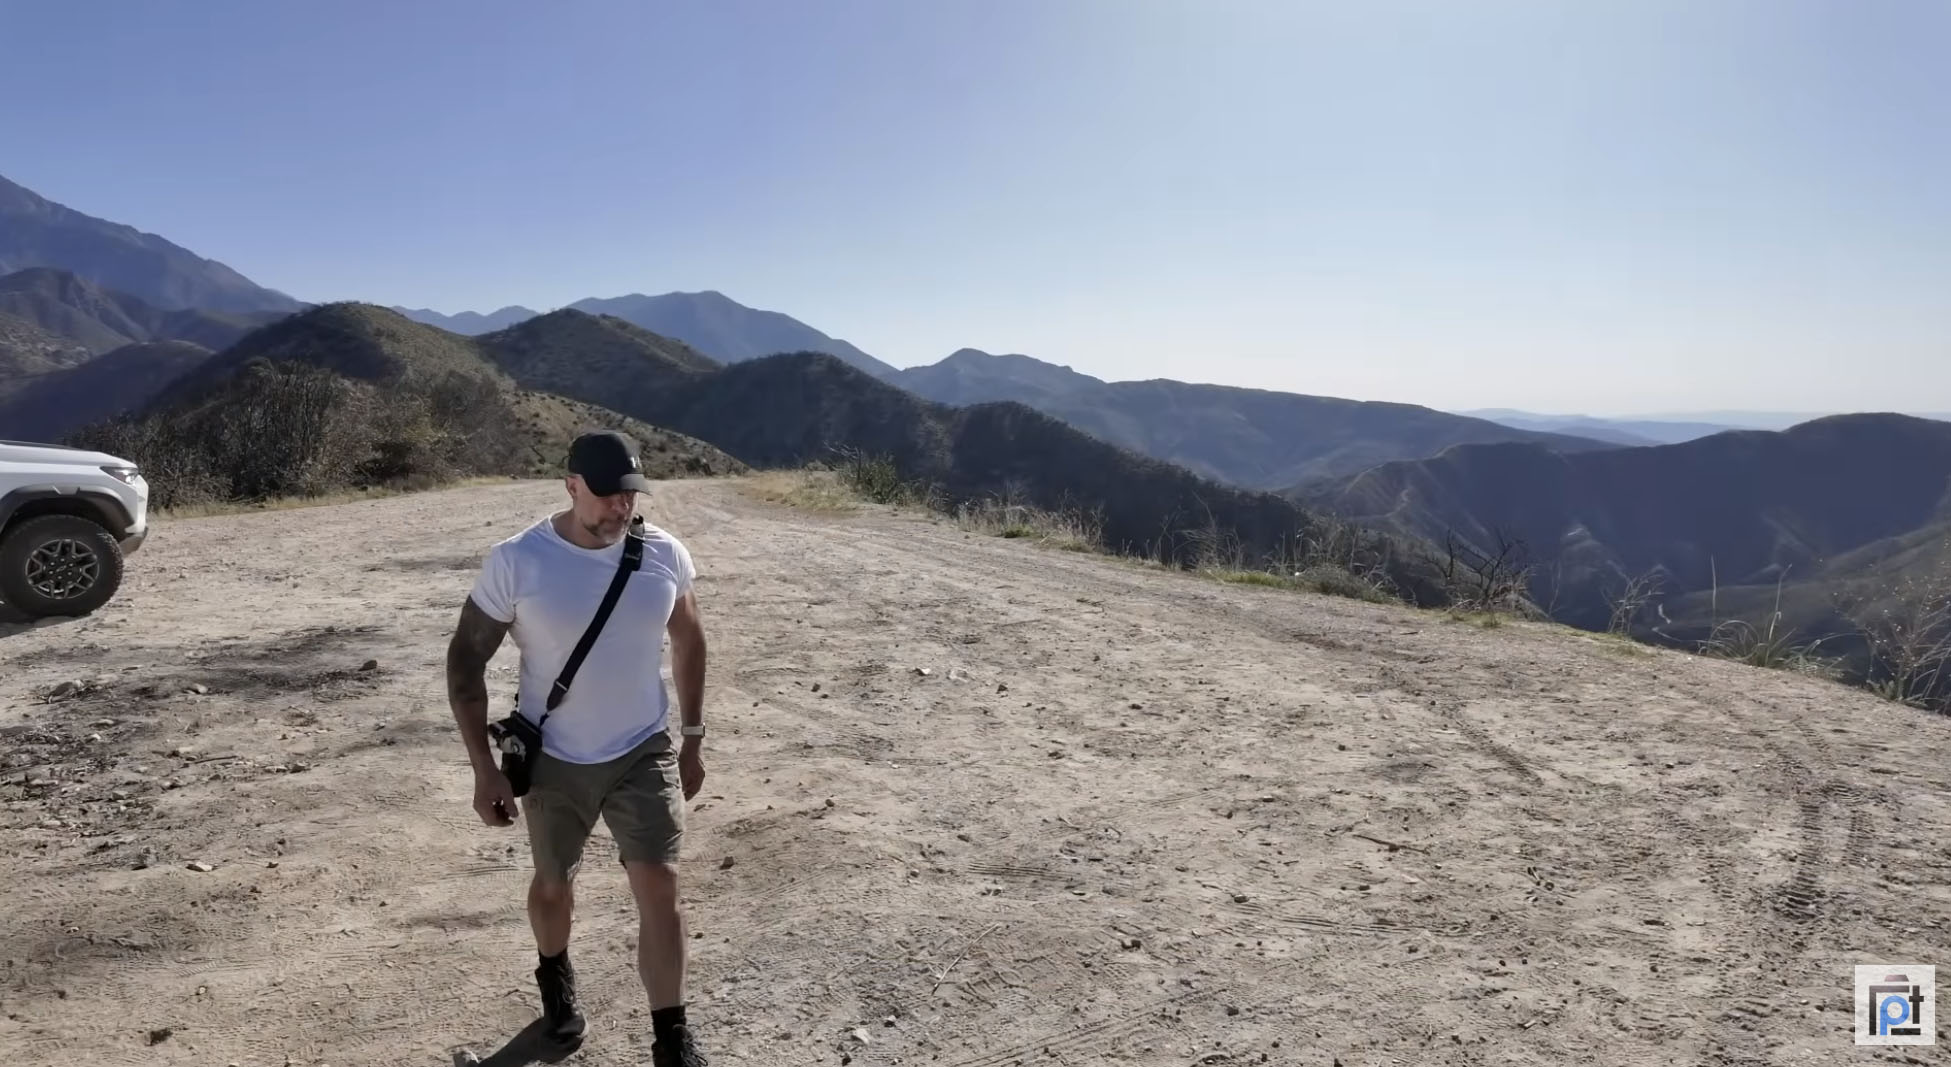
On the trail, the limitations of a standard neck strap become more physical and more immediate than in most other shooting contexts. The swinging problem, which is manageable on flat ground, becomes a genuine nuisance on uneven terrain. On a steep descent, a neck-slung camera pulls your weight forward with every step. On a scramble where both hands are needed, a swinging camera is a hazard to the camera and to you. By the end of a long day, standard-strap neck fatigue is the kind that makes you stop shooting before the light does.
The LemurStrap changes three things on the trail specifically. First, the camlock holds the camera flat against your body during movement: no swing, no bounce, no pendulum effect on descents. Second, the side-carry position keeps the camera clear of your pack straps and hip belt, so everything rides without fighting for position on your torso. Third, the ARCA baseplate makes transitioning from walking carry to tripod shooting a single connection rather than a multi-step plate swap. For photographers who use tripods regularly in the field, that efficiency compounds across a full day.
The practical outcome is a camera that arrives ready to shoot, carried by a system that works with your hiking mechanics. Priced at $119.95 for the full kit with baseplate and tripod adapter, the LemurStrap comes with a 30-day money-back guarantee.
Final Verdict
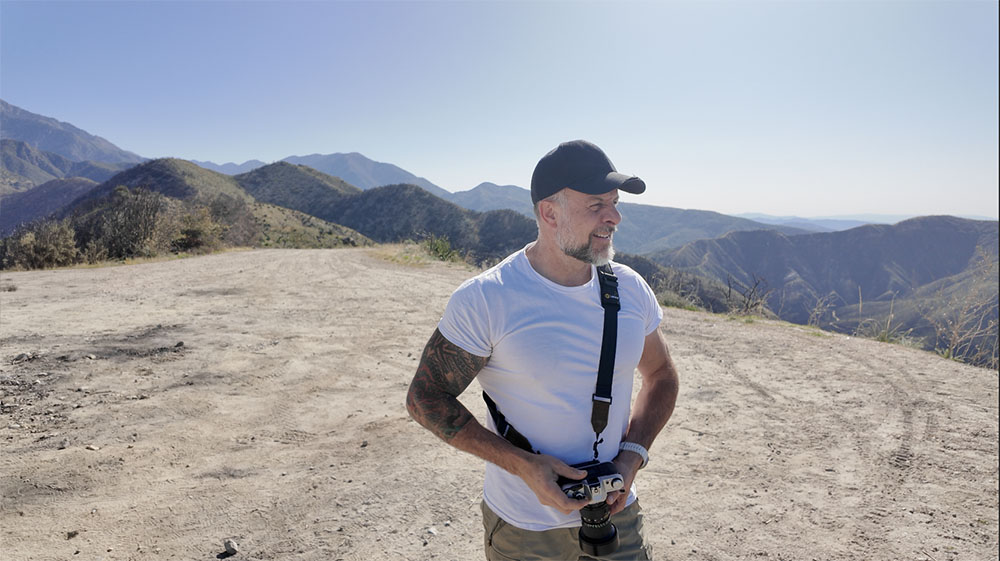
Hiking with camera gear is worth doing right. The trails that require the most effort tend to deliver the most rewarding images. That’s only true for photographers who arrive at the destination with their camera on their body and their creative energy intact. Those trailhead decisions follow you for every mile that comes after.
For photographers who carry a camera for two or more hours on varied terrain, the LemurStrap earns its place in a trail kit. Camlock stability, one-handed retrieval, torso-distributed load, and ARCA baseplate integration solve the specific problems the trail creates. Photographers who hike on flat, maintained paths with predictable footing and short distances will see fewer of these advantages. The more technical and extended the hike, the more the design delivers.
At $119.95 with a 30-day return policy, trying it across a few hikes costs little relative to years of better trail photography. The neck and shoulder health argument alone is enough for some photographers. The stronger argument is that it keeps the camera accessible and ready through eight miles of approach. You arrive positioned to shoot.
Ready to Buy?
Check Today’s Price on LemurStrap
Ships direct with a 30-day money-back guarantee. Available in black and bronze. Try it on the trail risk-free.
Frequently Asked Questions
What is the best way to carry a camera while hiking?
The best way to carry a camera while hiking keeps it on your body in a stable, accessible position without adding swing or neck fatigue. A side-carry sling with a locking mechanism outperforms a standard neck strap on the trail. It eliminates the pendulum effect on descents, keeps both hands free for poles and scrambles, and distributes weight across the torso rather than the cervical spine. For most trail photographers, a system like the LemurStrap gives the best combination of stability, access speed, and all-day comfort.
Should I use a camera strap or a pack for hiking photography?
Use both, but keep the camera on your body, not inside the pack. A camera inside a backpack is protected but inaccessible, which means trail moments get missed. The ideal setup uses a daypack for extra lenses and gear, with the camera on a body-carry strap for instant access. For bag options that pair well with this approach, the PhotographyTalk guide on hiking with camera gear covers packs with external access features.
How do I keep my camera from swinging while hiking?
Keeping a camera from swinging while hiking requires either a locking strap mechanism or a chest-mount system. Standard sling straps let the camera swing freely on every step change, which is uncomfortable and, on technical terrain, risky. The LemurStrap’s camlock holds the camera against your body during transit. When you want to shoot, one motion releases it. When you’re done, it locks again. No grabbing, no guarding, no one hand constantly stabilizing the body during movement.
What camera gear should I bring on a hike?
For trail photography gear, the guiding principle is bring what you’ll use, not what you might use. For most day hikes: one body with weather sealing, one versatile zoom lens, extra batteries and cards, and a compact tripod or ball head. A 24-70mm covers the majority of trail situations without heavy telephoto weight. A polarizing filter is worth adding near water and for managing sky contrast. Leave heavy telephotos for access-road shoots where the hiking is minimal.
Is the LemurStrap good for hiking?
The LemurStrap is particularly well-suited for hiking because its design addresses the specific problems the trail creates. Camera swing on uneven terrain. Slow retrieval when moments appear without warning. Neck fatigue over long distances. Friction when transitioning between body carry and tripod work. The camlock mechanism, side-carry position, and ARCA-Swiss baseplate each solve one of these trail-specific problems. For a full account of real-world performance, the Lemur Strap review on PhotographyTalk covers extended use across multiple shooting contexts.
A quick heads-up: If you snag something through our affiliate links or check out our sponsored content, we might earn a commission at no extra cost to you. But fear not, we’re all about recommending stuff we’re truly stoked about!

