


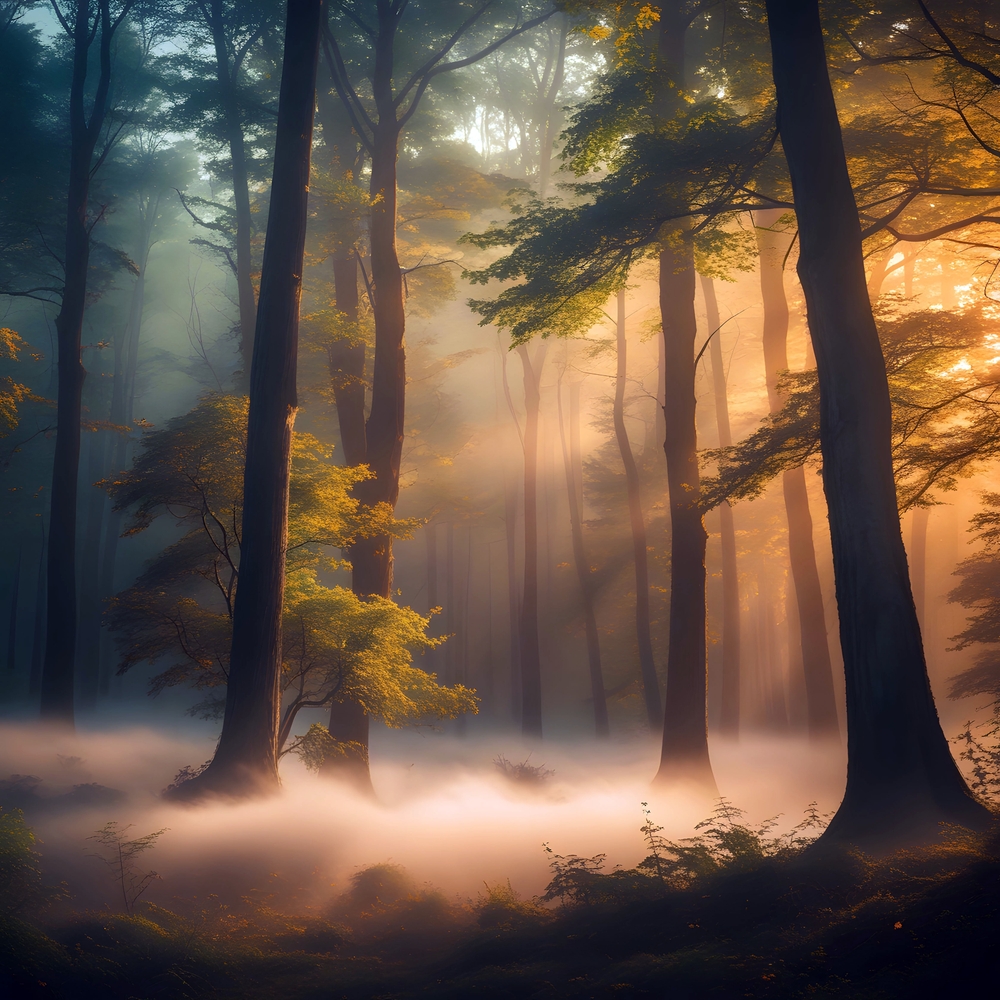
I picked up my first camera in the early 1990s and have been chasing light ever since. Over three decades of shooting alongside photographers across five continents, and more than a decade of teaching lighting fundamentals in workshops and one-on-one sessions, I’ve come to believe light direction is the single most powerful variable in photography, and the one beginners most consistently overlook. Beginners chase subjects. Experienced photographers chase light. The difference in output is immediate and striking, and it shows up nowhere more clearly than in a large-format print hung on a wall.
Light direction photography isn’t complicated once you understand its four primary types: front light, side light, backlight, and diffused light. Each produces a fundamentally different photograph from the same subject in the same location. Front light flattens and saturates. Side light sculpts and reveals texture. Backlight separates subjects and creates drama. Diffused light flatters and softens. Choosing the right direction for the subject and the mood you’re after is the skill, and it’s teachable.
This guide covers all four light directions in practical terms, explains how each one interacts with different photographic subjects, and discusses why Artbeat Studios HD metal prints are the substrate best suited to showing the results of deliberate lighting at display scale.
Quick Facts:
- Topic: Using light direction to improve photography
- Skill level: Beginner to intermediate
- Gear required: Any camera; no artificial lighting required
- Key concepts: Front light, side light, backlight, diffused light
- Featured product: Artbeat Studios HD Metal Prints
- Substrate: ChromaLuxe® aluminum, dye-sublimation infusion
- Fade resistance: 65+ years (Wilhelm Imaging tested)
- Best for: Photographers who want to shoot light intentionally and print results worth displaying
8 min read
In This Article
- Why Light Direction Changes Everything
- Front Light: Saturated Color, Flat Texture
- Side Light: Texture, Depth, and Drama
- Backlight: Separation, Rim, and Silhouette
- Diffused Light: Flattering and Forgiving
- Golden Hour and Blue Hour: Natural Light Direction at Its Best
- Why HD Metal Prints Reward Strong Light Direction
- Pros and Cons
- Final Verdict
- Frequently Asked Questions
Why Light Direction Changes Everything

Light direction photography works because direction determines where shadows fall, and shadows define form, texture, and depth. A portrait lit from the front has no visible shadow on the face. The result is even, flattering, and somewhat flat. Rotate the light source 90 degrees and you have side light raking across the face, revealing every texture in the skin and carving the features into three-dimensional relief. Same subject. Same camera settings. Entirely different image. This is not a subtle difference, it’s the kind of difference visible from across a room on a large-format print.
Understanding light direction is one of the most practical photography lighting tips available, and it changes how you move through the world with a camera. Instead of looking for subjects, you start reading the light first. In landscape photography, the position of the sun relative to your composition determines whether a hillside reads as a gradual slope or a dramatic ridgeline. In street photography, a narrow alley with side light becomes a study in contrast where the same alley in flat overcast light is barely worth photographing. Learning to see light direction before lifting the camera is one of the most transferable skills in photography and produces noticeable improvement immediately.
Front Light: Saturated Color, Flat Texture

Front light falls directly on the subject from behind the camera, eliminating visible shadows on the subject’s face toward the lens. Because shadows are hidden behind the subject, the image appears evenly lit with no shadow detail visible in the frame. The result: saturated color, even exposure, and minimal texture rendering.
Front light is useful in specific situations. Macro photography of flat, colorful subjects, flowers, fabrics, insects, benefits from front light because color saturation is the priority and surface texture isn’t. Outdoor portraits in harsh midday sun often benefit from front light because the alternative (side light at noon) produces unflattering shadows under the nose and eyes. Front light on a bright overcast day approaches diffused light quality, where the shadows are soft rather than eliminated entirely.
The limitation of front light is its inability to reveal three-dimensional form. A rock face lit from the front reads as a colored surface. The same rock face in side light reads as a textured, three-dimensional object. For most photography destined for large-format display, landscapes, architecture, still life, front light is the weakest of the four light directions precisely because it minimizes the depth and texture HD metal prints are built to amplify.
Side Light: Texture, Depth, and Drama
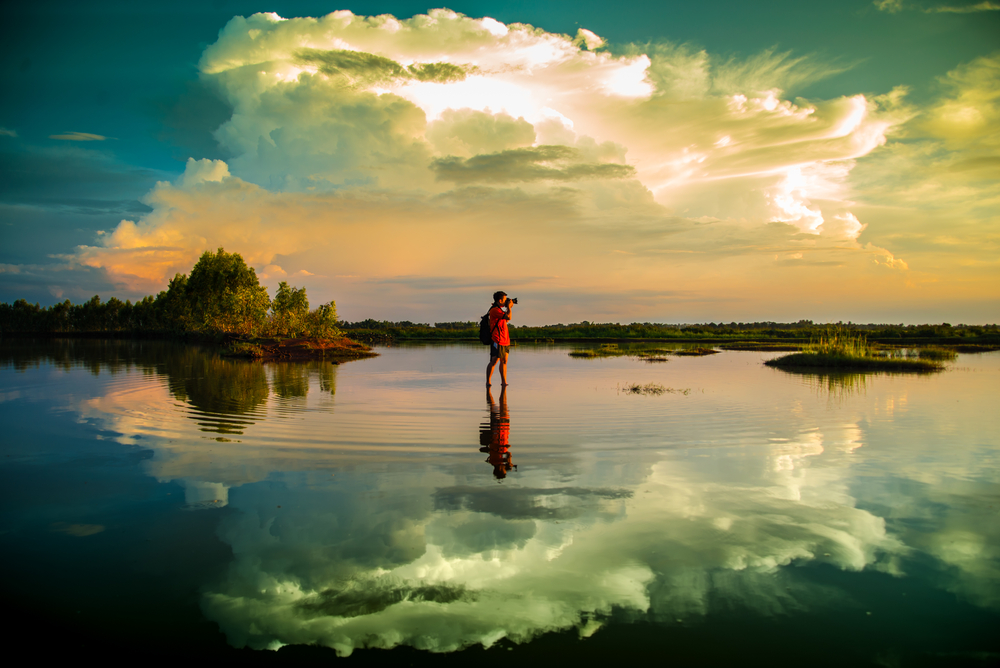
Side light is the most powerful tool in light direction photography for revealing form and texture. When light falls at roughly 90 degrees to the camera’s line of sight, it rakes across surfaces and casts shadows perpendicular to the viewer’s eye. Every raised surface catches light; every depression falls into shadow. The three-dimensional structure of any subject becomes immediately visible.
In landscape photography, side lighting photography is what separates a flat image of a mountain from a dramatic one. At sunrise or sunset, when the sun is low and to the side, ridgelines catch light and valleys fall into shadow. Sand dunes show every ripple. Grasslands become a texture study. The same scene at noon with overhead light collapses all of this depth into a flat, shadowless plane. The guide to foreground interest in landscape photography connects directly here, foreground elements lit from the side gain dimensional texture not achievable in any other lighting condition.
In portrait photography, side lighting photography produces classic Rembrandt lighting and split lighting, both defined by shadow patterns on the face revealing bone structure and three-dimensional form. At 45 degrees off-axis, side light is flattering and dramatic. At 90 degrees, it splits the face into lit and unlit halves, producing high-contrast imagery suited to black and white or bold color work. The relationship between side light and tonal contrast is one reason why black and white photography prints amplify mood and contrast so powerfully, monochrome strips away color and leaves tonal contrast, which side light maximizes.
For photographers shooting architecture, side light reveals surface material at a level front light simply cannot match. A brick wall in front light is a colored rectangle. The same wall in morning side light shows mortar joints, surface irregularities, and decades of weathering. This is the kind of detail HD metal’s dye-sublimation process preserves at display scale.
Print Your Best Light
Artbeat Studios HD Metal Prints
ChromaLuxe® aluminum, dye-sublimation infusion, 65+ year fade resistance. Six surface options. Free shipping over $150.
Backlight: Separation, Rim, and Silhouette
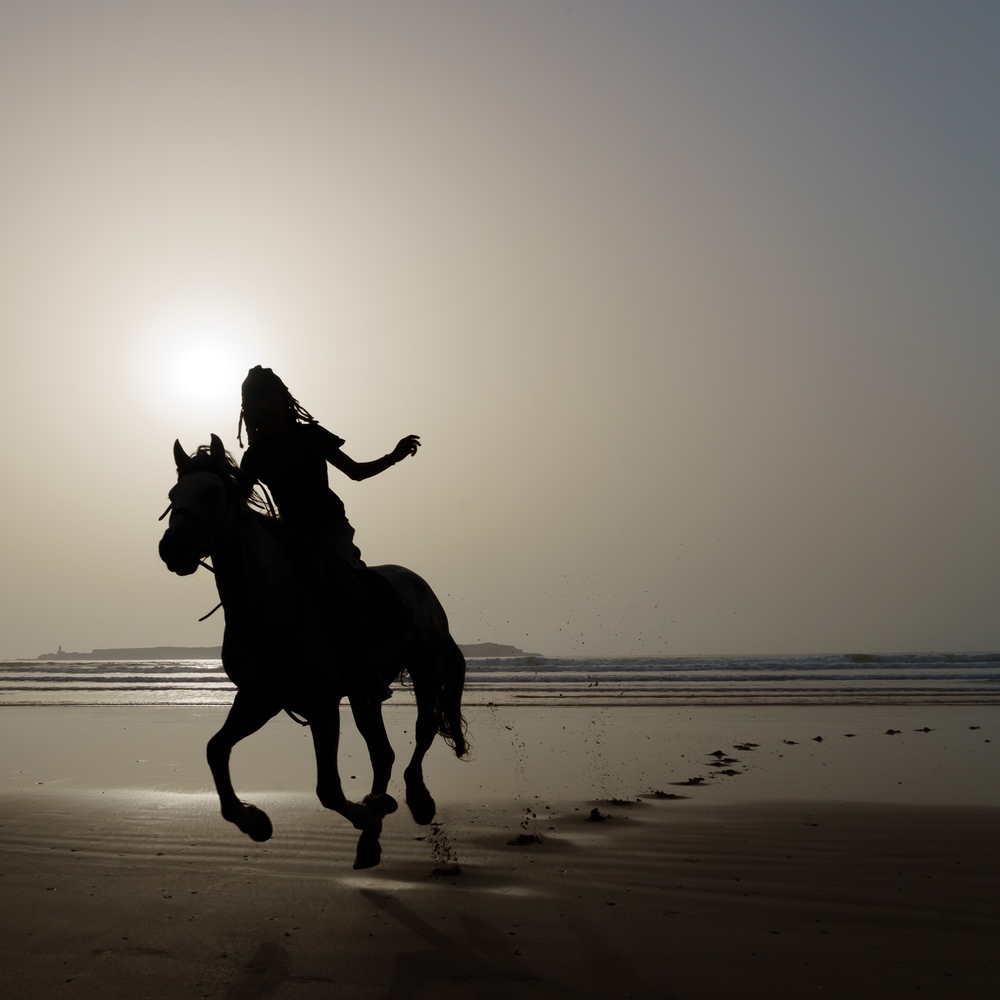
Backlight places the light source behind the subject, facing toward the camera. The subject is lit from behind, producing a rim of light around the edges and leaving the front face of the subject darker than the background. Depending on exposure, backlight produces either a glowing subject with rich rim light or a silhouette against a bright background.
Rim lighting is one of the most visually dramatic effects in light direction photography. A rim of light separates the subject cleanly from the background, producing the kind of subject-background separation impossible to achieve in post-processing. For portrait and wildlife photography, rim light creates a halo effect around hair, fur, or feathers. For landscape photography, backlight through foliage illuminates individual leaves and creates a glowing canopy effect unavailable in any other lighting direction.
Silhouette photography is the most extreme form of backlight, the subject is underexposed to black against a bright sky or background. Silhouettes depend entirely on shape for impact, which means subject selection and composition become the defining factors. Strong geometric shapes (trees, lone figures, architectural forms) produce compelling silhouettes. Subjects without clear, distinctive outlines lose impact as silhouettes. Exposure for backlit silhouettes targets the bright background, letting the subject go black. A slight positive exposure compensation of +0.5 to +1.0 EV in backlit scenes prevents the bright background from blowing out while maintaining subject shadow.
Lens flare is a frequent companion to backlight. At wider apertures and with the sun near the frame edge, flare adds atmosphere and a sense of warmth. Controlled flare enhances backlit images. Uncontrolled flare reduces contrast and washes out shadow detail. A lens hood or a strategic hand position blocking direct sunlight from the front element controls flare without eliminating the backlit effect.
Diffused Light: Flattering and Forgiving

Diffused light scatters from multiple directions, producing soft shadows with gradual transitions from highlight to shadow rather than the hard-edged shadows of direct light. Overcast skies, open shade, and window light from large north-facing windows all produce diffused light conditions. For photography lighting tips specifically involving portraits and close-up work, diffused light is one of the most versatile and forgiving conditions available.
The advantage of diffused light is its forgiveness. Skin tones render smoothly without harsh shadows under the nose and eyes. Macro subjects show texture without the harsh shadows raking light produces. Food photography in diffused window light produces appetizing, clean results where the same food in direct sun appears hard-edged and unappetizing. Wedding photography shot under an overcast sky has consistent, flattering light throughout the day without the exposure management challenges of direct sun.
The limitation of diffused light is its tendency toward flatness. Without a clear shadow direction, three-dimensional subjects appear softer and less defined than in directional light. The fix is to introduce a subtle directional element, positioning the subject near the edge of the diffused light source so one side receives slightly more light than the other, or using a reflector to add fill from one direction and create a soft shadow on the opposite side. Even minimal directionality in diffused light conditions produces noticeably more dimensional results.
Golden Hour and Blue Hour: Natural Light Direction at Its Best
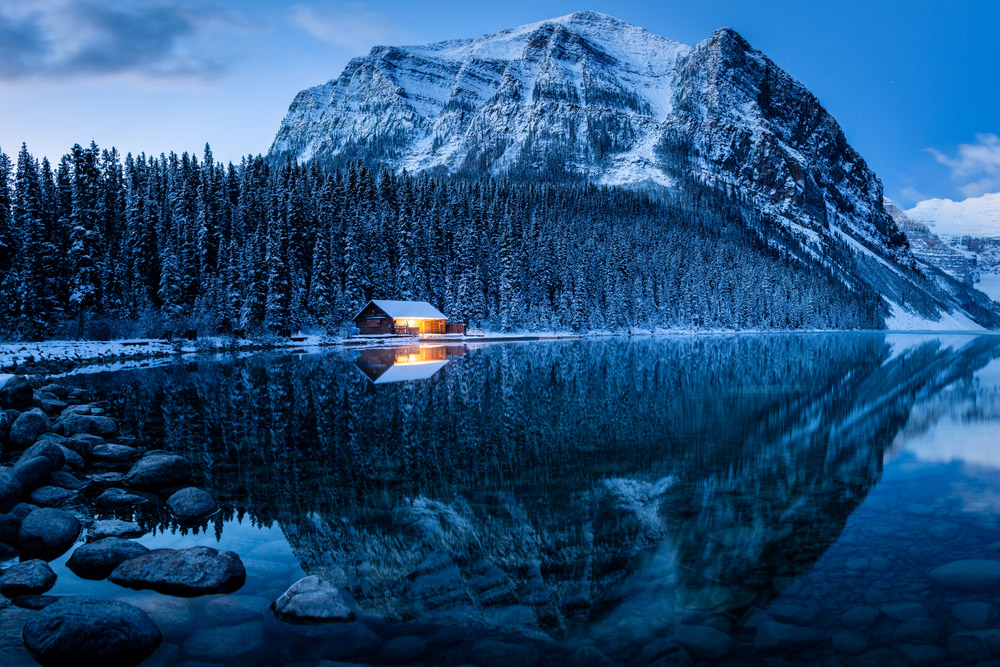
Golden hour, the first and last hour of daylight, combines two light quality advantages in one window: low angle and warm color temperature. Low angle means the sun is at its most directional, raking across landscapes and subjects with maximum side-light effect. Warm color temperature in the 2000K to 3500K range adds richness to skin tones, landscape color, and architectural surfaces. These two qualities together produce the light photographers most consistently describe as transformative.
Blue hour occurs in the 20 to 30 minutes after sunset and before sunrise, when the sky provides diffused blue light from above while artificial light sources (streetlights, windows, building illumination) contribute warm tones. The contrast between blue ambient and warm artificial light produces color separation and depth impossible to achieve in daylight. Architecture, cityscapes, and seascapes particularly benefit from blue hour because the water, glass, and lit windows create natural contrast within the frame.
Both golden hour and blue hour reward deliberate composition. The light is brief, often 20 to 45 minutes in duration, and changes rapidly. Scouting the location in advance, identifying the angle of the light relative to the subject, the foreground elements worth including, the direction of the sun’s movement, is how photographers produce consistent results in these windows rather than occasionally lucky ones. The same principles of intentional composition covered in the guide to why metal prints are great for landscape photos apply directly to golden and blue hour work, where the light is too good to miss and the print potential is at its highest.
Why HD Metal Prints Reward Strong Light Direction

The qualities light direction photography produces, contrast, texture detail, tonal depth, color saturation, rim separation, are precisely the qualities HD metal printing is built to preserve and amplify. Artbeat Studios HD metal prints use a dye-sublimation process infusing your image directly into ChromaLuxe® aluminum. The result is a print where color appears to glow from within the surface, shadows retain detail rather than collapsing to black, and highlight areas maintain separation.
For photographers printing side-lit landscape work, this matters significantly. A side-lit image of a canyon wall contains a full tonal range from deep shadow to bright highlight, with texture detail throughout. On a matte paper print, shadow detail compresses. On an HD metal print, the aluminum substrate maintains luminosity in the shadows while the dye-sublimation process preserves the highlight separation. The tonal range the photographer captured in the field is the tonal range visible in the print. Metal prints for photographers serious about light direction are the print medium where deliberate lighting decisions show up most clearly at display scale.
Artbeat Studios offers six HD metal surfaces: White Gloss (bold, brilliant, maximum color impact), White Matte (modern and refined, reduced glare), White Satin (balanced semi-gloss), Silver Gloss (metallic luminosity, dramatic depth), Textured Matte (fine art character), and Outdoor HD Metal (weather-resistant, suitable for outdoor display). For images with strong light direction and high tonal contrast, White Gloss or Silver Gloss deliver the most impact. For portraits with soft directional light, White Matte or White Satin preserve skin tone accuracy without reflective interference. Prints start at 4×6 inches, scale to 48×96, and all custom sizes are cut in-house at the time of order from the company’s Santa Ana, California facility.
Ready to Print Your Best Light?
Order Artbeat Studios HD Metal Today
Six surfaces. Custom sizes from 4×6″ to 48×96″. In-house production in Santa Ana, CA. 65+ year fade resistance. Free shipping over $150.
Pros and Cons
Pros
- Understanding light direction requires no additional gear and produces immediate, visible improvement
- Side light maximizes texture and depth in any subject, landscapes, portraits, architecture, still life
- Golden and blue hour light is freely available and consistently produces display-worthy results
- HD metal’s dye-sublimation process preserves the full tonal range of deliberately lit images
- ChromaLuxe® aluminum produces 65+ year fade resistance, Wilhelm Imaging tested
- Six surface options suit different lighting moods from high-contrast side-lit work to soft portrait light
Cons
- Golden and blue hour windows are brief, requiring advance scouting and preparation
- Backlit exposure management takes practice; learning to meter backlit scenes produces occasional missed exposures early on
- White Gloss and Silver Gloss surfaces reflect ambient light; display placement affects viewing quality in some environments
- Large HD metal prints are priced at a premium; the investment suits finished display work rather than test prints
Final Verdict
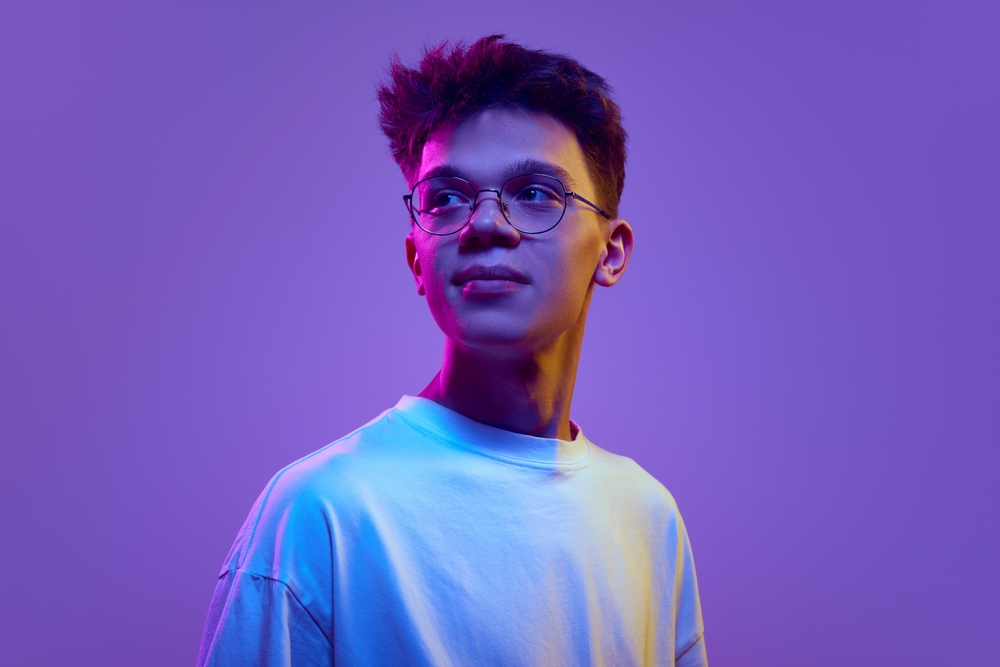
Light direction photography is the foundational skill separating competent from compelling images, and it costs nothing to learn beyond attention and practice. Front light is safe and reliable. Side light is the most powerful tool for revealing form, texture, and three-dimensional depth. Backlight creates separation, drama, and atmosphere no other direction produces. Diffused light flatters and forgives, making it the workhorse of portrait and close-up work. Learning to identify and work with all four, and to choose the right one for the subject, is how photographers stop settling for whatever light happens to exist and start producing images on their own terms.
After three decades behind the lens and more than ten years teaching lighting workshops alongside photographers worldwide, the improvement from understanding light direction is among the fastest and most durable in all of photography. Every shoot conducted with light direction in mind produces stronger work than the previous one, and the compounding effect over months and years is significant.
For metal prints for photographers printing directional light work, Artbeat Studios HD is the right substrate. The dye-sublimation process preserves tonal range, shadow detail, and color saturation in ways paper and canvas absorb rather than amplify. The 65+ year fade rating means the prints endure as long as the images deserve to. With custom sizes from 4×6 to 48×96, in-house production in California, and free shipping over $150, the practical case is as strong as the quality one.
Ready to Buy?
Check Today’s Price on Artbeat Studios HD Metal
Free shipping over $150. Custom sizes. Six surfaces. In-house production in Santa Ana, CA. 65+ year ChromaLuxe® fade resistance.
Frequently Asked Questions
What is light direction in photography?
Light direction refers to the angle at which a light source strikes the subject relative to the camera’s position. The four primary directions are front light (light source behind the camera), side light (light source at roughly 90 degrees to the camera), backlight (light source behind the subject), and diffused light (light scattered from multiple directions with no strong directional shadow). Each direction produces fundamentally different images from the same subject by changing where shadows fall.
Which light direction is best for landscape photography?
Side light during golden hour is the most consistently effective light direction for landscape photography. Low-angle side light rakes across terrain, revealing texture, depth, and three-dimensional structure invisible in overhead or front light. Golden hour color temperature between 2000K and 3500K adds warmth to the image and enhances color separation between land, sky, and shadow. Blue hour produces compelling landscape light for architecture and water, where artificial light sources contrast against the blue ambient sky.
How do I photograph in backlight without losing the subject?
The key to backlight photography is exposure management. Meter for the bright background to render the subject as a silhouette, or apply positive exposure compensation (+1.0 to +1.5 EV) to lift the subject into visibility while maintaining the backlit rim effect. For subjects you want both properly exposed and rim-lit, fill flash or a reflector on the front of the subject reduces the contrast ratio between the lit rim and the shadow face. A lens hood prevents the direct light from hitting the front element and reduces contrast-killing flare.
What time of day produces the best light direction for photography?
Golden hour, the first hour after sunrise and the last hour before sunset, produces the most directional and most photographically flattering natural light. The low sun angle creates side or backlight on most subjects depending on your orientation, and the warm color temperature adds richness unavailable at other times. Blue hour, in the 20 to 30 minutes bracketing golden hour on either end, produces a complementary cool ambient light with strong artificial light contrast. Midday overhead light is the most challenging for most subjects due to its straight-down angle producing unflattering shadows.
Why does side light make textures stand out in photos?
Side light reveals texture by casting shadows across raised surfaces perpendicular to the viewer’s line of sight. Every bump, ridge, or surface variation above the baseline catches the light on one face and drops into shadow on the opposite face. The viewer’s eye reads the highlight and shadow pattern as three-dimensional relief. In straight-on front light, these same surfaces are illuminated evenly from the viewer’s perspective and no shadow forms, so the texture appears flat. Side light photography is the only lighting direction consistently revealing surface detail at the scale visible in large-format HD metal prints.
Do HD metal prints show lighting detail better than other substrates?
Yes, for most light direction photography subjects. HD metal’s dye-sublimation process infuses the image into ChromaLuxe® aluminum, producing a luminous print where shadow detail remains visible rather than collapsing to black, and highlights maintain separation rather than blowing out. This extended tonal range preservation is particularly significant for side-lit and backlit images, which contain the widest dynamic range. Canvas absorbs some tonal contrast through surface texture. Paper matte reduces apparent luminosity. HD metal amplifies both, making it the substrate where deliberate lighting decisions show up most clearly at display scale.
Friendly disclaimer: Our articles may contain affiliate links that support us without costing you more, and sometimes we spice things up with sponsored content—but only for products we truly stand behind!

