


Quick Facts:
- What it is: Backlighting photography places your main light behind the subject, facing your lens
- Skill level: Beginner, and a kit lens handles every effect here
- Five effects covered: Glow and haze, edge light, silhouettes, flare, and translucency
- Best light: The hour after sunrise or the hour before sunset, when the sun sits low
- Core exposure rule: Expose for the subject for glow, expose for the background for a silhouette
- Handy gear: A reflector to fill shadows and a diffusion filter to boost glow
- Cost to start: $0 with the sun alone, or under $40 for a reflector
- Best for: Portraits, flowers, landscapes, pets, and product shots
8 min read
In This Guide
- Backlighting Photography Explained: Shooting Into the Light
- Glow and Haze: Soft, Dreamy Light
- Rim Light: Trace Your Subject in Light
- Silhouettes: A Bold Shape Against the Sky
- Sun Flare and Starburst: Add Light Streaks
- Translucency: Light Through Leaves and Petals
- The Five Backlighting Effects at a Glance
- How to Expose for Backlighting Photography
- Which Backlighting Effect to Try First
- Bringing Backlight Into Your Everyday Shooting
- Frequently Asked Questions
Backlighting Photography Explained: Shooting Into the Light
Backlighting photography puts your main light source behind the subject, pointed back toward your camera. Most beginners avoid it, because shooting into the light feels wrong and the first frames often look dark or washed out. Yet this one direction of light produces the most striking effects in a beginner’s reach. The trick is choosing the effect first, then setting exposure for it on purpose.
Every backlit scene shares the same starting problem. Your camera sees a bright background and a dim subject, so its meter gets confused. As a result, it either turns your subject into a black shape or blows the background to white. Neither outcome is an accident. Each one is a separate creative effect, and you decide which by telling the camera what to expose for.
This guide breaks backlight into five effects: glow and haze, edge light, silhouettes, flare, and translucency. For each, you get a plain-language description and a simple setup you copy in the field. Because the low sun does most of the work, timing matters more than gear. The quality of light at dawn and dusk turns ordinary subjects into keepers.
Glow and Haze: Soft, Dreamy Light
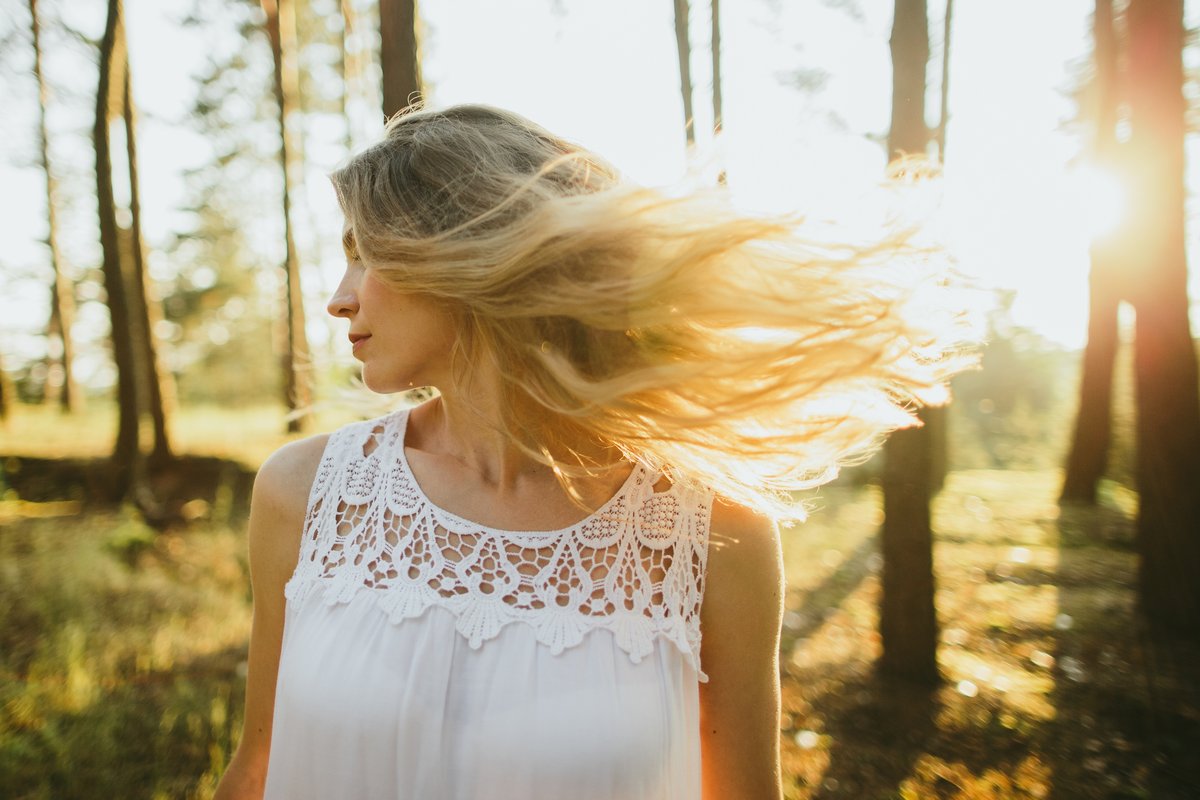
Glow wraps a soft, luminous halo around your subject and lifts a light haze across the frame. Backlighting photography earns its reputation with this look, since the low sun spills over hair, fur, and grass and paints a warm edge of light. The effect reads as gentle and romantic, so it suits portraits, pets, and flowers.
To create glow, place the sun low and directly behind your subject during the hour after sunrise or before sunset. Meter for the subject’s face, not the sky, and add about +1 EV so skin stays bright. Then add a touch of haze by shooting slightly toward the sun and letting a little light spill past your subject into the lens. A clean lens with the hood removed increases the bloom.
Keep your aperture wide, around f/2.8 to f/4, for a soft background to support the mood. Shooting at golden hour gives you warm, forgiving light for this effect. If shadows on the front of the subject fall too dark, a reflector bounces light back and evens the exposure.
Push the Glow Further
Tiffen Black Pro-Mist 1/4 Diffusion Filter
This screw-on filter blooms highlights and adds a soft halation to backlit scenes, so the glow effect reads stronger straight out of camera. The 1/4 strength keeps it subtle, and it comes in the common thread sizes to match your lens.
Rim Light: Trace Your Subject in Light
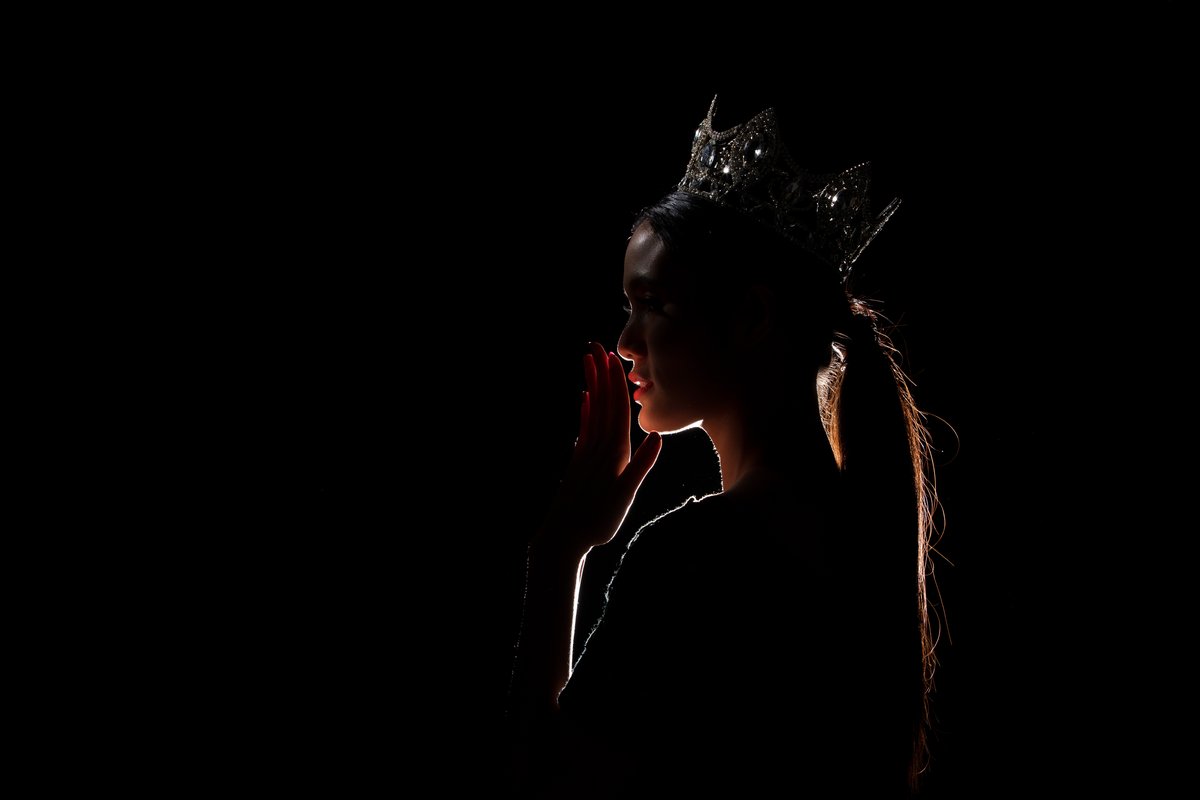
Rim light, also called edge light, draws a bright outline along the edge of your subject and separates it from the background. Portrait photographers also know it as a hair light. The backlight catches only the rim facing the sun, while the front stays in shadow. This contrast makes the subject pop off the scene.
To create edge light, position your subject directly between your camera and the light source. A low sun behind a person’s head or shoulders traces a glowing line around them. Meter for the shadowed front of the subject, so the outline reads as a highlight rather than a blown streak. A dark background behind the subject makes the rim stand out more.
Edge light also works indoors with a window or a single lamp behind the subject. Keep the light right out of the frame to avoid flare you did not plan. Because the front falls dark, a reflector or a second light restores detail on the face when you want both the edge and the features.
Silhouettes: A Bold Shape Against the Sky
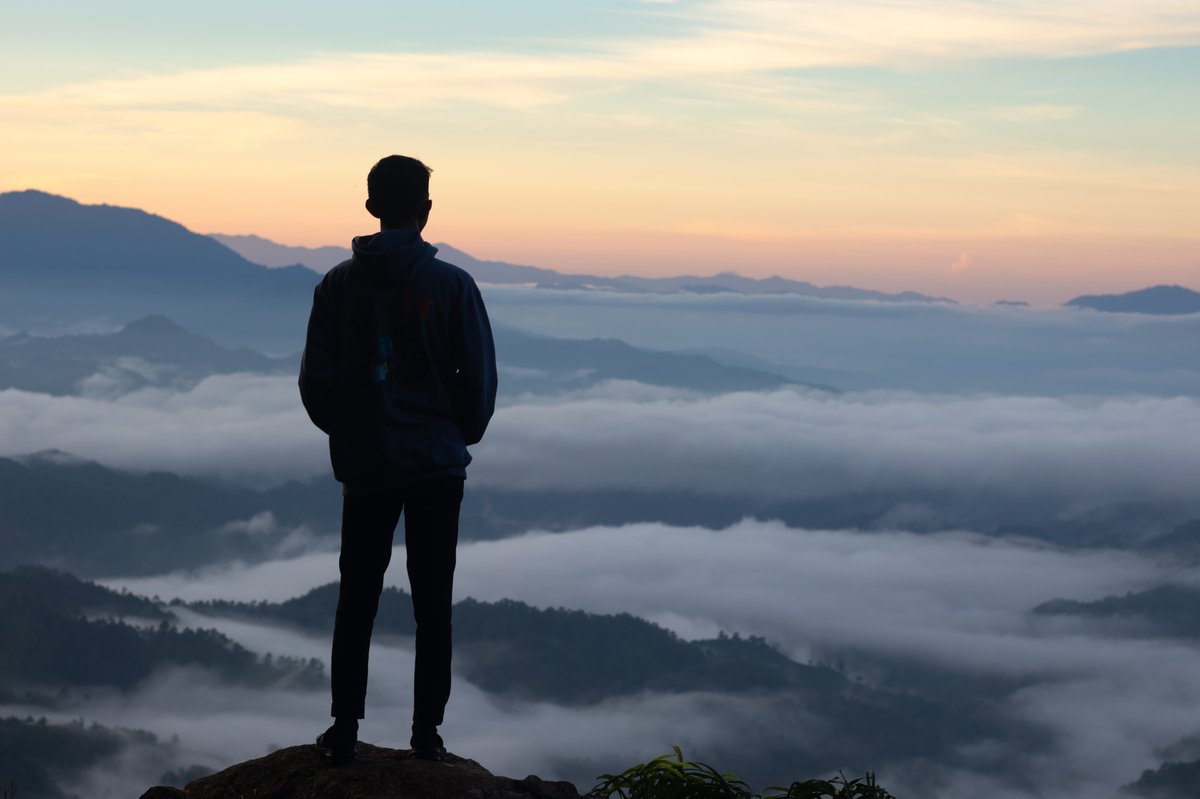
A silhouette renders your subject as a solid black shape against a bright background. This effect throws away detail on purpose and leans on a clean, recognizable outline. Silhouette photography works best with simple subjects, such as a single person, a tree, or a cyclist, set against a colorful sky.
To shoot a silhouette, put a bright background behind your subject, usually the sky near sunset. Meter for the bright background, then dial in negative exposure compensation of -1 to -2 EV so the subject drops to black. Keep any front light off the subject, since even a little fill breaks the effect. Our full guide to silhouette photography walks through subject choice and timing.
Composition carries a silhouette. Separate limbs, gaps between subjects, and a clean skyline all help the shape read at a glance. Because the outline is everything, avoid overlapping subjects, since they merge into one dark blob. A low shooting angle lifts your subject fully against the sky and away from a cluttered horizon.
Sun Flare and Starburst: Add Light Streaks
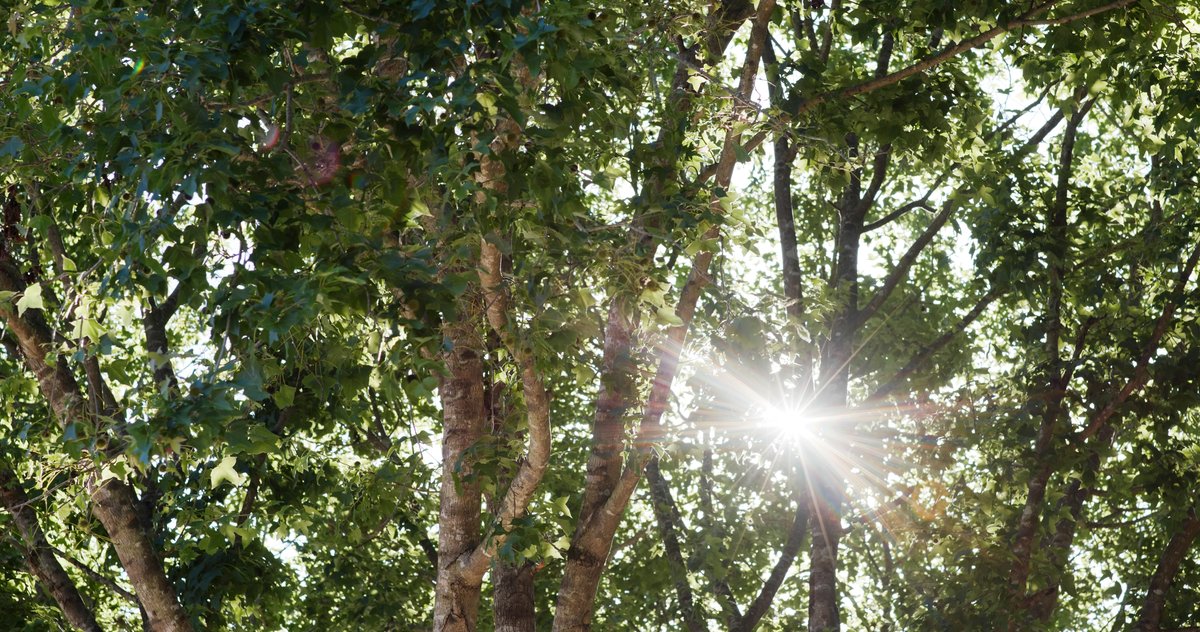
Flare adds streaks, rings, or a warm wash of light when the sun hits your lens directly. A starburst turns the same sun into a pointed star. Both effects bring energy and a sense of place to a frame, and both come straight from the light source in your shot.
To get soft flare, let the sun clip the edge of your frame or peek from behind your subject, then remove your lens hood so light reaches the front element. For a crisp starburst, stop down to a small aperture between f/16 and f/22 and partially hide the sun behind a hard edge, such as a branch, a rock, or your subject’s shoulder. The number of points depends on your aperture blades, so each lens draws its own star. Learning to photograph light rays uses the same small-aperture approach.
Flare lowers contrast, so expose a little brighter and check your screen. Clean your front element first, because dust and smudges turn pleasant flare into ugly blobs. Move a few inches in any direction to grow or shrink the effect until it frames the scene the way you want.
Translucency: Light Through Leaves and Petals
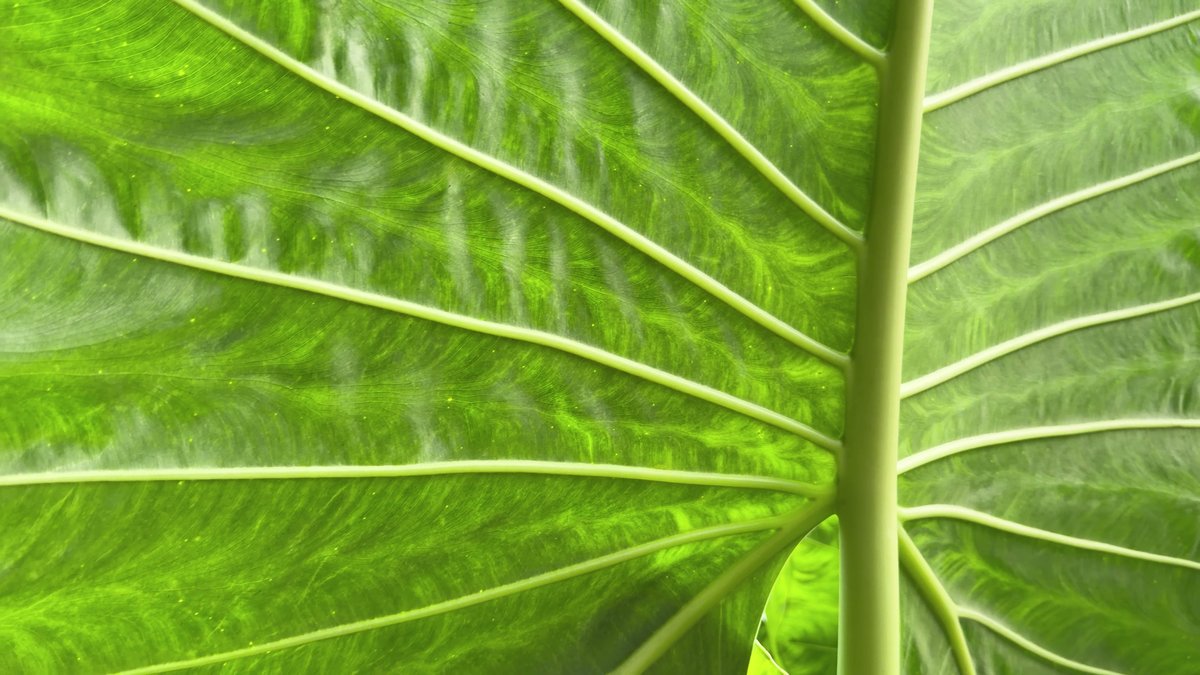
Translucency lights up thin subjects from behind so they glow from within. Backlight passes through leaves, flower petals, feathers, and sheer fabric and reveals veins, texture, and color you never notice in flat light. This effect turns a common leaf into a stained-glass panel.
To capture translucency, place the light source directly behind a thin subject and shoot toward it. A backlit maple leaf against the morning sun shows every vein. Meter for the bright, glowing area of the subject, since the lit portion is your true exposure point. Move slightly off-axis so the sun itself sits right outside the frame.
This effect shines in close-up and macro work, yet a kit lens handles it fine. Indoors, a window behind a glass of tea or a sheer curtain gives the same result. Because the glowing subject is bright, a small negative exposure adjustment often keeps the color rich instead of washed out.
The Five Backlighting Effects at a Glance
This backlighting photography cheat sheet sets all five effects side by side, so you match the look you want to a light position and one key exposure move. Use it in the field before you change a setting. Each row names the setup you need most for the look.
| Effect | What it creates | Light position | Key exposure move | Best subjects |
|---|---|---|---|---|
| Glow and haze (easiest start) | Soft halo and warm wash | Low sun behind subject | Meter for the subject, +1 EV | Portraits, pets, flowers |
| Rim light (edge light) | Bright outline on the edge | Directly behind subject | Meter for the shadowed front | Portraits, pets, athletes |
| Silhouette | Black shape, bold outline | Bright sky behind subject | Meter for the sky, -1 to -2 EV | People, trees, skylines |
| Sun flare and starburst | Streaks or a pointed star | Sun clipping the frame edge | f/16 to f/22, expose brighter | Landscapes, couples, trees |
| Translucency | Glowing veins and color | Directly behind thin subject | Meter for the glowing area | Leaves, petals, fabric |
How to Expose for Backlighting Photography
Exposure is where backlighting photography feels tricky, yet one habit fixes most frames. Decide what should be bright, then meter for it. For glow, edge light, and translucency, your subject should be bright, so meter for the subject and let the background go light. A silhouette flips this, so the background should be bright: meter for the sky and let the subject go dark.
Your camera meters for a middle tone, so a bright backlit scene fools it into underexposing your subject. To fix a dark face, add exposure with your exposure compensation dial, usually +1 to +2 EV. Spot metering on the subject also works, since it reads only the small area you aim at and ignores the bright surroundings.
Check your screen and highlight warning after each shot, then adjust. A little blown background is fine for a glowing portrait, while a silhouette wants the sky held back for color. Because the light at dawn and dusk changes fast, review often and reset your compensation as the sun moves. Two or three test frames get you dialed in.
Fill the Shadows
Neewer 43-inch 5-in-1 Collapsible Reflector
When backlight leaves the front of your subject too dark, this folding reflector bounces the sun back onto the face and balances the exposure. Five surfaces, white, silver, gold, black, and a translucent diffuser, cover glow, edge light, and harsh midday sun.
Which Backlighting Effect to Try First
Start with glow and haze, because it forgives mistakes and needs no extra gear. Stand your subject with the low sun behind them, meter for the face, and shoot. You get a warm, soft frame on the first evening out. This effect builds the instinct you need for the harder looks.
Move to silhouettes next, since the setup is the clean opposite and teaches you to read the background. Then try edge light for portraits and flare for landscapes. Save translucency for a slow morning with leaves or flowers, where you have time to work a close-up. Each effect uses the same low sun, so one golden hour session lets you practice several. Backlighting photography rewards this steady, one-look-at-a-time build.
Bringing Backlight Into Your Everyday Shooting
Backlighting photography is not a special-occasion technique. Once you stop fearing the sun behind your subject, you see these effects everywhere, from a kitchen window in the morning to a park at dusk. The five effects here give you a menu, so you walk into a scene knowing which look fits and how to set for it.
Review your shots on the back of the camera as you go, since backlight changes fast and small moves shift the effect. Compare one frame metered for the subject against one metered for the sky. Your eye for backlight sharpens with every frame you study.
Gear stays simple throughout. The sun and your current camera cover every effect on this list, and a reflector or a diffusion filter only refines what the light already does. Time of day carries the real weight, so plan around the hour after sunrise and the hour before sunset.
The next time the light turns golden and rakes low across your scene, turn toward it instead of away. Pick one effect, set your exposure for it on purpose, and shoot into the light with intent. This single choice separates a snapshot from a photograph you keep.
Frequently Asked Questions
What is backlighting in photography?
Backlighting places your main light source behind the subject, facing your camera. It creates glow, a bright rim, silhouettes, flare, and translucency, depending on your exposure choice. The low sun at sunrise or sunset is the most common backlight for beginners.
How do you take a silhouette photo?
Put a bright background, usually the sky near sunset, behind a simple subject. Meter for the bright sky, then dial in -1 to -2 EV so the subject goes black. Keep any light off the front of the subject and choose a clean, recognizable outline.
What is edge lighting?
Edge lighting is a bright outline traced along the edge of a backlit subject. The light source sits directly behind the subject and catches only the rim facing it. Meter for the shadowed front so the edge reads as a glowing highlight.
How do you create a sun flare in photos?
Let the sun clip the edge of your frame or peek from behind your subject, then remove your lens hood. For a pointed starburst, stop down to f/16 to f/22 and partially hide the sun behind a hard edge. Clean your front element first for a clean effect.
Do you need special gear for backlighting photography?
No. The sun and your current camera create every effect here, even with a kit lens. A reflector helps fill shadows on backlit faces, and a diffusion filter boosts glow, yet both are optional refinements rather than requirements.
What time of day is best for backlight?
The hour after sunrise and the hour before sunset give the best backlight. The sun sits low and shines toward your lens, which produces glow, edge light, and silhouettes with warm color. Midday sun sits too high for most of these effects.
Related Reading
Sources: exposure and lighting guidance from PhotographyTalk field guides, plus a general technical overview of back lighting.

